As adults, we often forget that our experiences have helped us understand how God’s creation works. Your children are still looking for those experiences.
For example, how many of us have heard about a child who has misheard a hymn so that the lyrics don’t make any sense? They only need to understand the meaning once, and then the words will make sense to them. But until that happens, they will often accept the wrong lyrics without question. Similarly, they may accept that everything is matter without understanding how any of it works. Experiencing the changing states of matter helps the knowledge fall into place and become comprehension.
This activity gives your child an opportunity to both see and feel the change. And, if you’re having fun with the activity, you can take it a few steps further.
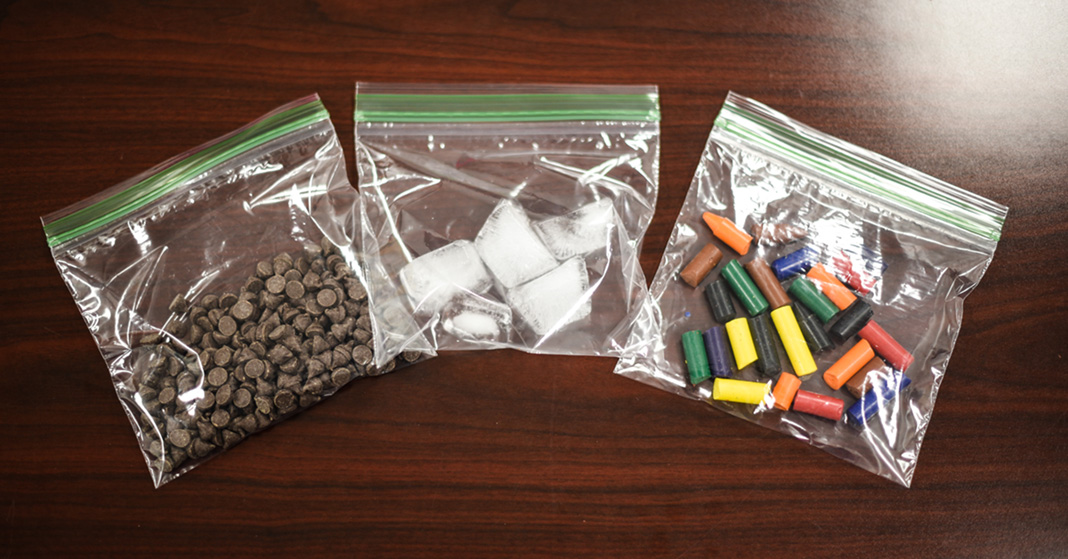
Materials Needed for States of Matter Activity
- Measuring spoon (1 Tbsp)
- Timer
- Sealable bags (3)
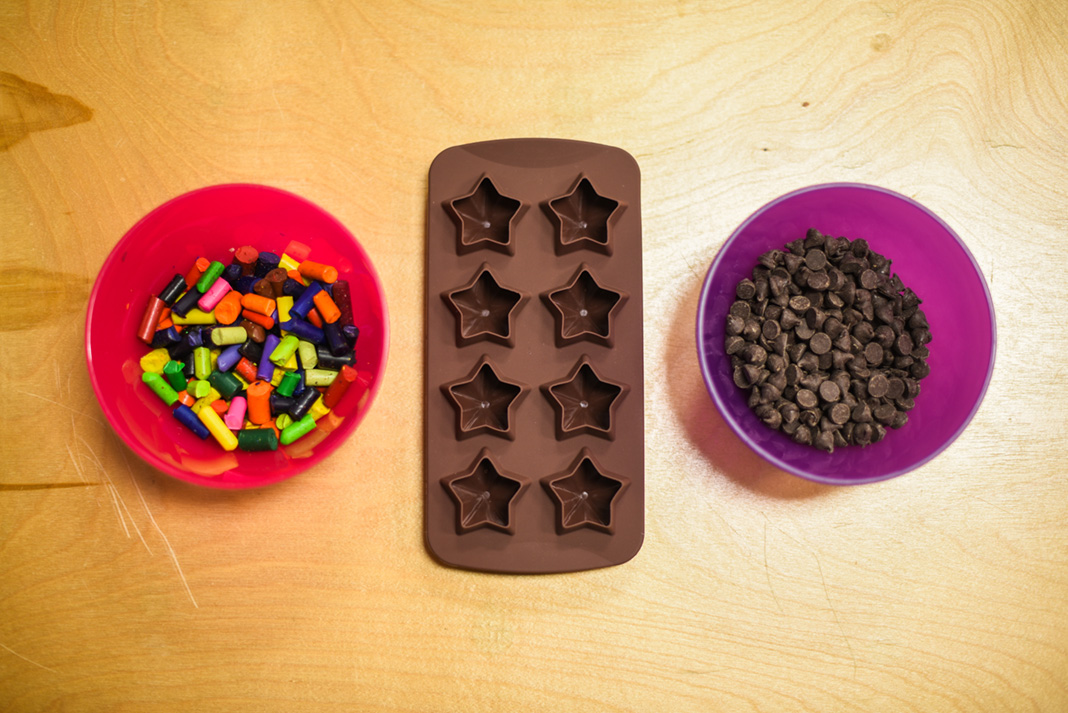
- Chocolate chips
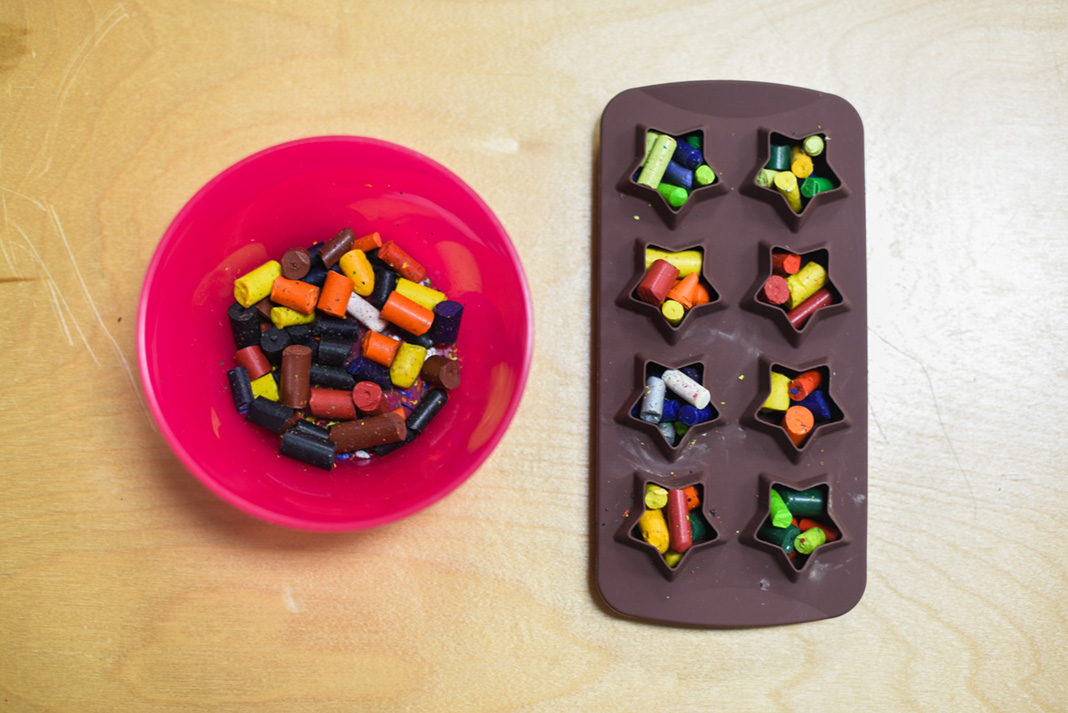
- Crayon pieces
- Ice chunks
- Parchment paper (optional)
- Oven or hair dryer (optional)
Instructions
- Have your child measure 1 Tbsp of chocolate chips into one of the sealable bags, 1 Tbsp of crayon pieces into the second bag, and 1 Tbsp of ice chunks into the third bag.
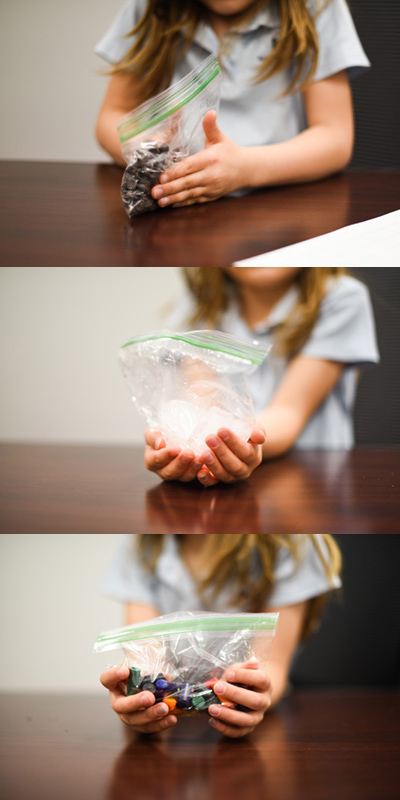
- Before he starts, ask him which he thinks will melt the fastest and record his prediction on the chart.
- After he starts the timer, have him take a bag in his hands and rub his hands together slightly to mix the contents of the bag. Stop the timer once what’s in the bag has noticeably changed. If nothing happens after two minutes, stop the timer and move on. Record how long it took for the contents of the bag to change.
- Repeat with the other two bags.
- Ask: “Which melted first? Was your prediction right? How did each solid change? If they’re no longer solids, what are they? Describe the liquids. Are they thin? Thick? Sticky?”
Optional: Take It a Step Further
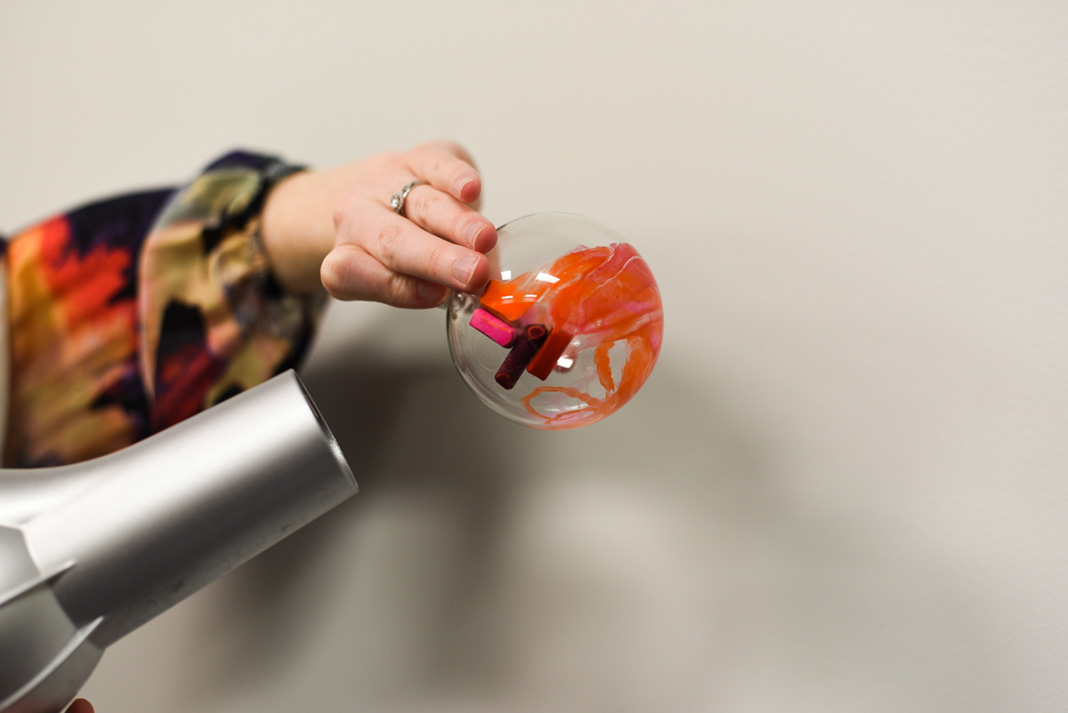
- Since crayons weren’t made to melt at skin temperature—otherwise they would be a parent’s worst nightmare—your child probably hasn’t succeeded in melting the crayons with his hands alone. Ask: “Why didn’t the crayons melt? What would make them melt?” Try out your child’s suggestions as appropriate (e.g., put the crayons on several layers of parchment paper on a cookie sheet in the oven or warm them with a hair dryer).
- Ask: “How could you turn the liquids back into solids?” Let him experiment with the chocolate chips and ice cubes in their bags and then record his results on the chart.
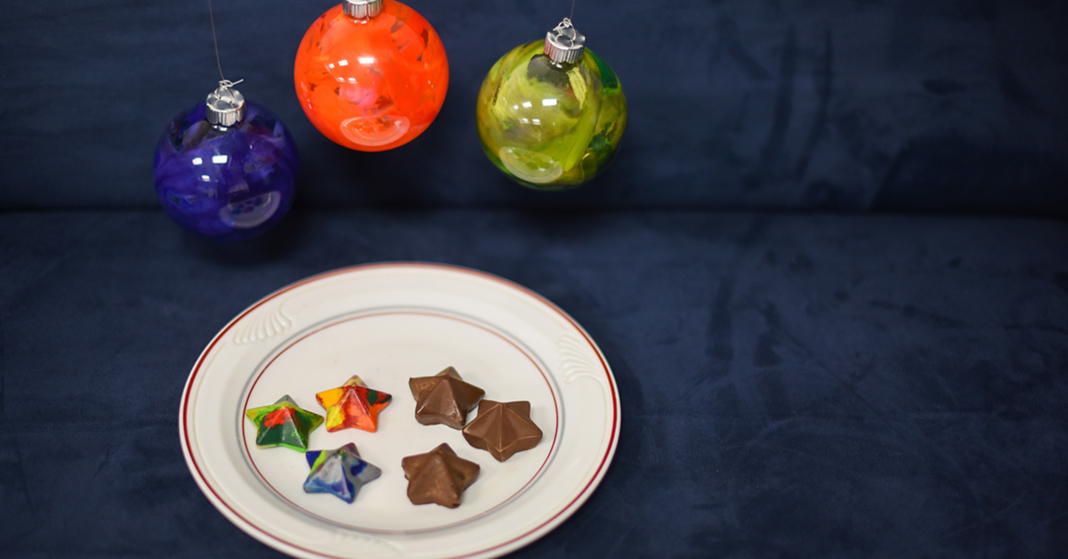
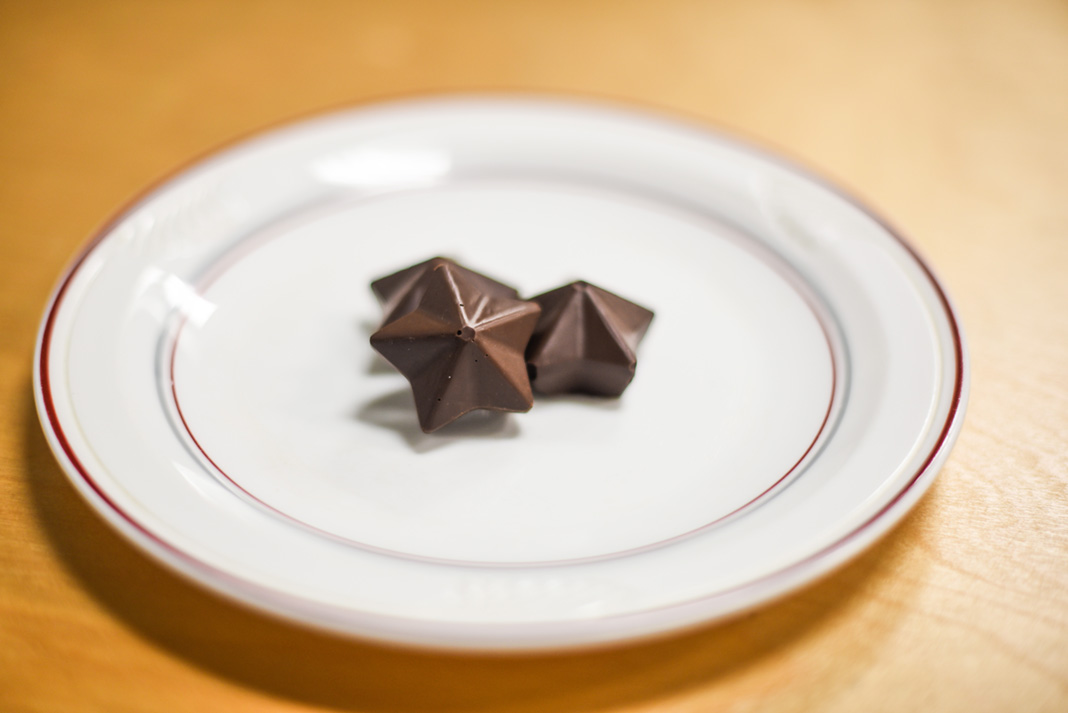
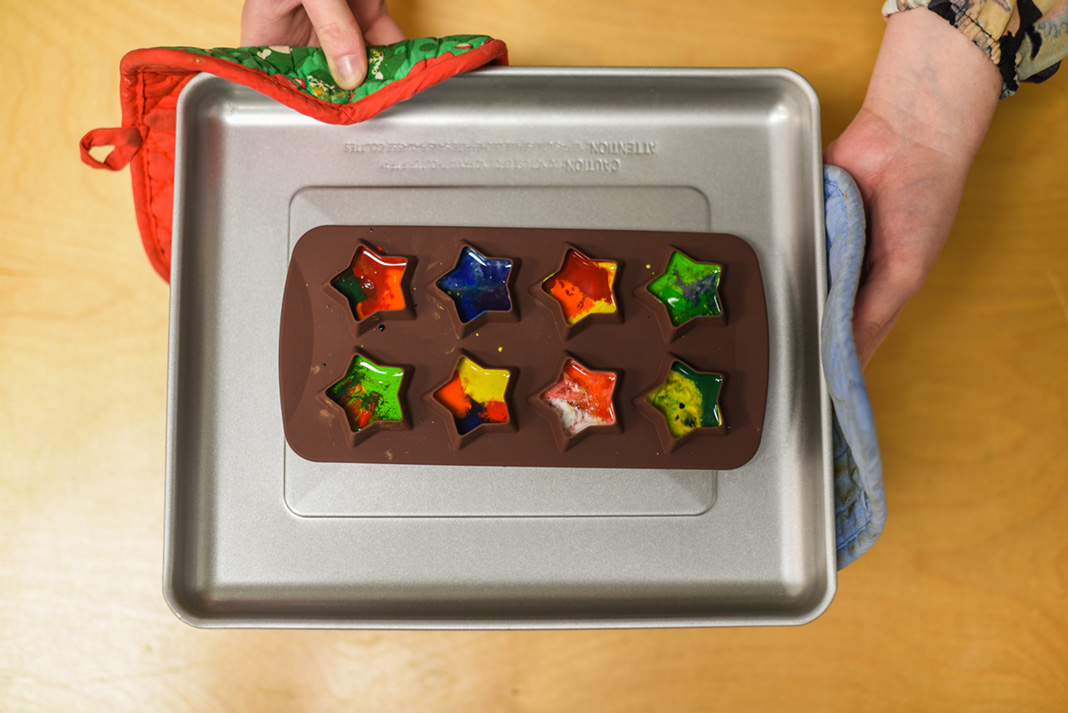
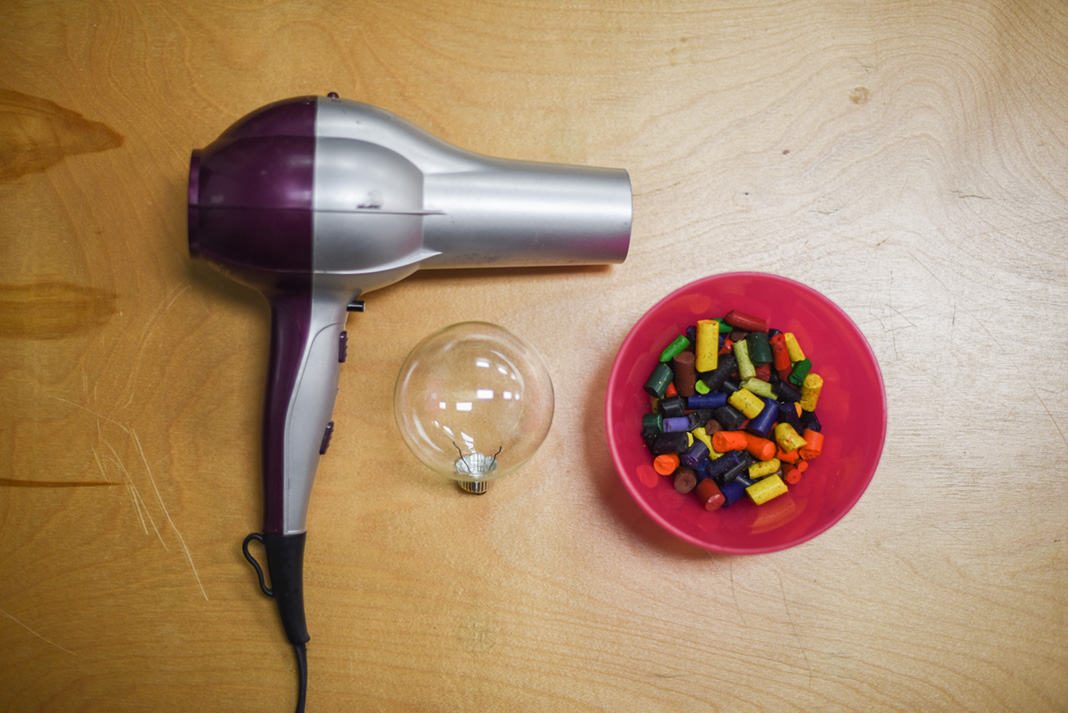
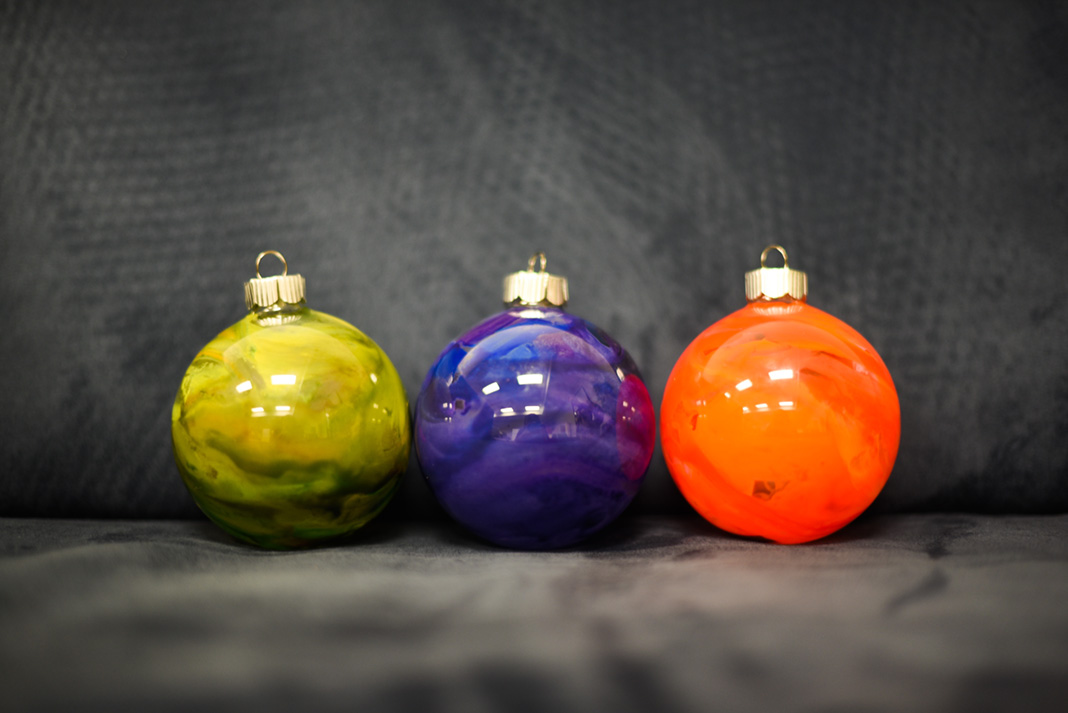
If you finish this project and find yourself with leftover melted ice, melted chocolate, and melted crayons, there are tons of other activities you could do with them. Maybe your kids would like to water a plant, make some candy, or do a crayon art project? Check out how we used our leftover bits in our blog post “Repurposing Leftover Crayons and Chocolate.”
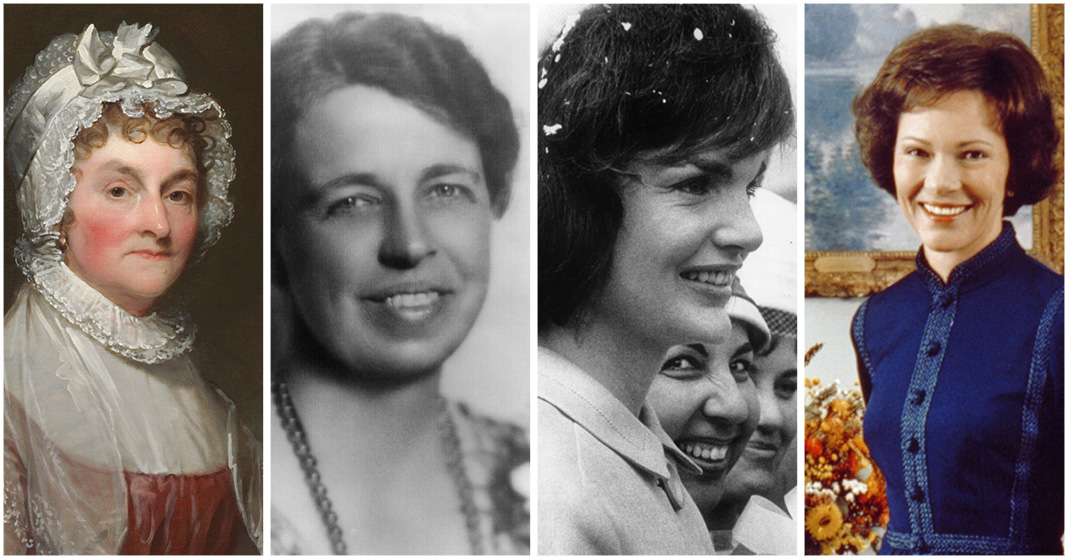 President’s Day is coming up in a few days, so now’s a good time to honor some of the lesser-known but no less influential people in American history—our First Ladies. While presidents often become a driving force for political changes, First Ladies have taken the lead in social changes. Though some of these women were reluctant to become leaders, God has His own plan for who will help lead a nation. In His sovereignty, many of our First Ladies have become influential, not just as presidential spouses, but as leaders themselves.