• Skip to primary navigation
  • Skip to main content
  • Skip to primary sidebar
  • Skip to footer

BJU Press Blog

  • Home
  • Shop
    • Shaping Worldview
  • Simplified Homeschool
  • Successful Learning

science activity

Experimenting with Insulation in Fifth Grade

May 3, 2018 by Jenna

insulation cover
If you’re like a lot of homeschool moms, you probably rely on your morning coffee or tea to get yourself going. Ever noticed that if you don’t finish it within ten minutes or so, it goes cold—unless you use an insulated cup or thermos? Insulation has become a key feature in our modern-day lives. It keeps our houses warm in winter and cool in summer. It keeps our refrigerators cold on the inside and not the outside. It’s also a part of God’s design in warm-blooded creatures that live in cold regions, such as polar bears and whales.

A great way for your fifth grader to understand how insulation works is to test different types of materials to see how well they insulate a warm substance. In this activity from the Science 5 Teacher’s Edition, you and your child will try to keep a cup of hot water warm.

Materials Needed for Insulation Activity

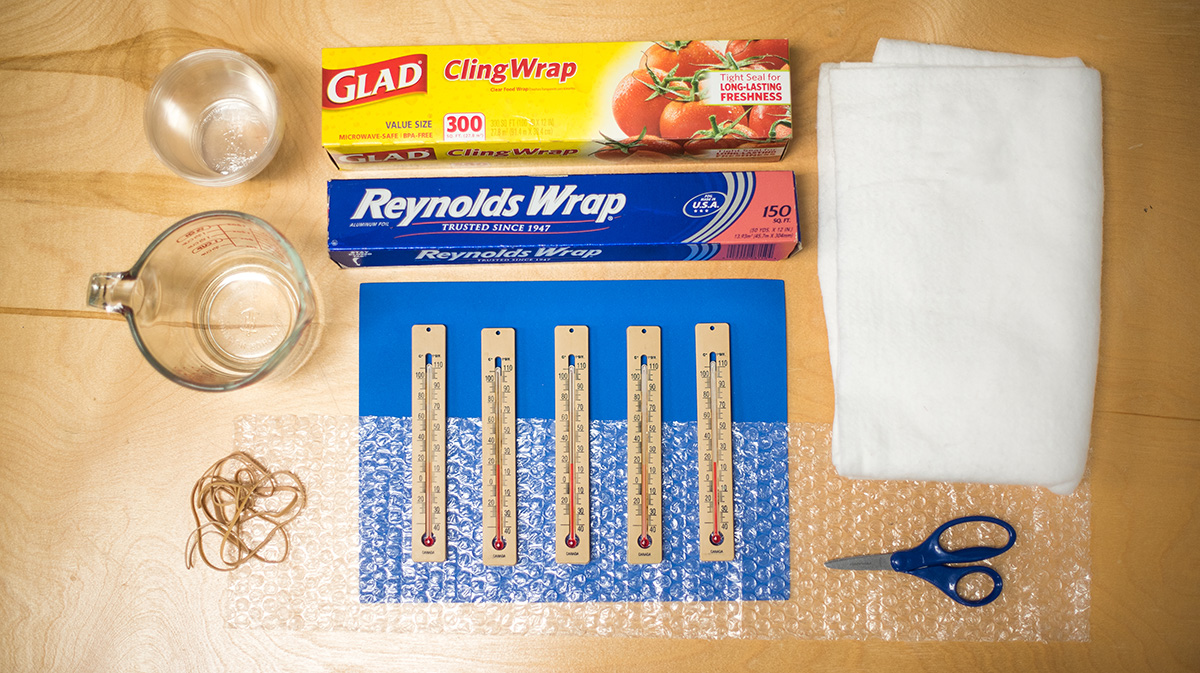
  • 5 plastic cups, 9 oz
  • Cotton batting, 1 square foot
  • Rubber bands, 5 or more
  • Craft foam, 1 sheet
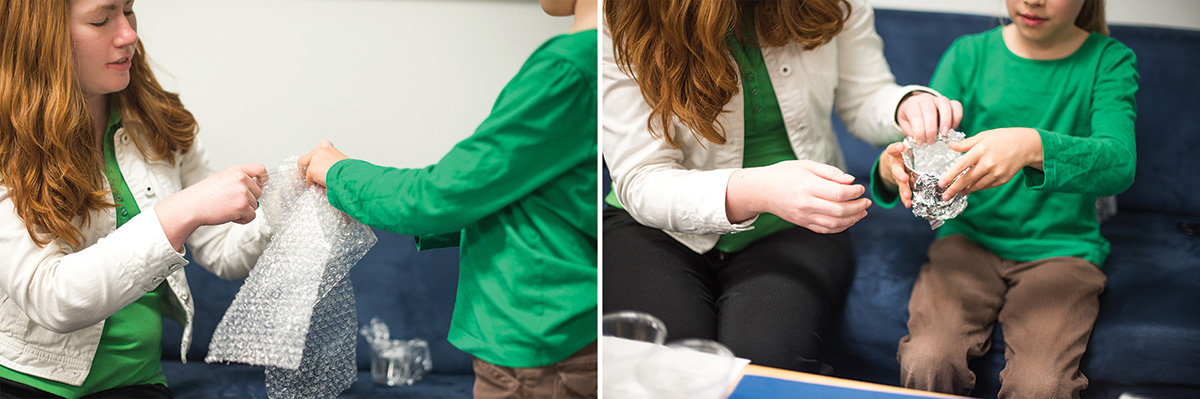
  • Bubble Wrap®, 1 square foot
  • Aluminum foil, 1 square foot
  • Hot water
  • 1 cup measuring cup
  • 5 thermometers
  • Plastic wrap, 1 roll
  • Insulation experiment printable
  • Ice water (optional)

insulation experiment materialsConducting the Experiment

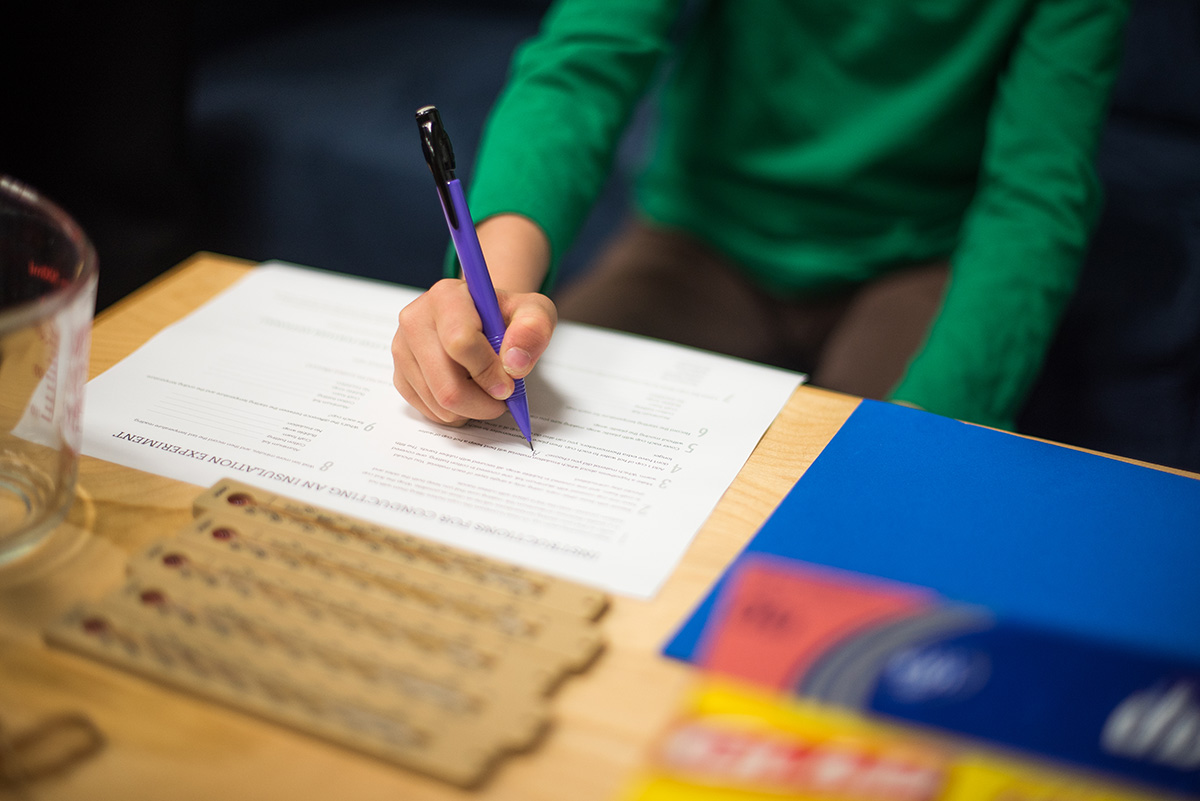
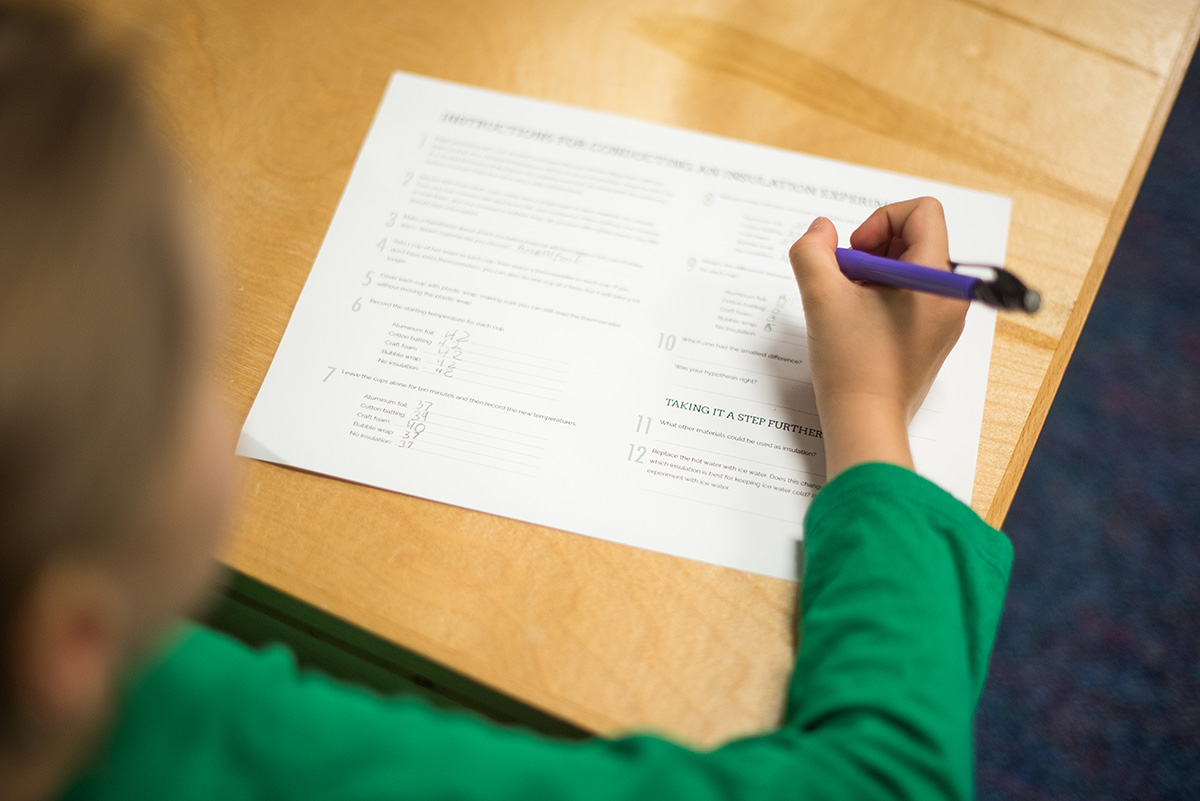
Direct your child to follow the directions on the handout, or give the following instructions orally.

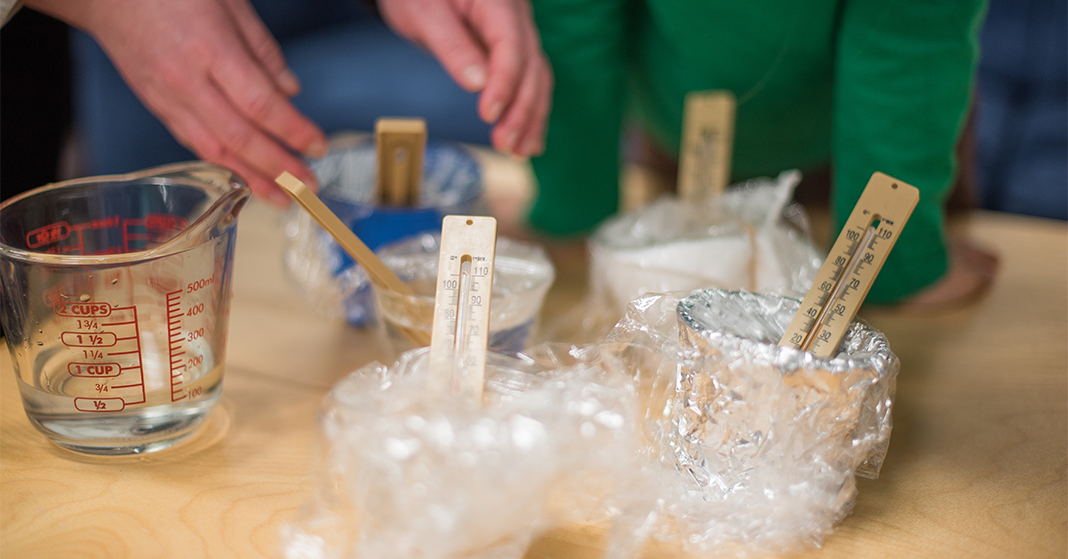
  1. Prepare four cups as follows (the fifth will have no insulation):
    (a) Wrap cotton batting around the first cup, making sure you cover the bottom as well. Use rubber bands to keep the insulating material in place. Position the rubber bands vertically rather than horizontally so they don’t slip off easily.
    (b) Wrap the second cup with craft foam the same way.
    (c) Use bubble wrap to insulate the third cup.
    (d) For the fourth cup, use a double thickness of aluminum foil. (Use two layers because foils is much thinner than the other materials.)
    It’s important to have all five cups ready before filling them with hot water so that the starting temperatures will be practically the same.insulation cutting materialsinsulation covering cups
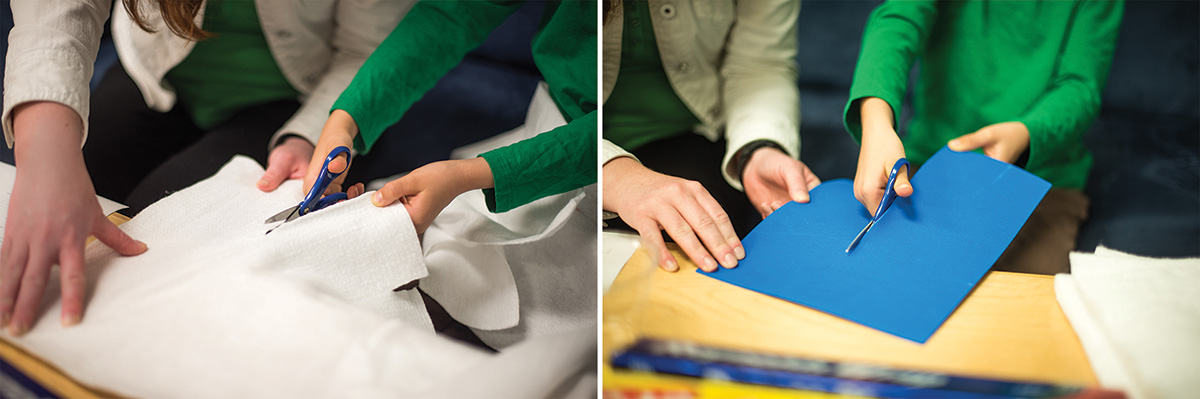
  2. Now predict which insulation material will best keep water in the cup hot. Write your answer on the handout.
  3.  Carefully pour 1 cup of hot water into each cup, and then put a thermometer in each cup. (If you only have one thermometer, you can do one cup at a time, but it will take a lot longer.)insulation handoutinsulation thermometer
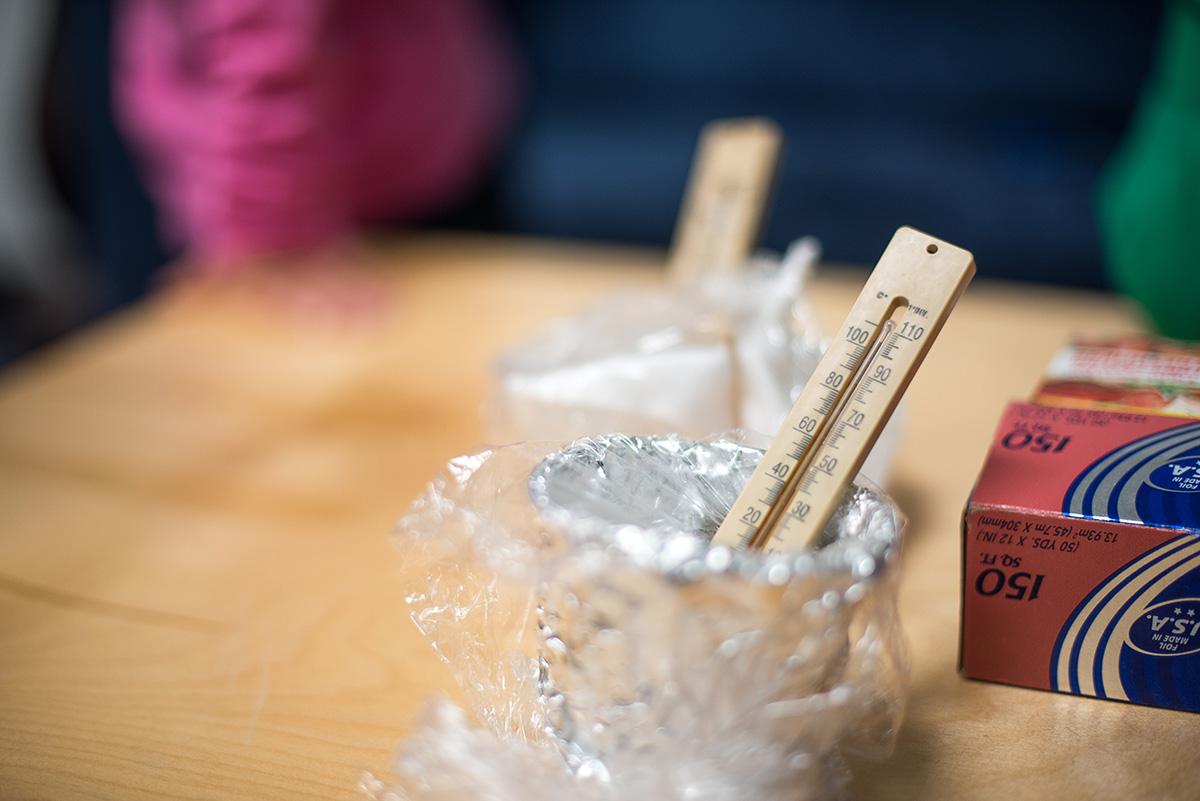
  4. Cover each cup with plastic wrap, making sure you can still read the thermometer without removing the plastic wrap.
  5. Record the starting temperature for each cup.
  6. Leave the cups alone for ten minutes and then record the new temperatures. Wait ten more minutes, and then take one more temperature reading.
  7. Substract to figure out the difference between the starting temperature and the ending temperature for each cup. Record these numbers, and decide which one had the smallest difference. Was your hypothesis right?

insulation finishing handoutTaking It Further (Optional)

  1. List other materials that could be used as insulation. Predict how well each would work.
  2. Repeat the the experiment with ice water. Does this change your hypothesis? If so, which insulation is best for keeping ice water cold?

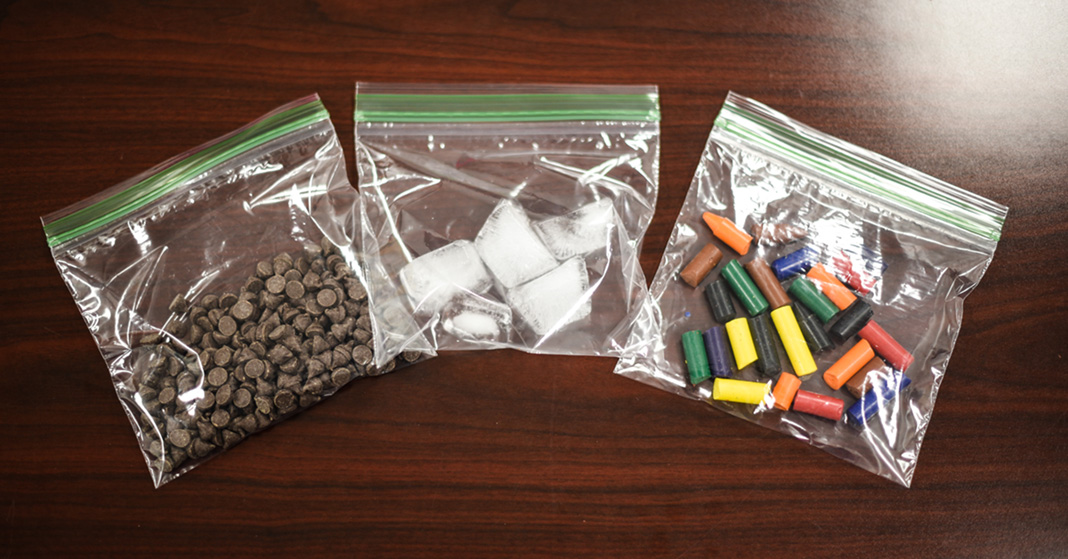
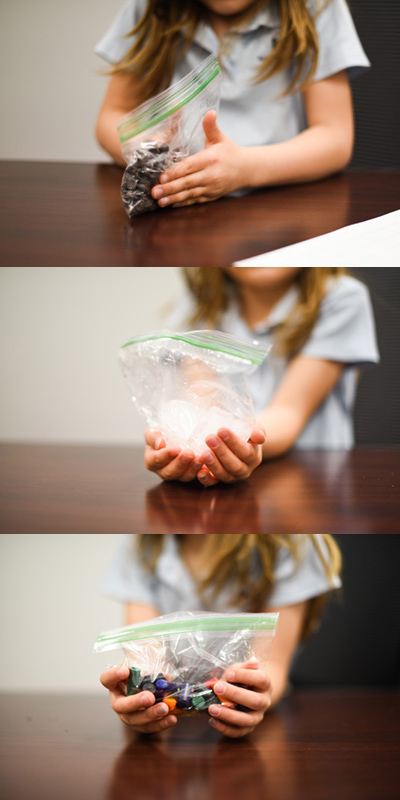
This experiment is a great way to introduce your child to STEM activities since engineers and designers frequently rely on the principles your child is learning to create better products and materials. If we were going to make a thermos to keep hot chocolate hot—or cold milk cold—what should we make it out of?

If you’d like to see how this activity could work on the high school level, check out the Build a Better Thermos activity and the accompanying teacher’s guide.

Filed Under: Successful Learning Tagged With: homeschool science, insulation, science activity, STEM

Activity: Changing the States of Matter

February 8, 2018 by Jenna

States of matter samples
As adults, we often forget that our experiences have helped us understand how God’s creation works. Your children are still looking for those experiences.

For example, how many of us have heard about a child who has misheard a hymn so that the lyrics don’t make any sense? Children may hear “when the roll is called a pyonder,” “bringing in the sheets,” or even “low in the gravy lay.” They only need to understand the meaning once, and then the words will make sense to them. But until that happens, they will often accept the wrong lyrics without question. Similarly, they may accept that everything is matter without understanding how any of it works. Experiencing the changing states of matter helps the knowledge fall into place and become comprehension.

states of matter materialsThis activity from the Science 2 Student Text gives your child an opportunity to both see and feel the change. And, if you’re having fun with the activity, you can take it a few steps further.

Materials Needed for States of Matter Activity

  • Printable observation chart
  • Measuring spoon (1 Tbsp)
  • Timer
  • Sealable bags (3)
  • Chocolate chips
  • Crayon pieces
  • Ice chunks
  • Parchment paper (optional)
  • Oven or hair dryer (optional)

Instructions

  1. Print out instruction sheet and chart printable.
  2. Have your child measure 1 Tbsp of chocolate chips into one of the sealable bags, 1 Tbsp of crayon pieces into the second bag, and 1 Tbsp of ice chunks into the third bag.
  3. Before he starts, ask him which he thinks will melt the fastest and record his prediction on the chart.
  4. After he starts the timer, have him take a bag in his hands and rub his hands together slightly to mix the contents of the bag. Stop the timer once what’s in the bag has noticeably changed. If nothing happens after two minutes, stop the timer and move on. Record how long it took for the contents of the bag to change.
  5. Repeat with the other two bags.
  6. Ask: “Which melted first? Was your prediction right? How did each solid change? If they’re no longer solids, what are they? Describe the liquids. Are they thin? Thick? Sticky?”

Optional: Take It a Step Further

  1. Since crayons weren’t made to melt at skin temperature—otherwise they would be a parent’s worst nightmare—your child probably hasn’t succeeded in melting the crayons with his hands alone. Ask: “Why didn’t the crayons melt? What would make them melt?” Try out your child’s suggestions as appropriate (e.g., put the crayons on several layers of parchment paper on a cookie sheet in the oven or warm them with a hair dryer). [Note: Please refer to the guidelines from Crayola™ (or other manufacturer) for Craft Safety before melting crayons.]
  2. Ask: “How could you turn the liquids back into solids?” Let him experiment with the chocolate chips and ice cubes in their bags and then record his results on the chart.

If you finish this project and find yourself with leftover melted ice, melted chocolate, and melted crayons, there are tons of other activities you could do with them. Maybe your kids would like to water a plant, make some candy, or do a crayon art project? Check out how we used our leftover bits in our blog post “Repurposing Leftover Crayons and Chocolate.”

Save

Save

Save

Save

Save

Save

Save

Save

Save

Filed Under: Successful Learning Tagged With: homeschool science, liquids, science activity, solids, states of matter

Repurposing Leftovers: Crayons and Chocolate

February 8, 2018 by Jenna

repurposing leftovers crayons and chocolate
If you decide to do the changing states of matter activity with your children, you may find yourself with leftover bits of crayon and chocolate. You could throw it all away and move on, but some of us have the old adage “waste not, want not” echoing in our heads. Here are some great ideas for repurposing leftovers with chocolate chips and crayon pieces.

repurposing leftovers materials

Make Chocolate Candies 

Materials

  • Silicone mold
  • Leftover chocolate chips
  • Microwave
  • Microwave-safe bowl
  • Refrigerator

We had a lot of fun melting our leftover chocolate chips and pouring them into a silicone mold to harden. Making chocolate candies is one of the easiest, and tastiest, kitchen activities that little ones can help with. Simply heat the chocolate in the microwave for about 1 minute, stir, then continue heating it for much shorter intervals (15–20 seconds), stirring frequently until it melts completely. Be careful not to burn it, or the chocolate will seize. Pour the melted chocolate into your mold, and then refrigerate it for 20 minutes or until chocolate no longer looks glossy.

If you want to make candies, you can also explore a fascinating area of food science called tempering chocolate with older children. As you probably know, tempered chocolate has a glossy look. It also has a crisp snap when it breaks and a higher melting temperature. The science behind tempered chocolate may seem complicated, but it all boils down to getting all the fats to bind together in the same way by using both heat and motion. When it cools, the structure of the fats will be stronger and more like a coiled rope than a jumbled mess. You can temper chocolate in a microwave, but it’s best done using a double boiler.

repurposing leftovers chocolate

Make Your Own Recycled Crayons

Materials

  • Silicone mold
  • Baking sheet
  • Small crayon pieces
  • Oven or toaster oven

Once we finished the chocolates, we were able to clean out our mold to make recycled rainbow crayons. This process is even easier than making chocolate candies. Set your mold on a baking sheet, fill it with your crayon bits—making sure they aren’t too big—and bake in the oven for 15 minutes at 230°, or until the crayons are fully melted. We also found that you can use a toaster oven. [Note: Please refer to the guidelines from Crayola™ (or other manufacturer) for Craft Safety before melting crayons.]

repurposing leftovers crayons
repurposing leftovers crayons melted

Make Christmas Ornaments

Materials

  • Crayon pieces
  • Clear glass Christmas ornaments
  • Hair dryer

Who says you can make Christmas ornaments only during the Christmas season? For this project, take a clear glass Christmas ornament and drop several crayon pieces inside. Heat the crayons through the glass with a blow dryer while turning the ornament to spread the colors. You may want to hold the ornament with an oven mitt since you may have to keep the blow dryer on high heat to get the crayons to melt. Mixing colors can turn a simple clear globe into a planet. Ours turned out looking something like Mars, Neptune, and Earth without water. You could even add glitter and make it look like a galaxy. With resourcefulness and creativity, the possibilities are endless!

How did you use your leftover bits? Share with us on our Facebook or Instagram page (tag @bjupresshomeschool) with the hashtag #RepurposingCrafts. We’d love to see your ideas!

repurposing leftovers crayon ornaments
repurposing leftovers crayon melting ornament
repurposing leftovers finished ornaments

Filed Under: Successful Learning Tagged With: chocolate, Christmas ornaments, crayons, food science, homeschool science, recycled crayons, science activity

First-Grade Weather Report Activity

January 18, 2018 by Jenna

weather report printable
Weather reports are a key part of our modern society. How many of us start each day with our Bibles, breakfast, and a quick check of the day’s weather report?

We rely on God’s Word to help direct us through the decisions we make from day to day. But we also rely on tools God has given us, such as meteorology, to make more informed choices. For instance, should you take an umbrella or wear a coat? These choices often won’t make the difference between pleasing God and succumbing to sin, but they help us stay healthy, safe, and on time.

This weather reporting activity includes a fun printable to help children use what they’ve learned in the lessons about weather and to be more aware of how weather affects choices. If you’d like to share your child’s weather report, we’d love to see it!

weather report materials
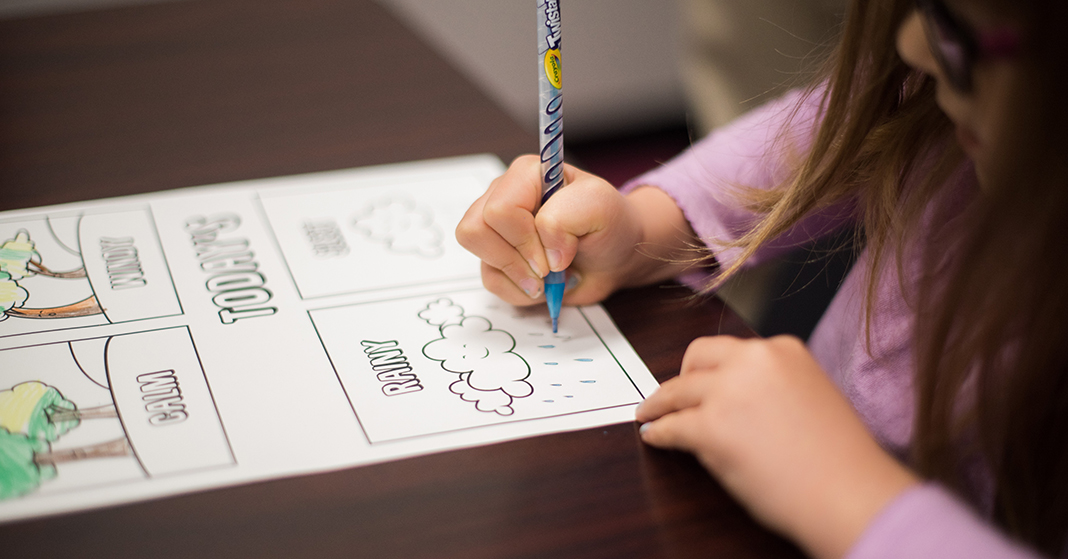
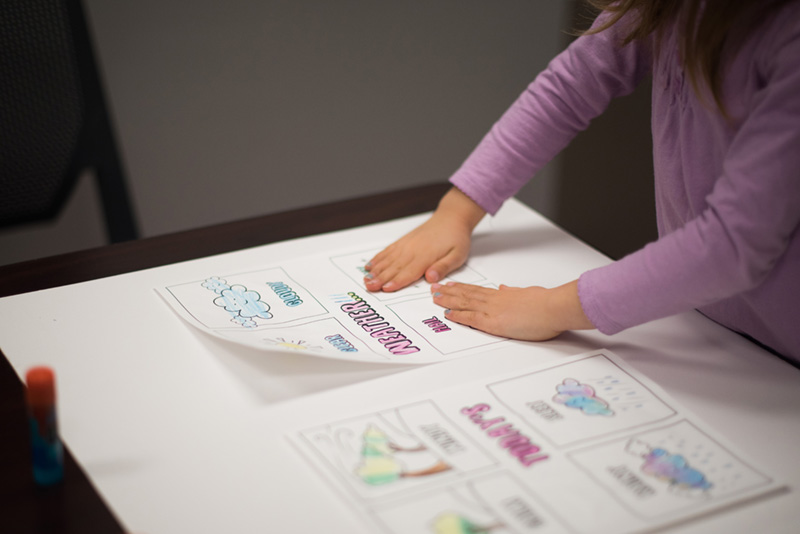
Materials for a weather report
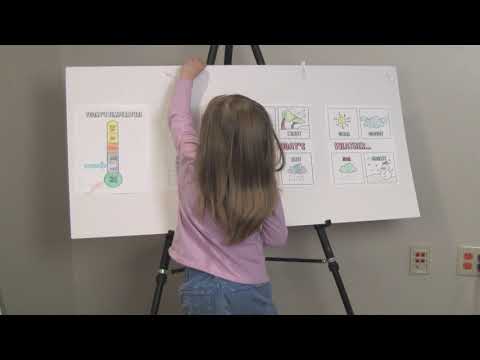
  • Printable weather sheets
  • Crayons, markers, or colored pencils
  • Glue or tape
  • Sticky putty
  • Sticky notes
  • Scissors
  • Posterboard or corkboard
  • Video recorder

weather report coloringInstructions

  1. Print out weather sheets and allow your child to color them as much as desired. You could use this time to talk about what was presented in the lessons, or just enjoy the time together.
  2. Cut out and color movable arrows.
  3. Use glue or tape to stick weather sheets to your board. We used a posterboard and glue. You may also choose to use a corkboard and thumb tacks, or you could even laminate your weather sheets so they last longer.
  4. Look up the day’s weather on a trusted weather channel. Have your child note the day’s temperature, wind speed, and the conditions.weather report sticking
  5. Stage and record a weather report. Use the arrows to mark the approximate temperature, the day and month, the windiness, and the applicable conditions. We used sticky putty so we can move the arrows around and sticky notes for the day’s number so it can be changed out. The report should include advice based on the weather conditions. What kind of activity is it a good day for? Is it a good day for a picnic, or should you go puddle jumping instead? Will it be snowy enough to build a snowman or windy enough to fly a kite?

Filed Under: Successful Learning Tagged With: science activity, weather repot, wise choices

Primary Sidebar

As parents, teachers, or former homeschool students, we are passionate about homeschooling from a biblical worldview. We hope these teaching tips, fun activities, and inspirational stories support you in teaching your children.

Email Signup

Sign up for our homeschool newsletter and receive select blog posts, discounts, and more right to your inbox!

Connect with Us!

                    Instagram     

Read Posts on Specific Subjects

Early Learning
Foreign Language
History
Language Arts
Math
Science

Footer

Disclaimer

The BJU Press blog publishes content by different writers for the purpose of relating to our varied readers. Views and opinions expressed by these writers do not necessarily state or reflect the views of BJU Press or its affiliates. The fact that a link is listed on this blog does not represent or imply that BJU Press endorses its site or contents from the standpoint of ethics, philosophy, theology, or scientific hypotheses. Links are posted on the basis of the information and/or services that the sites offer. If you have comments, suggestions, questions, or find that one of the links no longer works, please contact us.

Pages

  • About BJU Press
  • Conversation Guidelines
  • Terms of Use & Copyright

Archives

© 2025 · BJU Press Homeschool