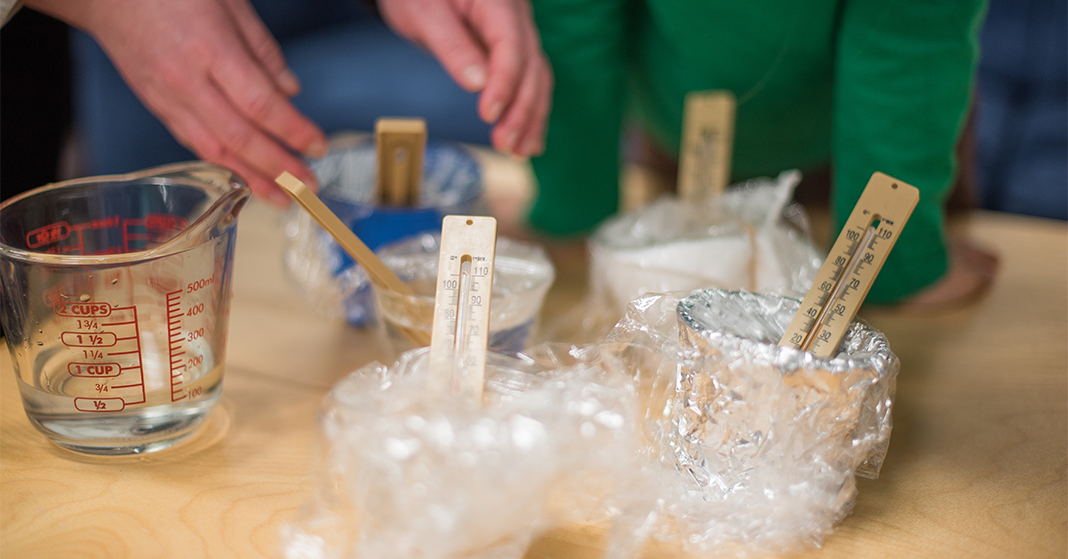
If you’re like a lot of homeschool moms, you probably rely on your morning coffee or tea to get yourself going. Ever noticed that if you don’t finish it within ten minutes or so, it goes cold—unless you use an insulated cup or thermos? Insulation has become a key feature in our modern-day lives. It keeps our houses warm in winter and cool in summer. It keeps our refrigerators cold on the inside and not the outside. It’s also a part of God’s design in warm-blooded creatures that live in cold regions, such as polar bears and whales.
A great way for your fifth grader to understand how insulation works is to test different types of materials to see how well they insulate a warm substance. In this activity from the Science 5 Teacher’s Edition, you and your child will try to keep a cup of hot water warm.
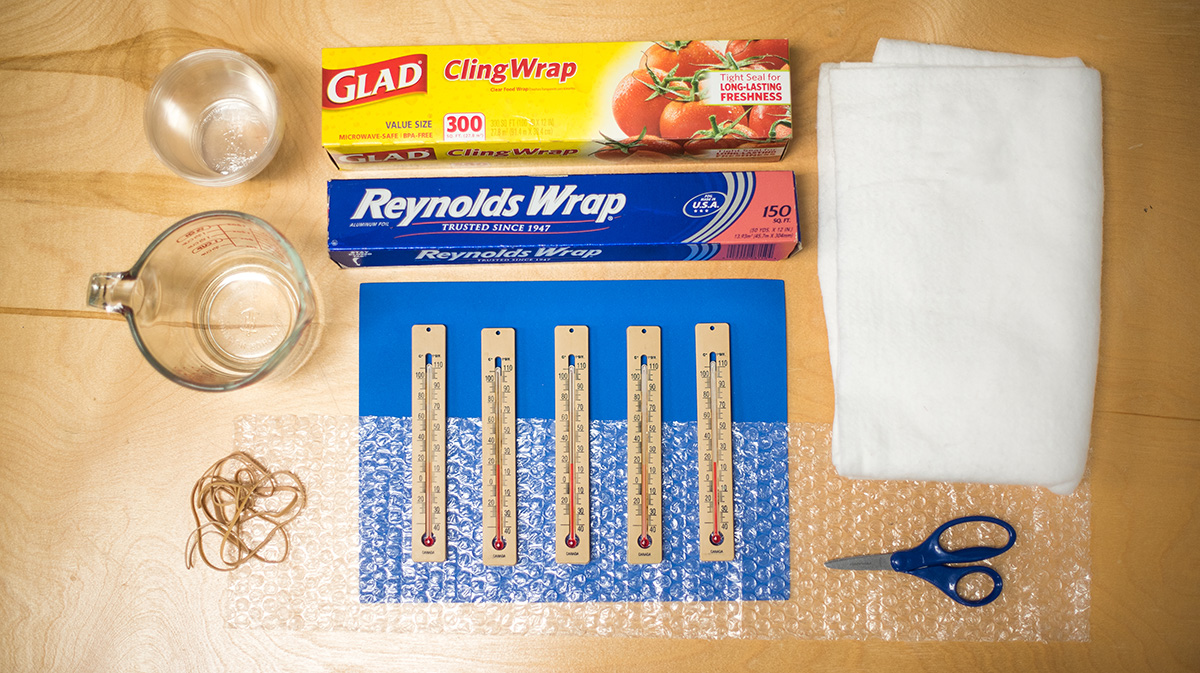
Materials Needed for Insulation Activity
- 5 plastic cups, 9 oz
- Cotton batting, 1 square foot
- Rubber bands, 5 or more
- Craft foam, 1 sheet
- Bubble Wrap®, 1 square foot
- Aluminum foil, 1 square foot
- Hot water
- 1 cup measuring cup
- 5 thermometers
- Plastic wrap, 1 roll
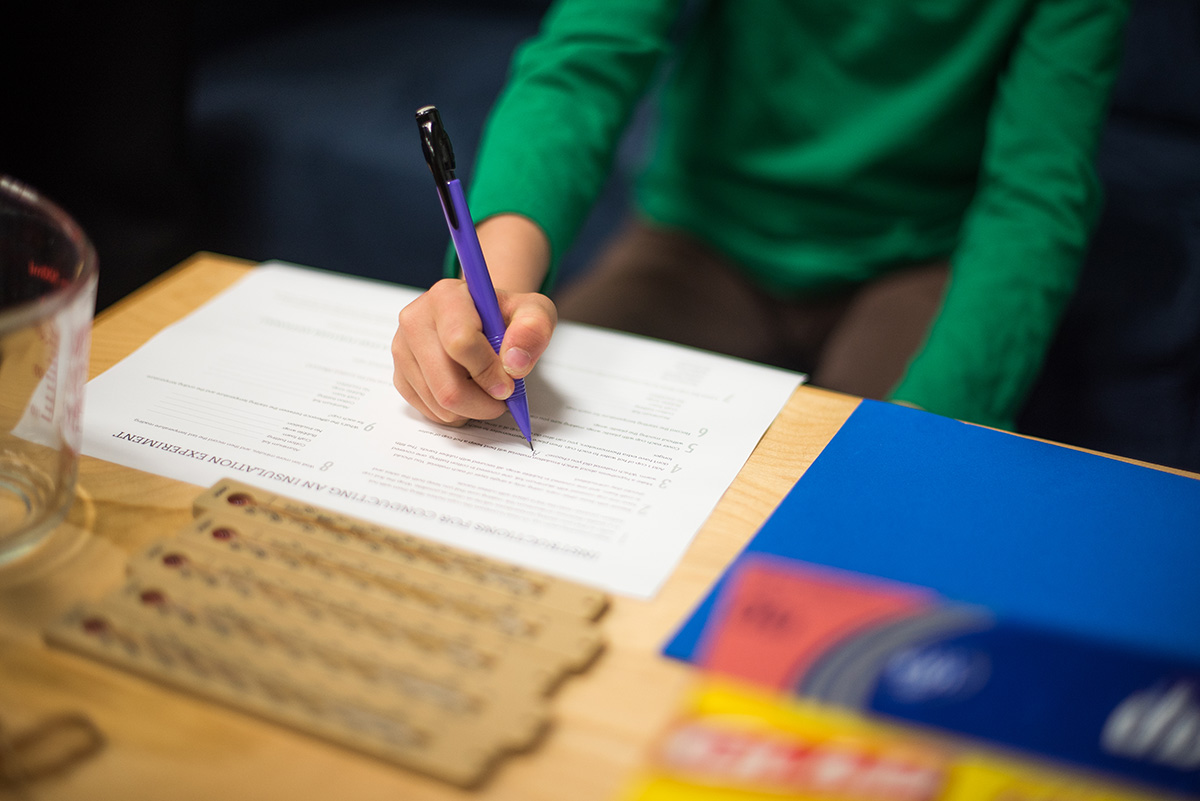
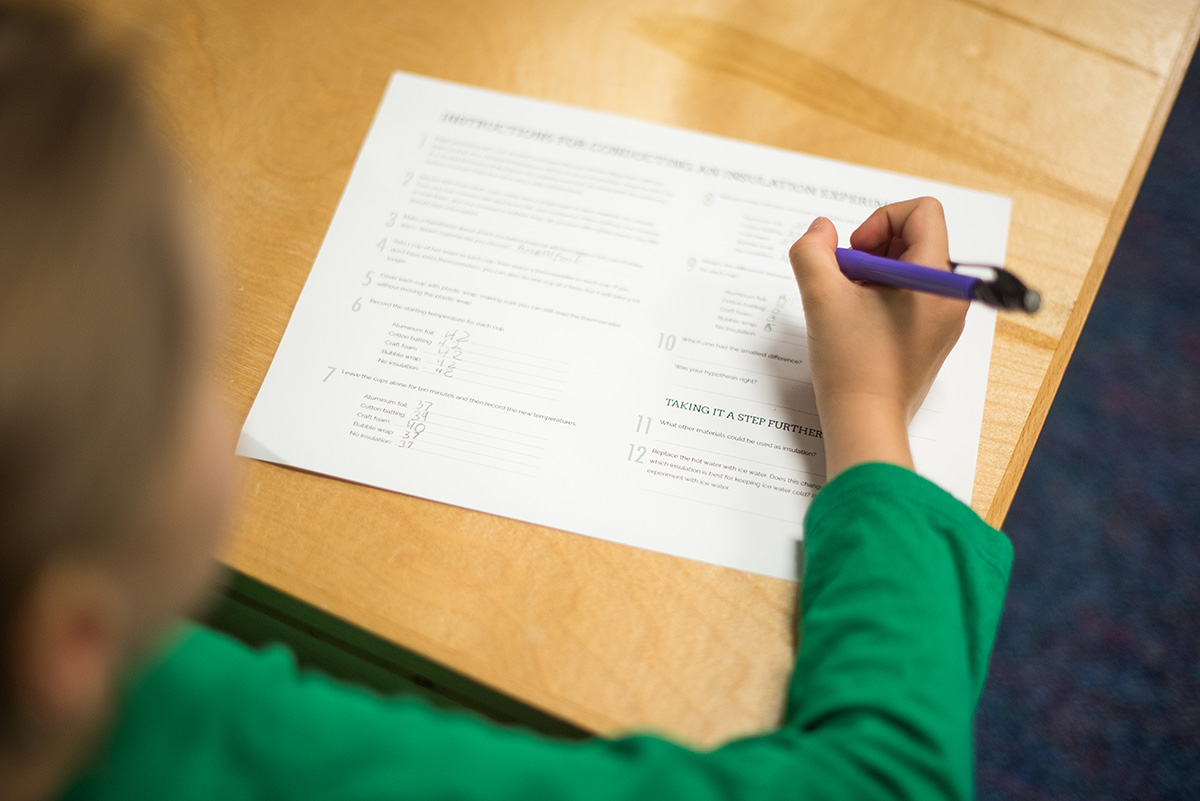
- Insulation experiment printable
- Ice water (optional)
 Conducting the Experiment
Direct your child to follow the directions on the handout, or give the following instructions orally.
- Prepare four cups as follows (the fifth will have no insulation):
(a) Wrap cotton batting around the first cup, making sure you cover the bottom as well. Use rubber bands to keep the insulating material in place. Position the rubber bands vertically rather than horizontally so they don’t slip off easily.
(b) Wrap the second cup with craft foam the same way.
(c) Use bubble wrap to insulate the third cup.
(d) For the fourth cup, use a double thickness of aluminum foil. (Use two layers because foils is much thinner than the other materials.)
It’s important to have all five cups ready before filling them with hot water so that the starting temperatures will be practically the same.

- Now predict which insulation material will best keep water in the cup hot. Write your answer on the handout.
- Carefully pour 1 cup of hot water into each cup, and then put a thermometer in each cup. (If you only have one thermometer, you can do one cup at a time, but it will take a lot longer.)
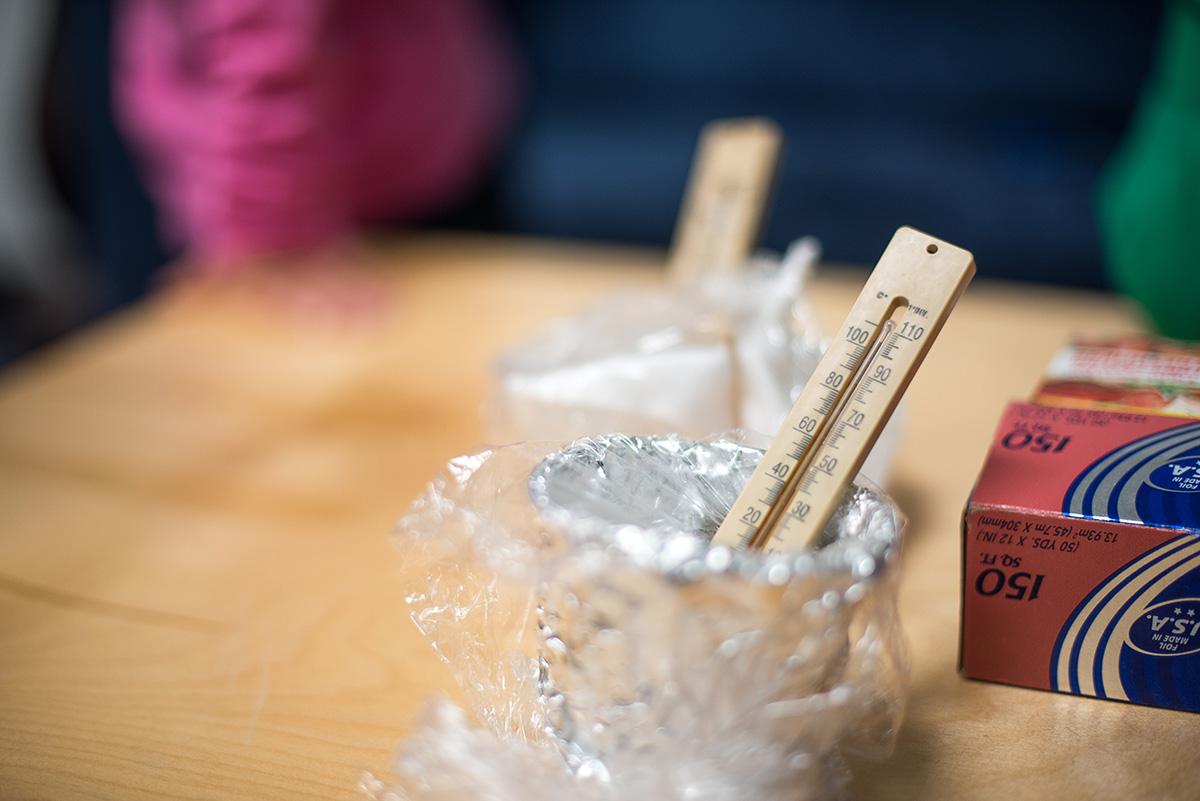
- Cover each cup with plastic wrap, making sure you can still read the thermometer without removing the plastic wrap.
- Record the starting temperature for each cup.
- Leave the cups alone for ten minutes and then record the new temperatures. Wait ten more minutes, and then take one more temperature reading.
- Substract to figure out the difference between the starting temperature and the ending temperature for each cup. Record these numbers, and decide which one had the smallest difference. Was your hypothesis right?
 Taking It Further (Optional)
- List other materials that could be used as insulation. Predict how well each would work.
- Repeat the the experiment with ice water. Does this change your hypothesis? If so, which insulation is best for keeping ice water cold?
This experiment is a great way to introduce your child to STEM activities since engineers and designers frequently rely on the principles your child is learning to create better products and materials. If we were going to make a thermos to keep hot chocolate hot—or cold milk cold—what should we make it out of?
If you’d like to see how this activity could work on the high school level, check out the Build a Better Thermos activity and the accompanying teacher’s guide.
Leave a Reply