
If you’ve read any educational articles about teaching math, you may have come across the term automaticity. It may seem like a scary word, but it’s not. It simply refers to the ability to do something without thinking about it, or automatically. In math, it most often refers to the ability to use basic math facts without thinking about them. So when solving 5 + 5, you don’t have to count up the fingers on your left hand and the fingers on your right hand to make 10. You just know that 5 + 5 equals 10. Math automaticity isn’t scary at all, right?
But how do you bring your children to the point where they are demonstrating math automaticity? As with most subjects, learning math is a process. Working their way through the process guides them towards automaticity.
Start Early to Develop Number Sense
Most children begin developing number sense early—before kindergarten. The BJU Press K3, K4, and K5 materials use songs, number games, and other activities to help children develop an early sense of math. Having your children participate in board games and dice games while they’re still very young also helps them develop number sense. These early stages are crucial in your child’s development. Studies show that early math and number skills (even more than reading skills) predict how well a child will perform academically later on.
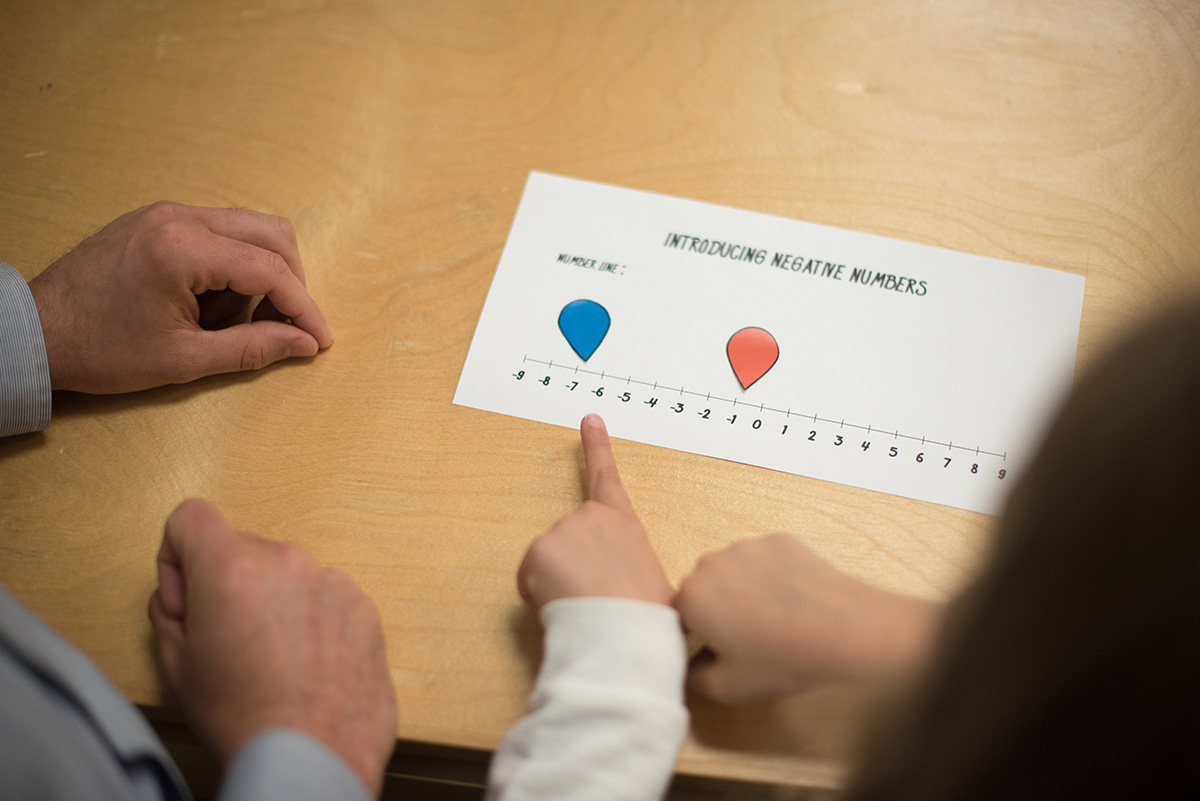
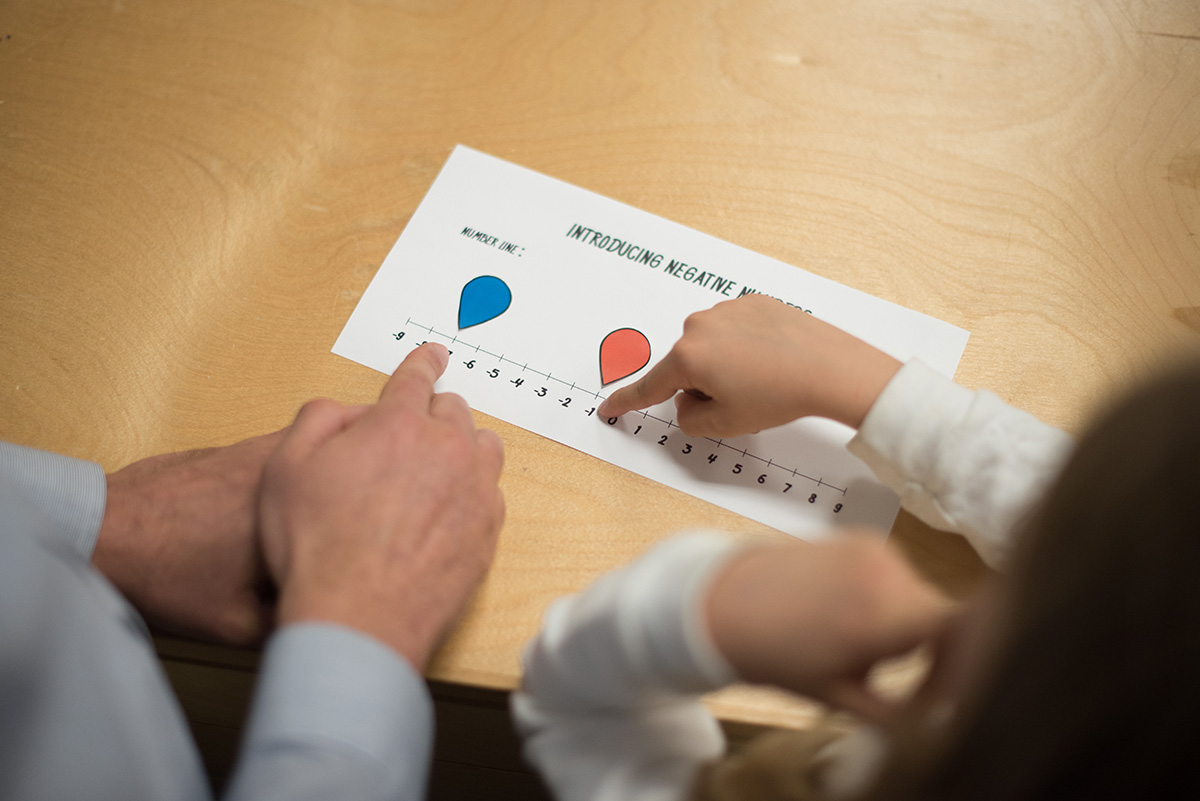
Add Manipulatives
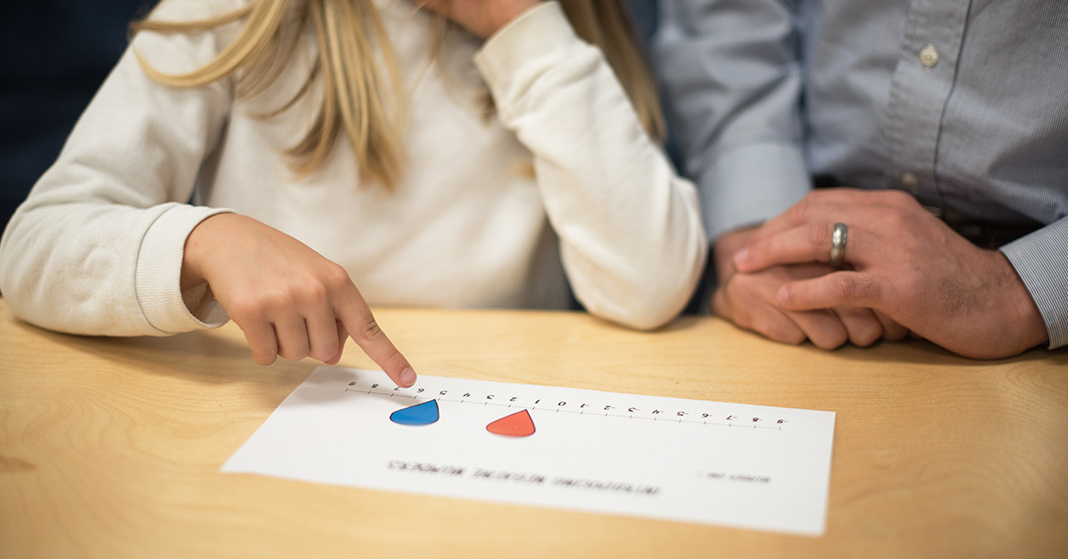
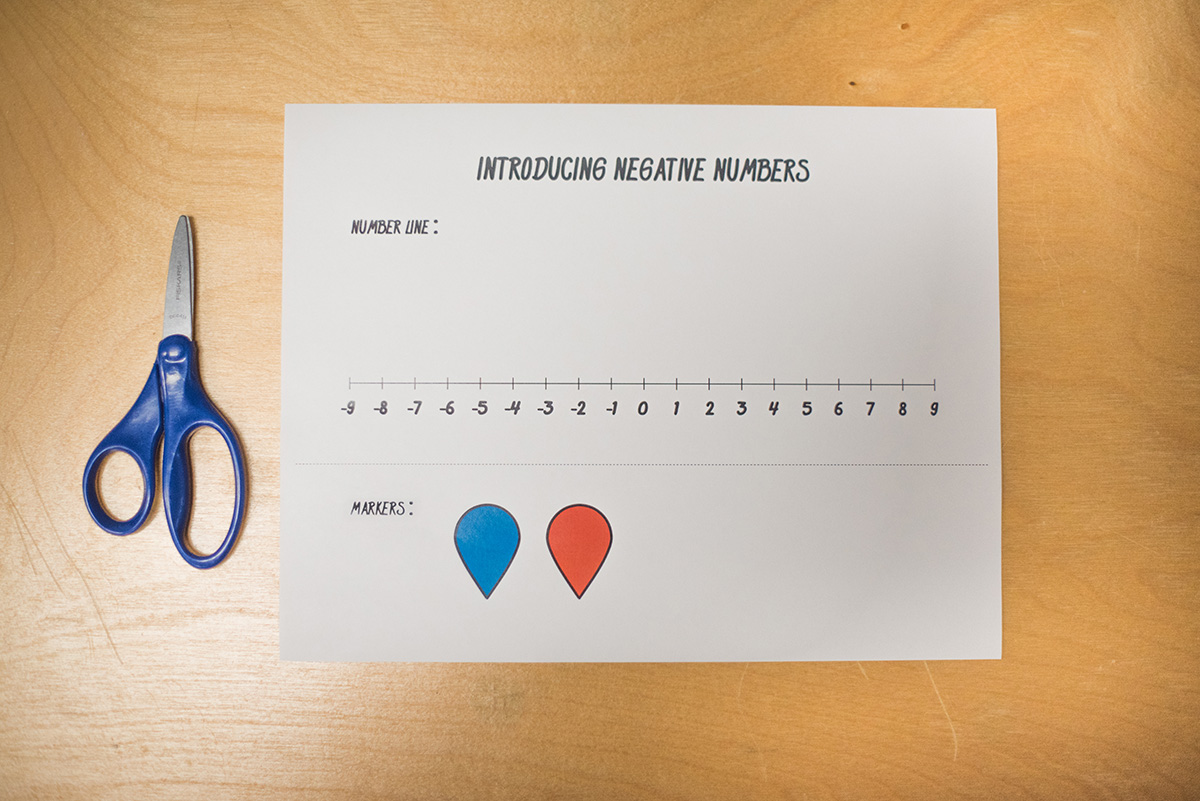
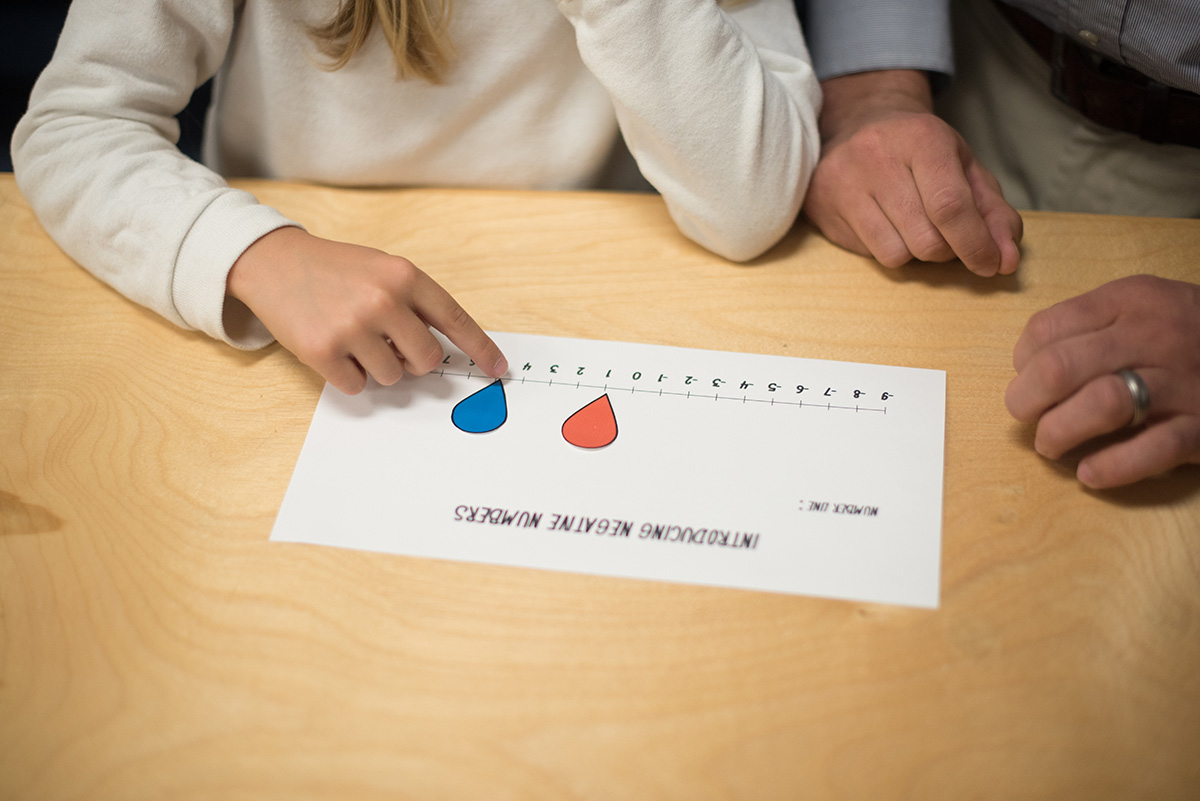
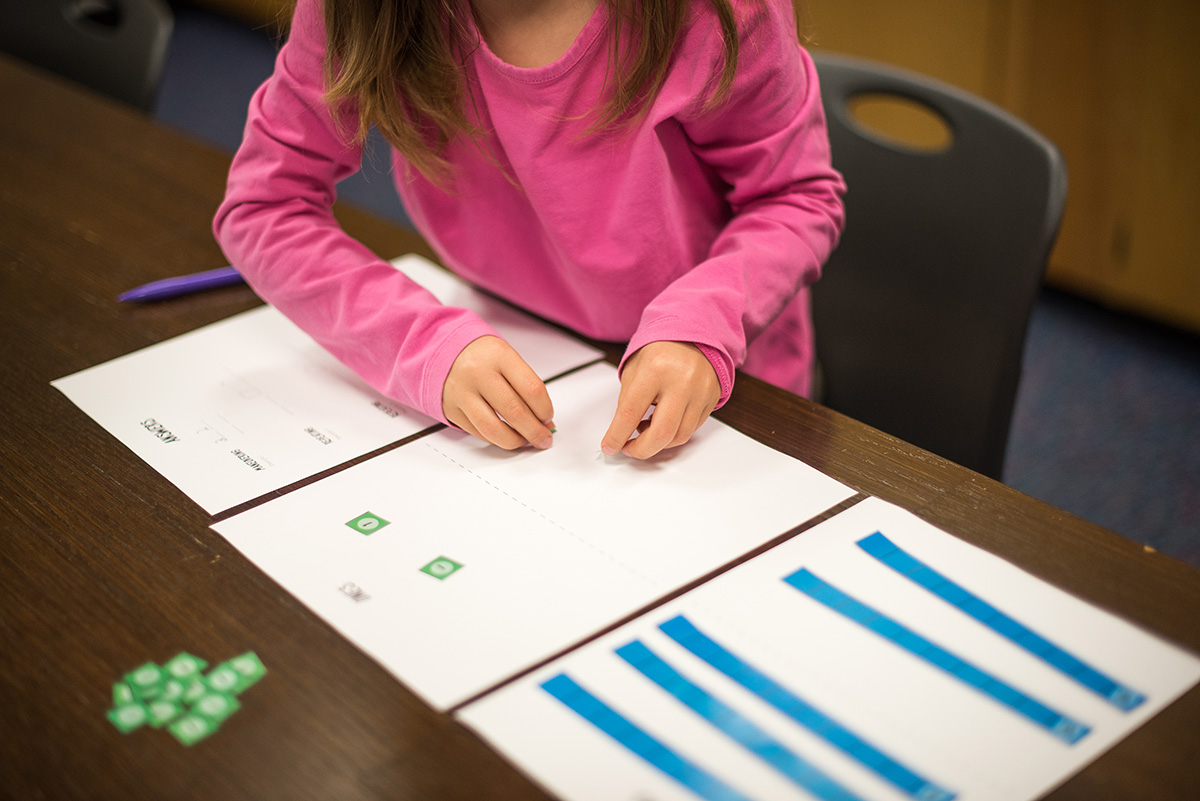
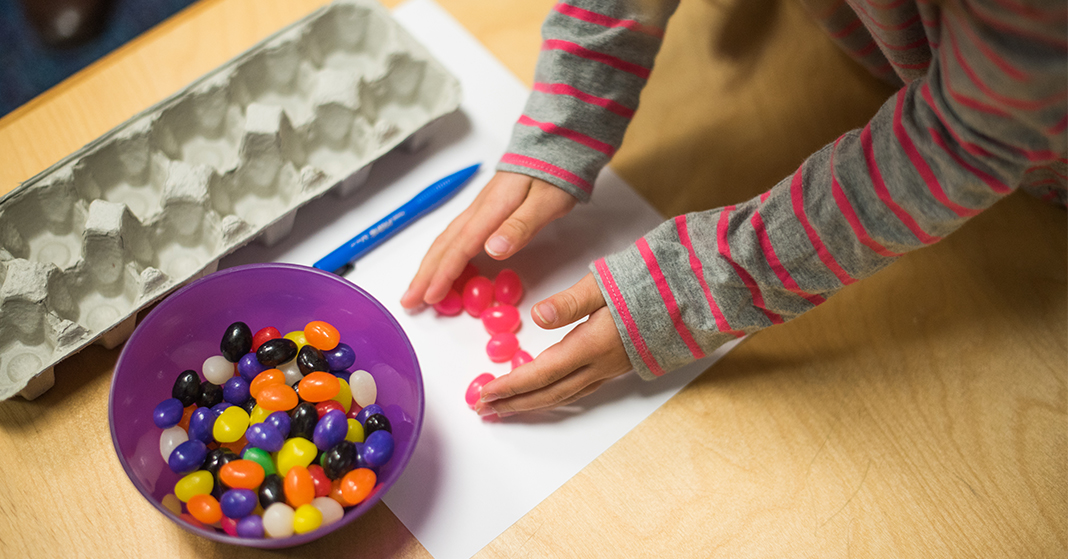
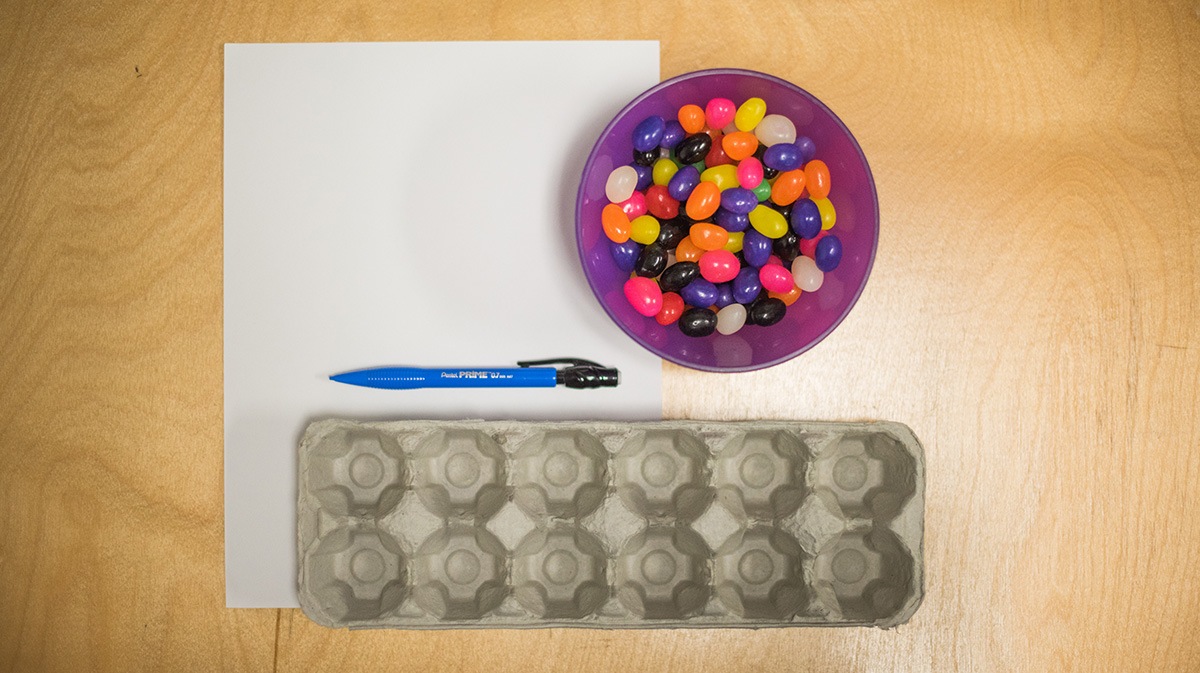
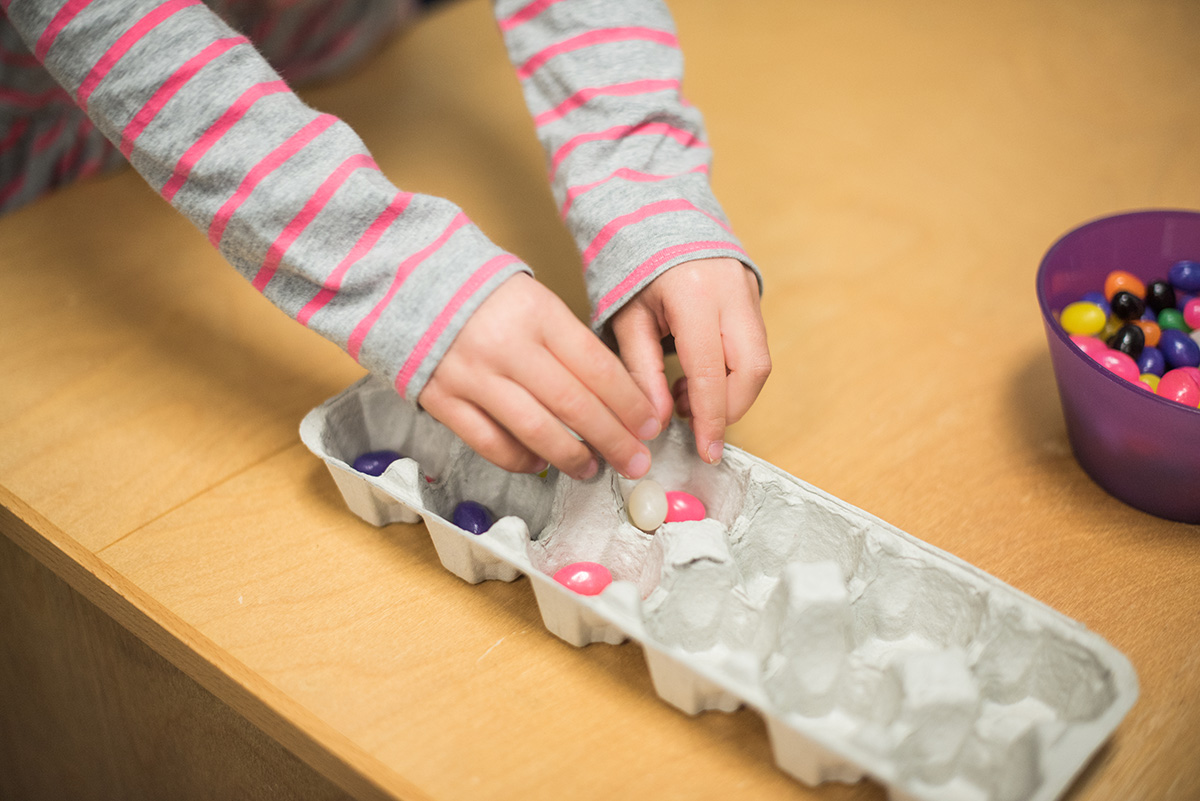
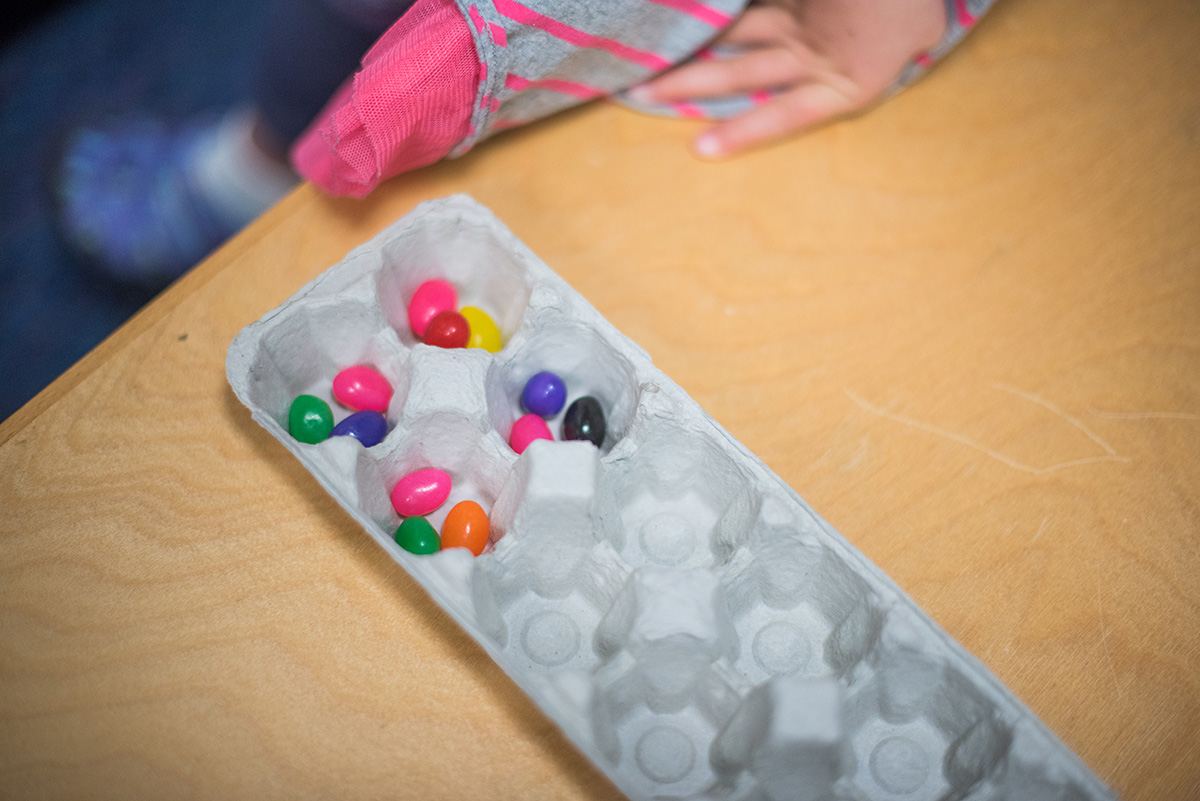
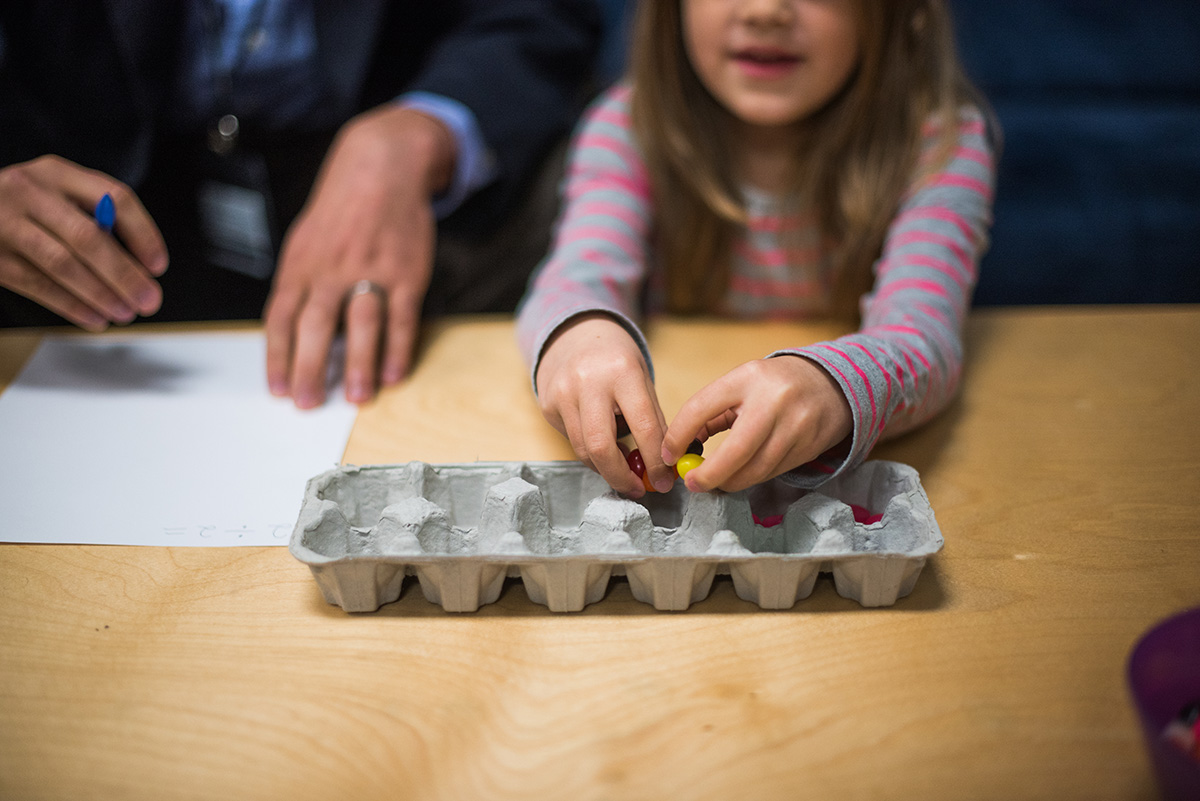
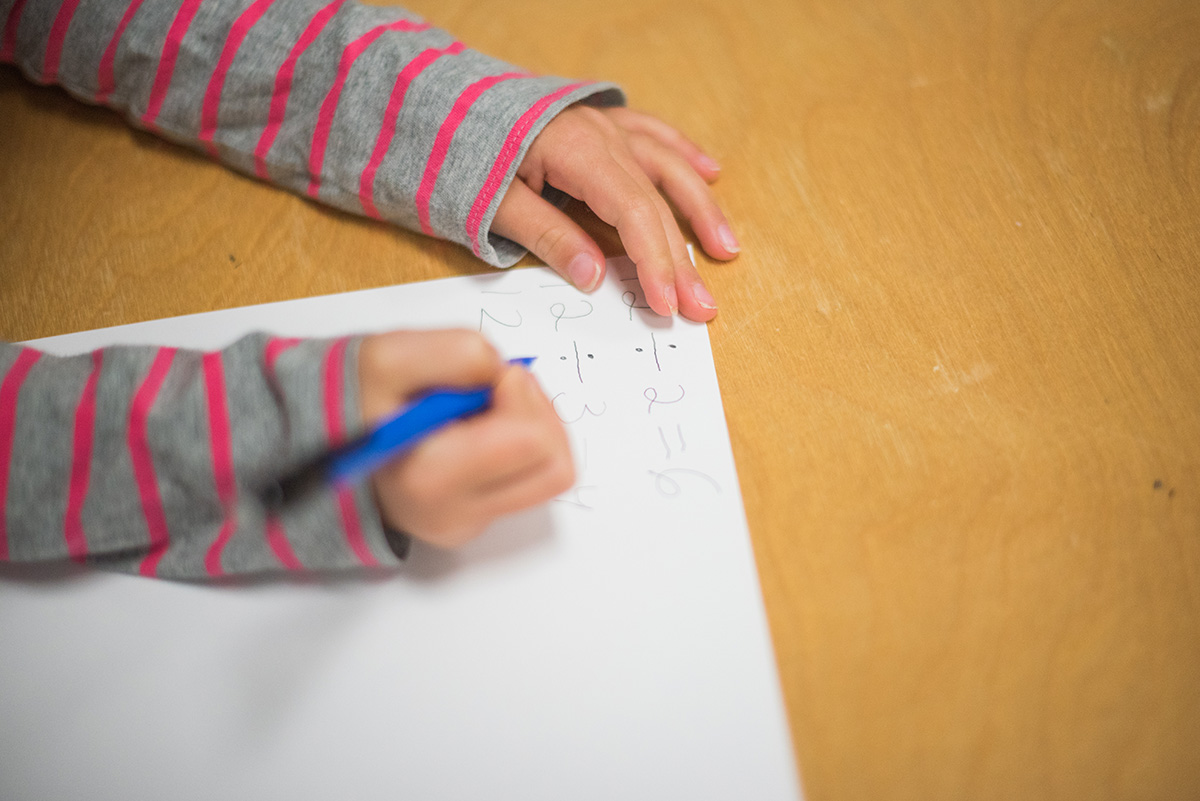
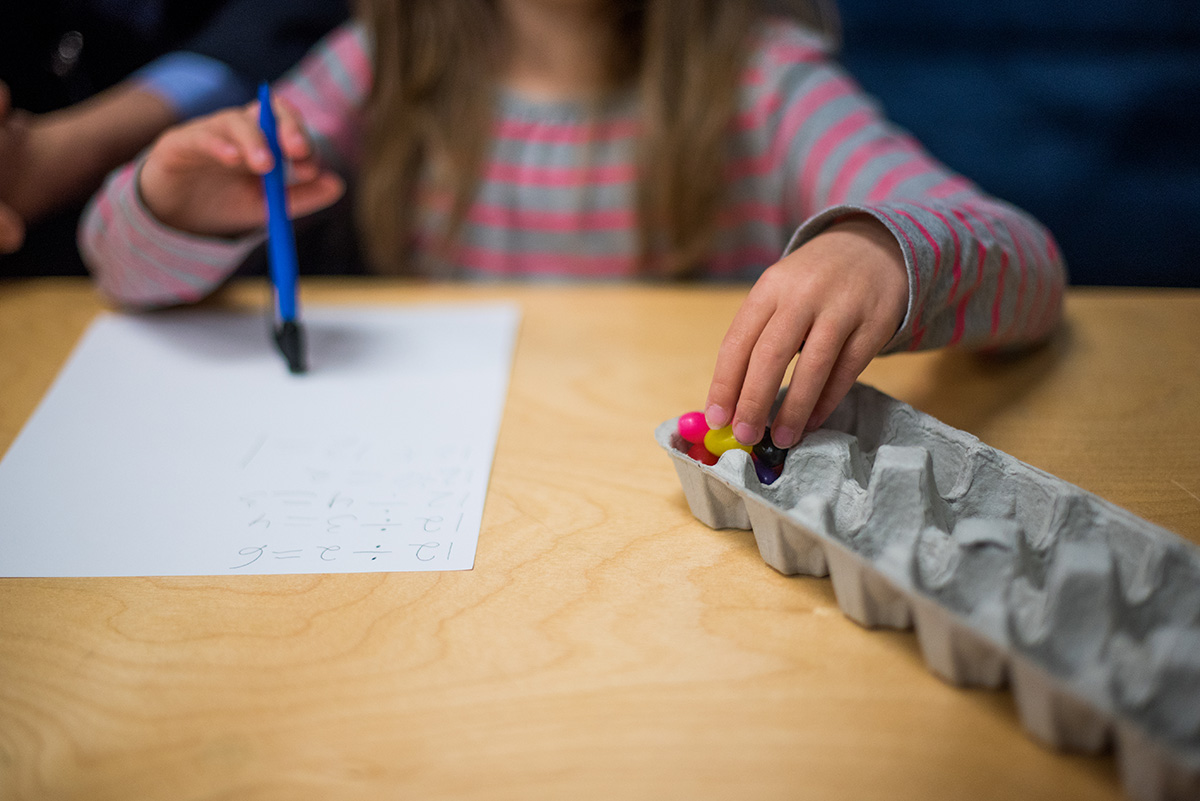
Manipulatives play a key role in math learning by helping students to visualize throughout the process. They help solidify children’s number sense and give them tools to connect abstract math concepts to the real world and creation. That’s why all the elementary level BJU Press math courses include manipulative packets. Many of the high school level math courses even offer suggested manipulatives, like this candy sorting activity from Algebra 2.
Review and Review Again
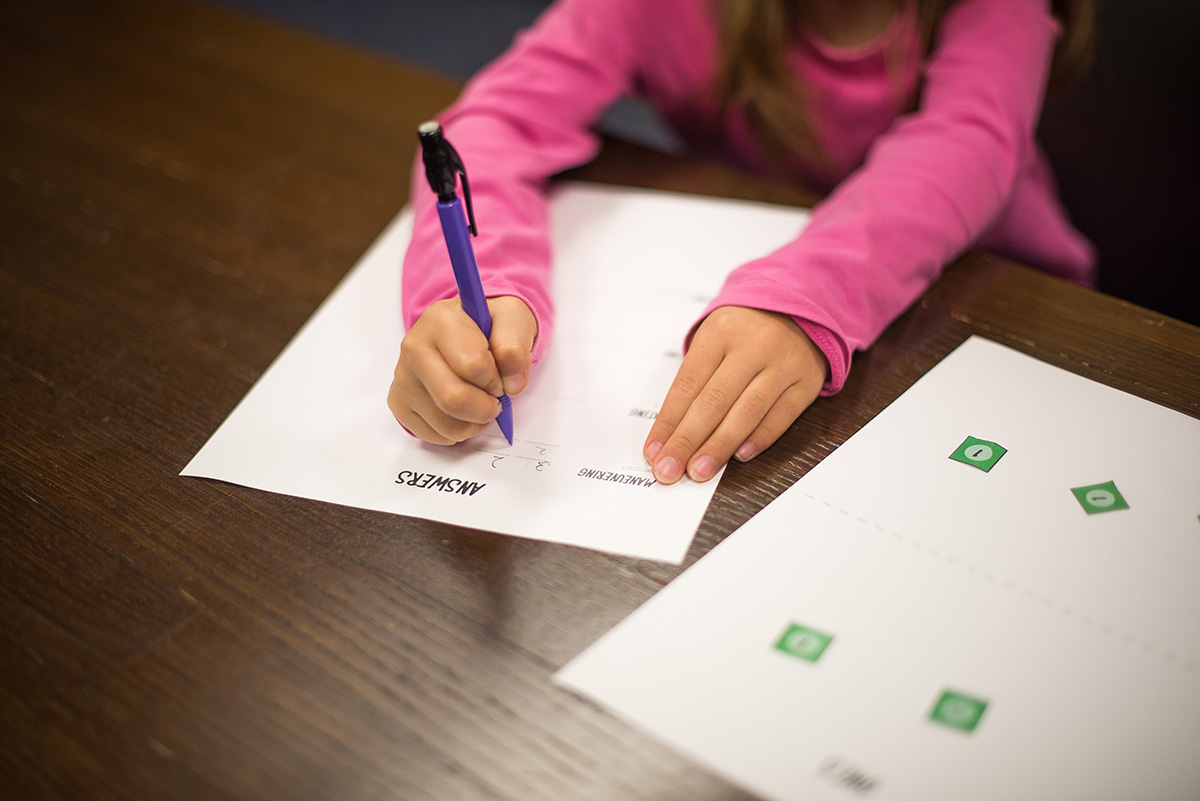
Once your children have a strong number sense and manipulatives to work with, they will need to practice their math skills. Simply understanding a math concept and how it works doesn’t mean that they have automaticity for that math concept. They need to practice the same concepts in new situations to create familiar problem-solving paths in their minds.
For example, when I was a kid, I struggled with knowing my right from my left. But I knew that I was right handed. I also knew that the hand that makes the L was my left hand. Whenever I needed to figure out right and left, I thought about which side my dominant hand was and which side made the L. I did that so often as a child that the thought process made mental ruts. I don’t go through that whole process now because I don’t have to. That kind of repetition is what makes the review books in elementary math so important. They provide additional practice opportunities of the day’s lesson as well as a spiral review of previous lessons. Each time your children encounter a familiar problem, they’re digging those mental ruts deeper and coming to solutions faster.
Unless you’re a math person, you may be wondering why it’s important for your children to be so proficient in math that they can do it all in their heads. In fact, many parents often think of math as less important than reading. But by going through this process of developing math automaticity in your children, you’re also enabling them to go further and do more with math. And the further they go in math, the more developed their logic and critical thinking skills become. In the end, you may not be teaching the next Einstein, but you definitely want to train up children who think logically and critically when faced with difficult decisions and complicated variables.
 Materials
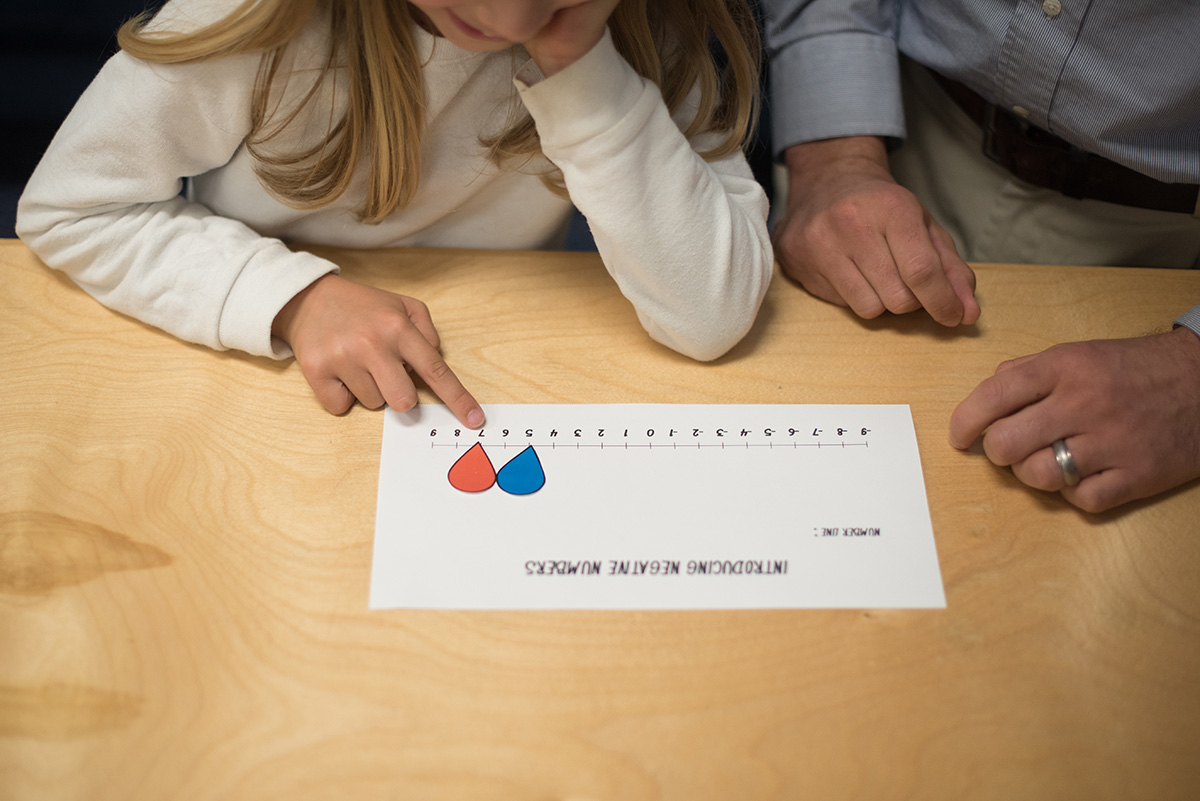
 Developing Understanding

 Maneuvering
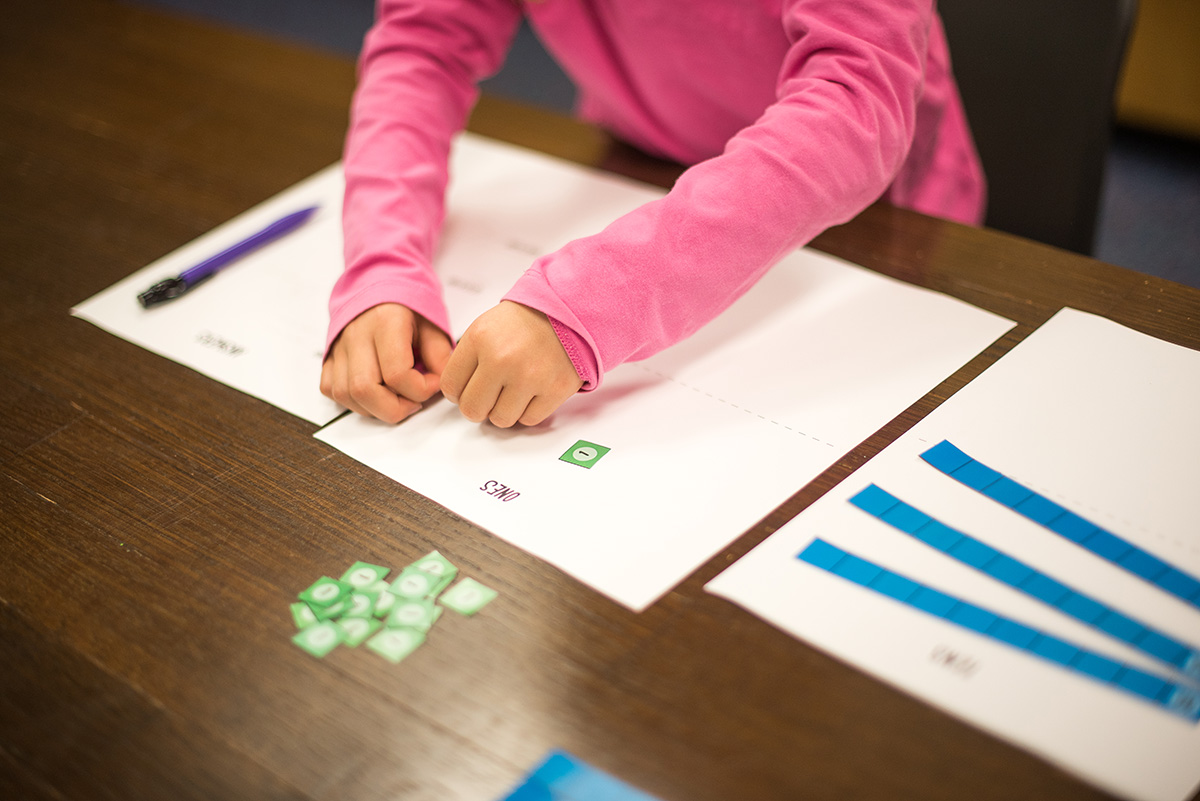
 Observing
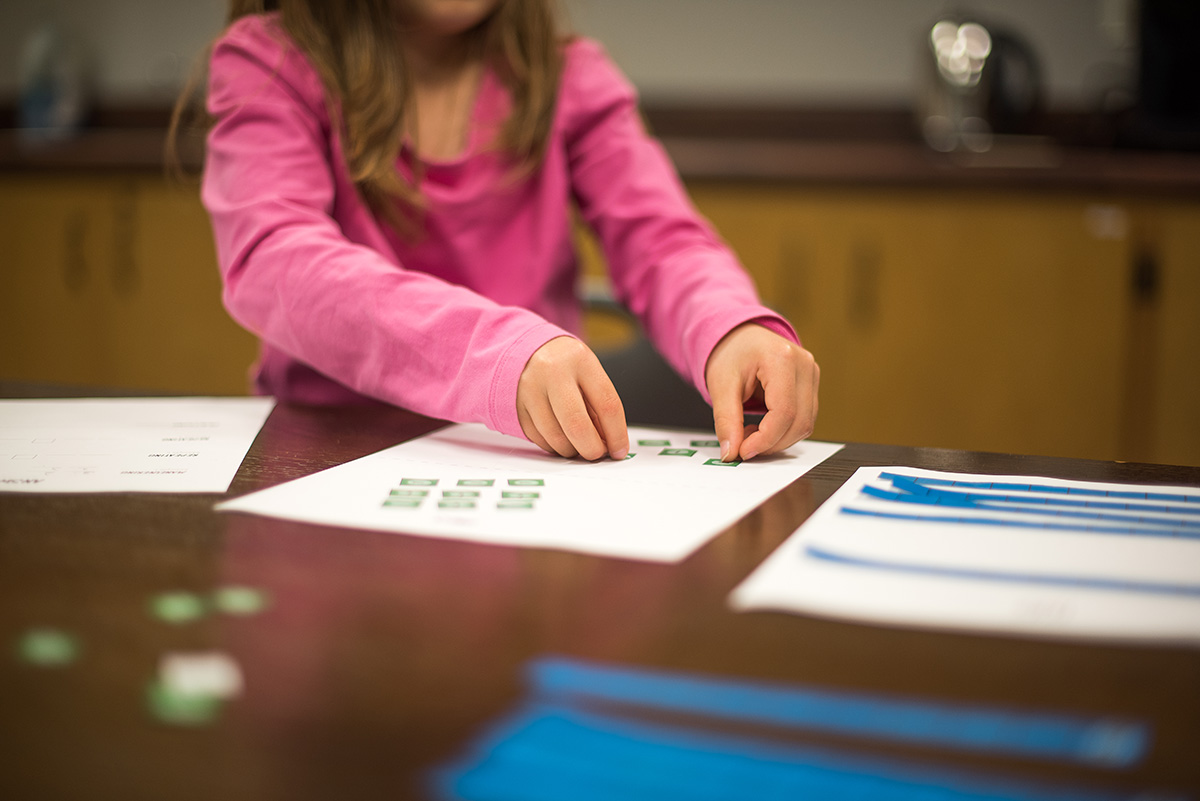
 Practicing
 Sustained Learning