If you decide to do the changing states of matter activity with your children, you may find yourself with leftover bits of crayon and chocolate. You could throw it all away and move on, but some of us have the old adage “waste not, want not” echoing in our heads. Here are some great ideas for repurposing leftovers with chocolate chips and crayon pieces.
Make Chocolate Candies
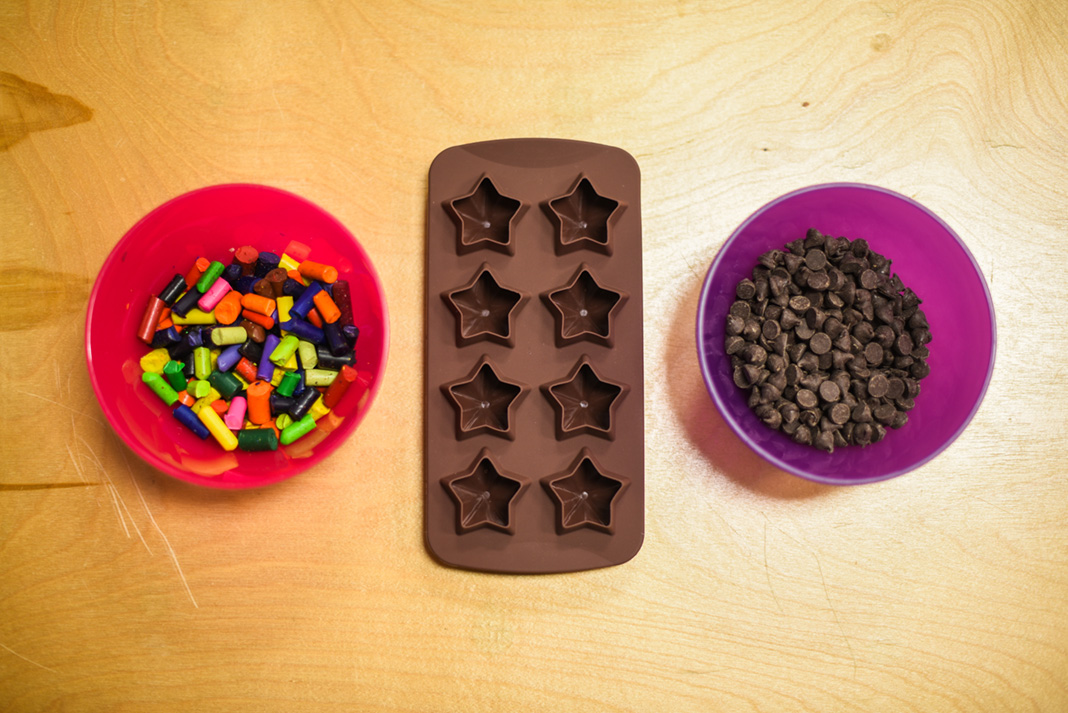
Materials
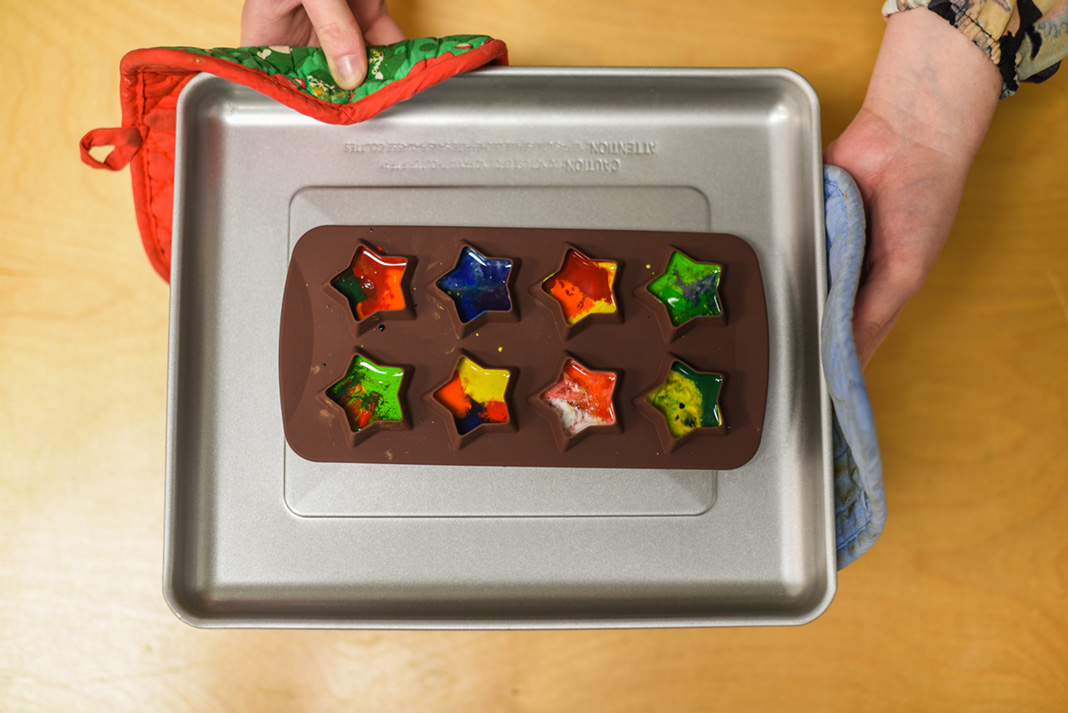
- Silicone mold
- Leftover chocolate chips
- Microwave
- Microwave-safe bowl
- Refrigerator
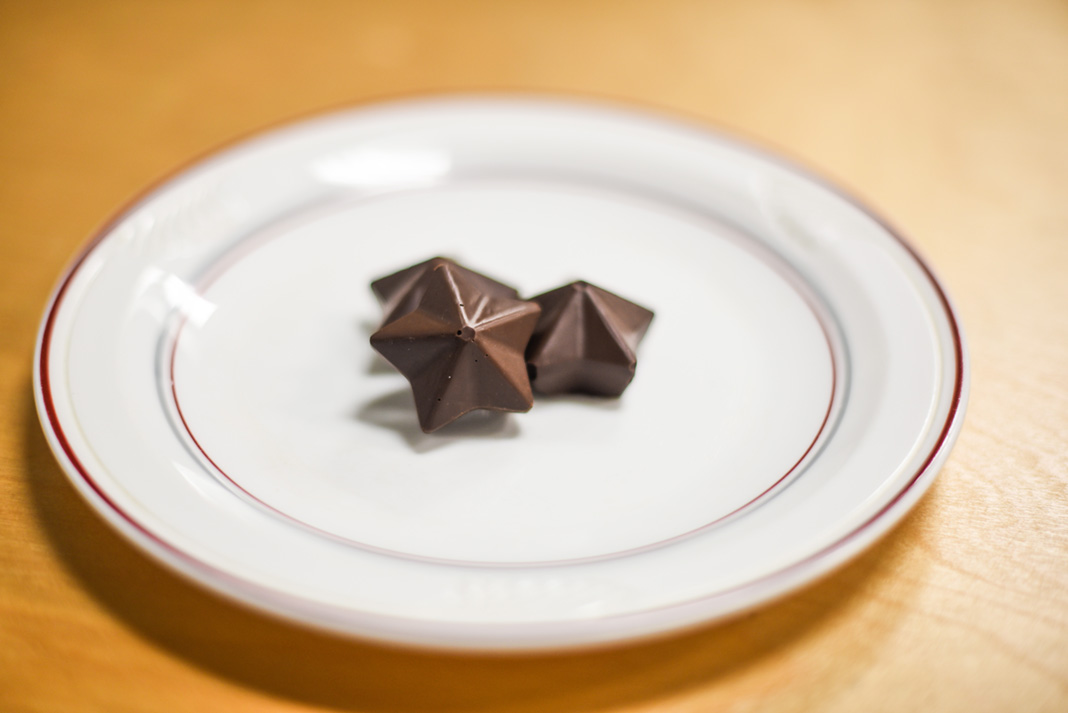
We had a lot of fun melting our leftover chocolate chips and pouring them into a silicone mold to harden. Making chocolate candies is one of the easiest, and tastiest, kitchen activities that little ones can help with. Simply heat the chocolate in the microwave for about 1 minute, stir, then continue heating it for much shorter intervals (15–20 seconds), stirring frequently until it melts completely. Be careful not to burn it, or the chocolate will seize. Pour the melted chocolate into your mold, and then refrigerate it for 20 minutes or until chocolate no longer looks glossy.
If you want to make candies, you can also explore a fascinating area of food science called tempering chocolate with older children. As you probably know, tempered chocolate has a glossy look. It also has a crisp snap when it breaks and a higher melting temperature. The science behind tempered chocolate may seem complicated, but it all boils down to getting all the fats to bind together in the same way by using both heat and motion. When it cools, the structure of the fats will be stronger and more like a coiled rope than a jumbled mess. You can temper chocolate in a microwave, but it’s best done using a double boiler.
Make Your Own Recycled Crayons
Materials
- Silicone mold
- Baking sheet
- Small crayon pieces
- Oven or toaster oven
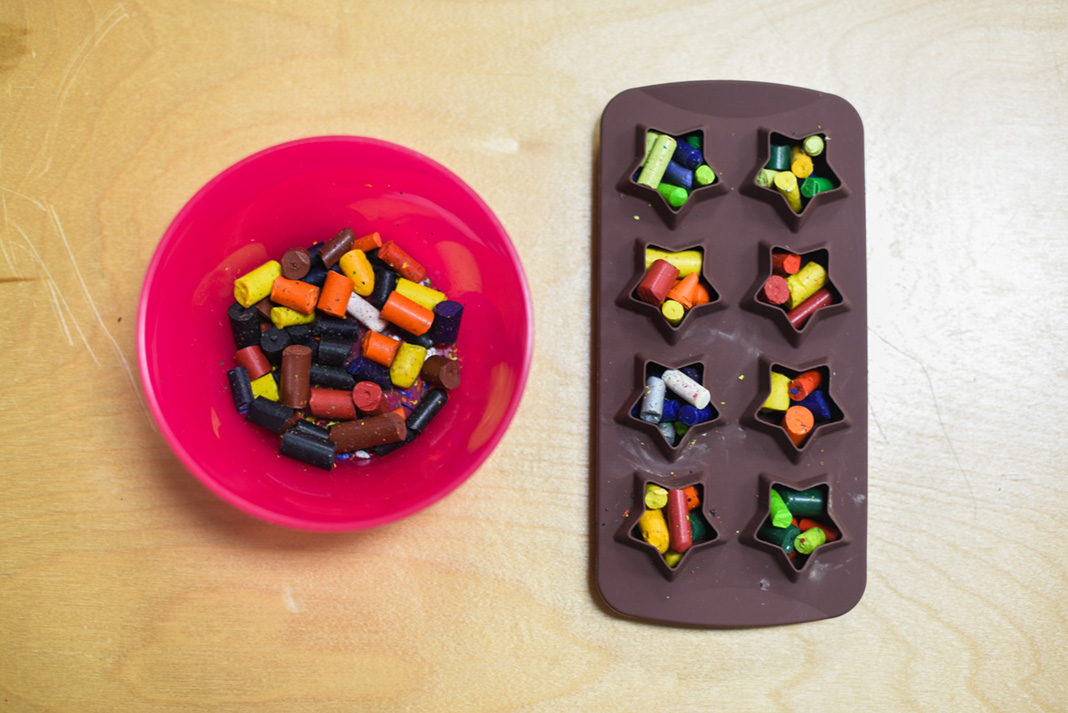
Once we finished the chocolates, we were able to clean out our mold to make recycled rainbow crayons. This process is even easier than making chocolate candies. Set your mold on a baking sheet, fill it with your crayon bits—making sure they aren’t too big—and bake in the oven for 15 minutes at 230°, or until the crayons are fully melted. We also found that you can use a toaster oven. [Note: Please refer to the guidelines from Crayola™ (or other manufacturer) for Craft Safety before melting crayons.]
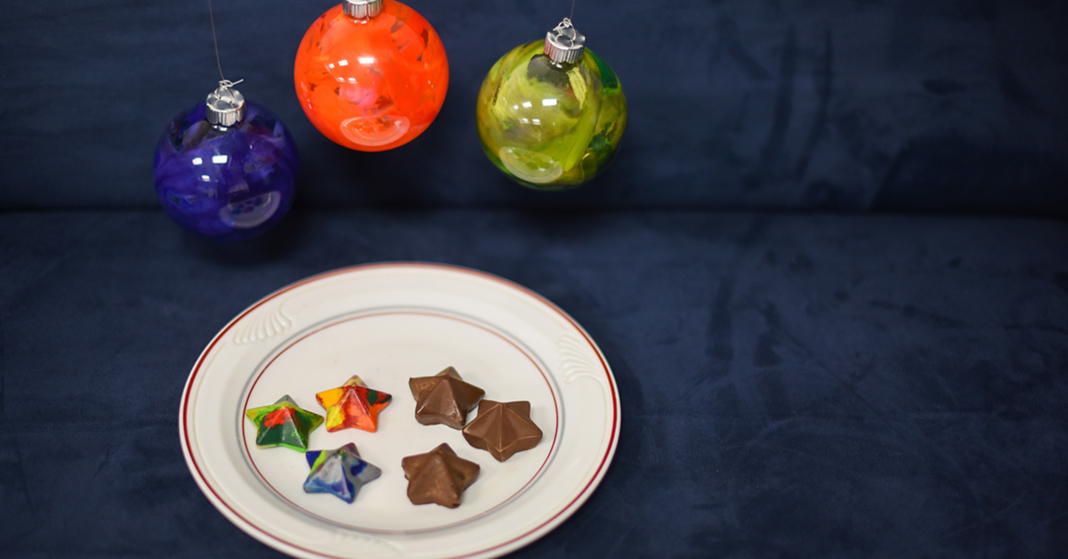
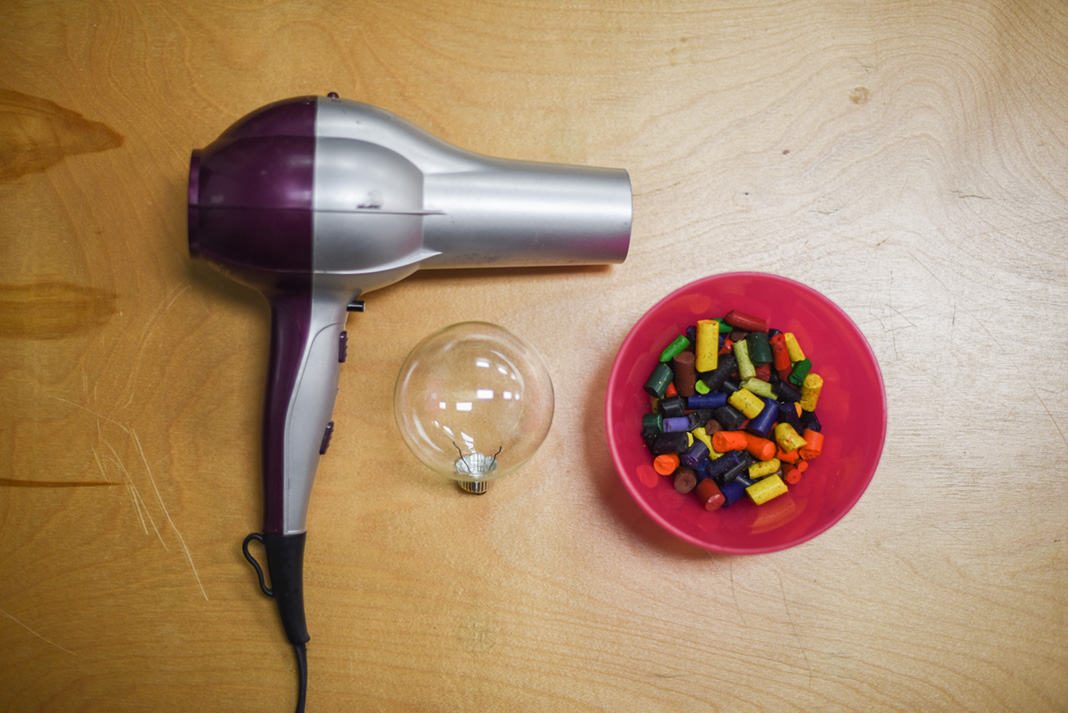
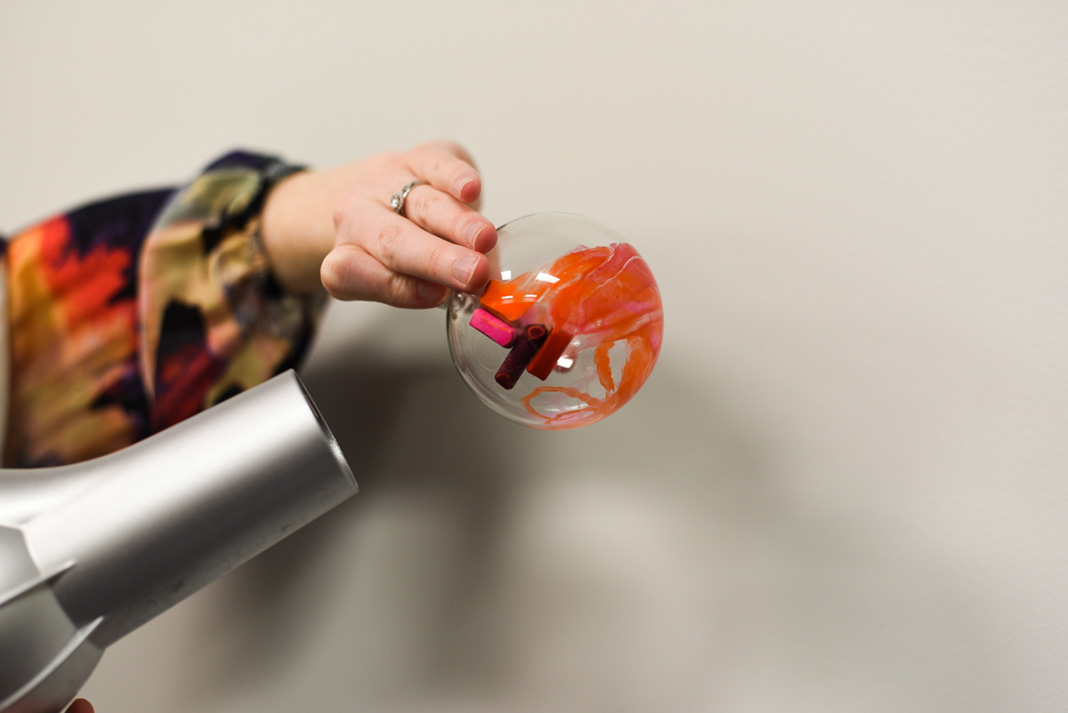
Make Christmas Ornaments
Materials
- Crayon pieces
- Clear glass Christmas ornaments
- Hair dryer
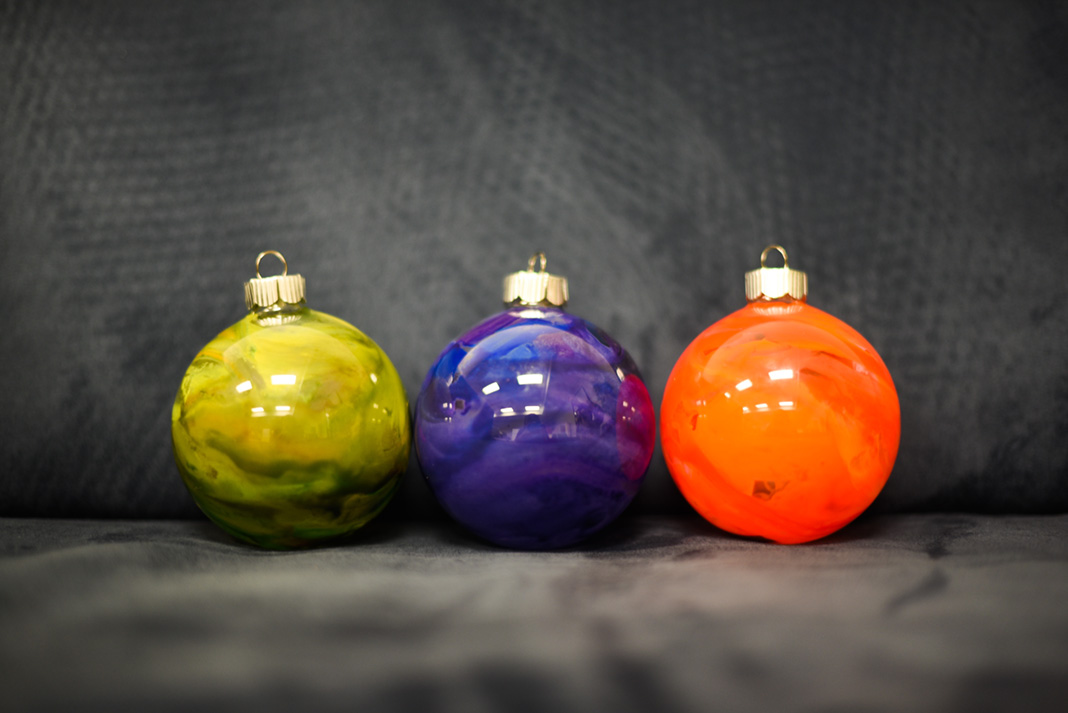
Who says you can make Christmas ornaments only during the Christmas season? For this project, take a clear glass Christmas ornament and drop several crayon pieces inside. Heat the crayons through the glass with a blow dryer while turning the ornament to spread the colors. You may want to hold the ornament with an oven mitt since you may have to keep the blow dryer on high heat to get the crayons to melt. Mixing colors can turn a simple clear globe into a planet. Ours turned out looking something like Mars, Neptune, and Earth without water. You could even add glitter and make it look like a galaxy. With resourcefulness and creativity, the possibilities are endless!
How did you use your leftover bits? Share with us on our Facebook or Instagram page (tag @bjupresshomeschool) with the hashtag #RepurposingCrafts. We’d love to see your ideas!

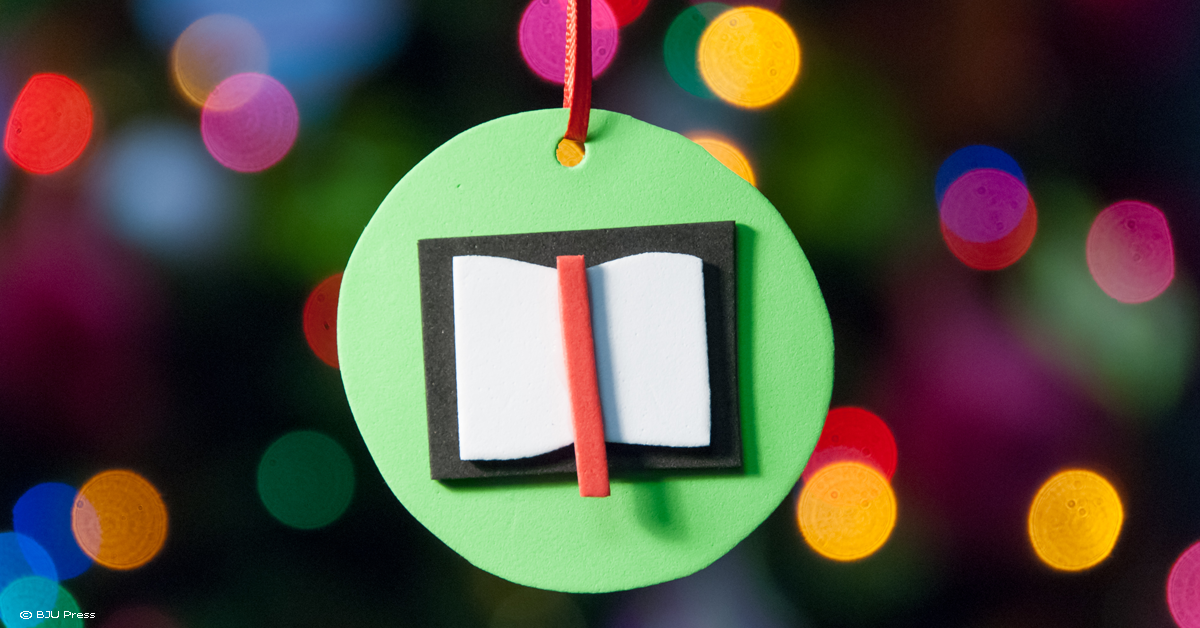
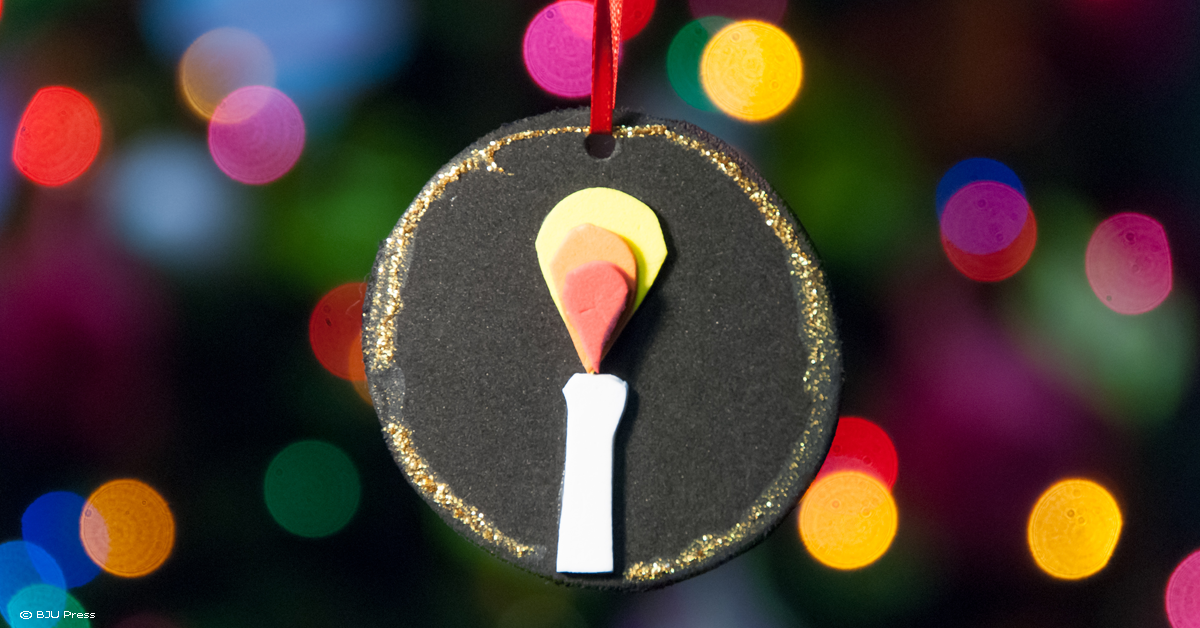 Materials needed: foam craft sheets (black, yellow, orange, red, white), glitter glue, scissors, hole punch, ribbon, tacky glue
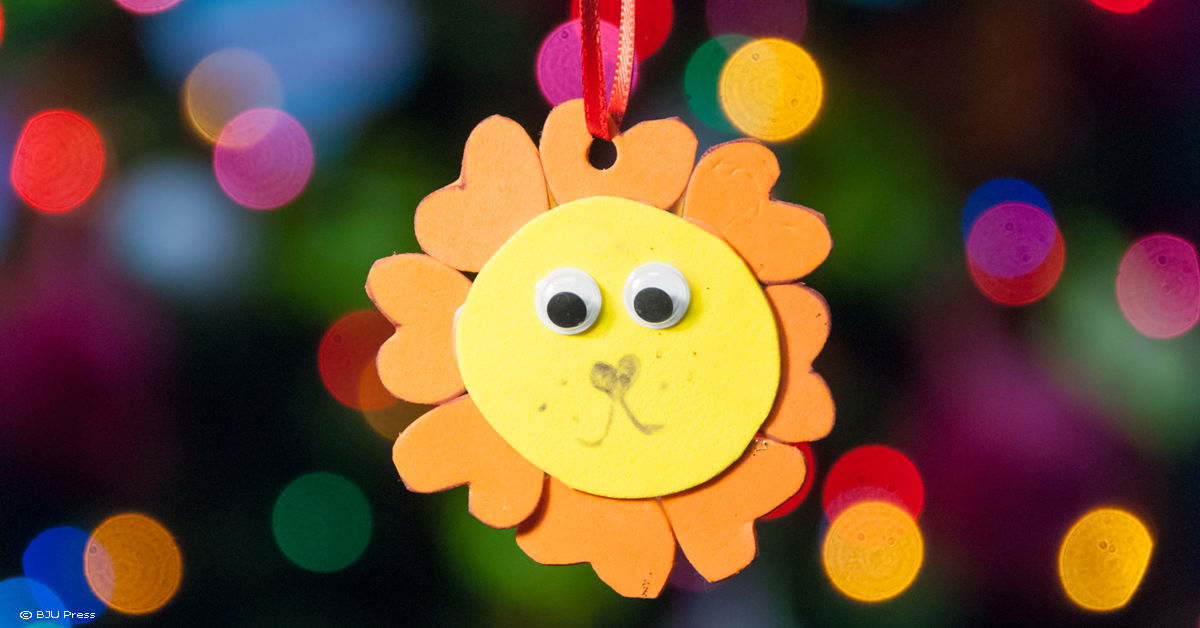 Materials needed: foam craft sheets (yellow, orange), googly eyes, scissors, tacky glue, hole punch, ribbon
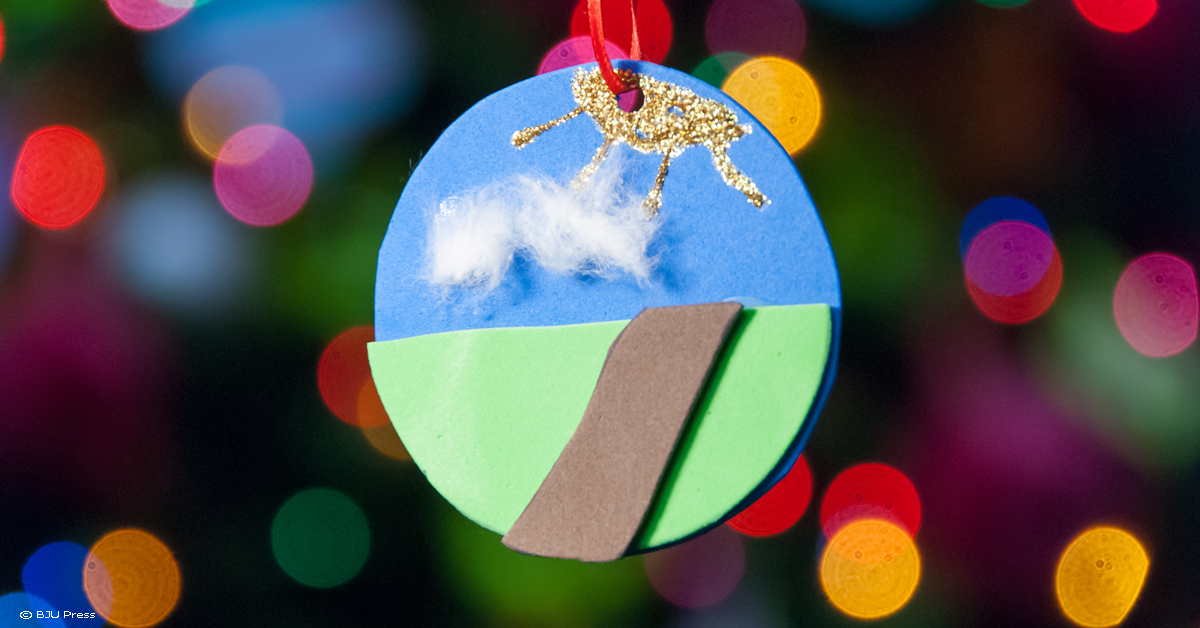 Materials needed: foam craft sheets (blue, green, brown), gold glitter glue, cotton balls, scissors, tacky glue
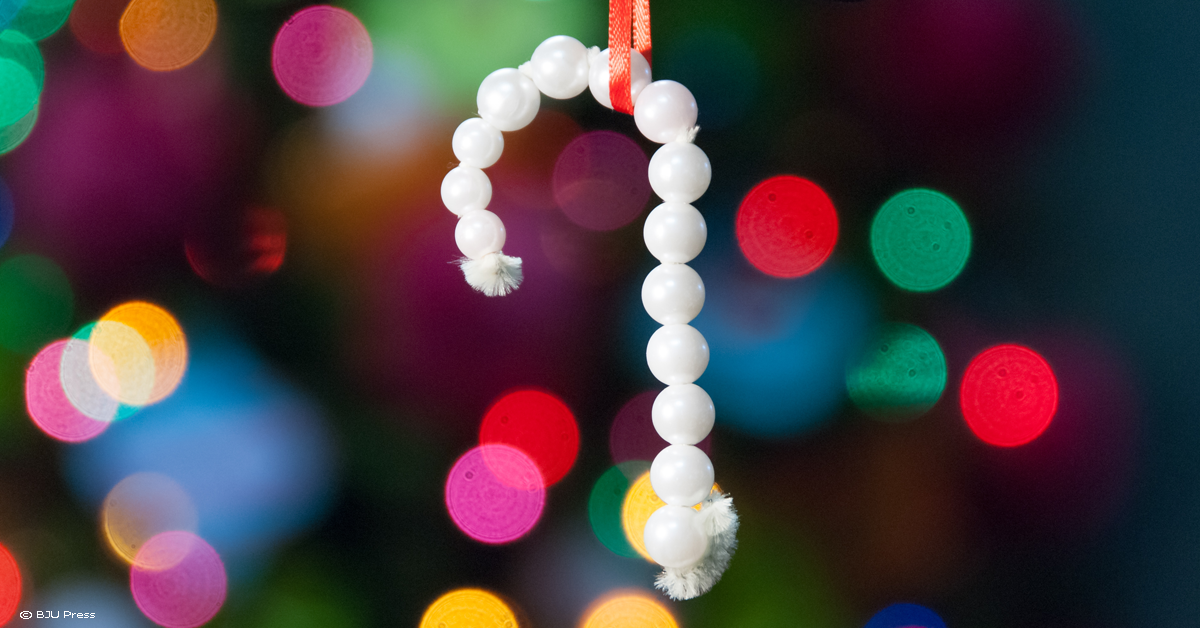 Materials needed: pipe cleaners, beads, ribbon
 Materials needed: assortment of white and black buttons, white card stock or craft foam, scissors, string or ribbon, tacky glue
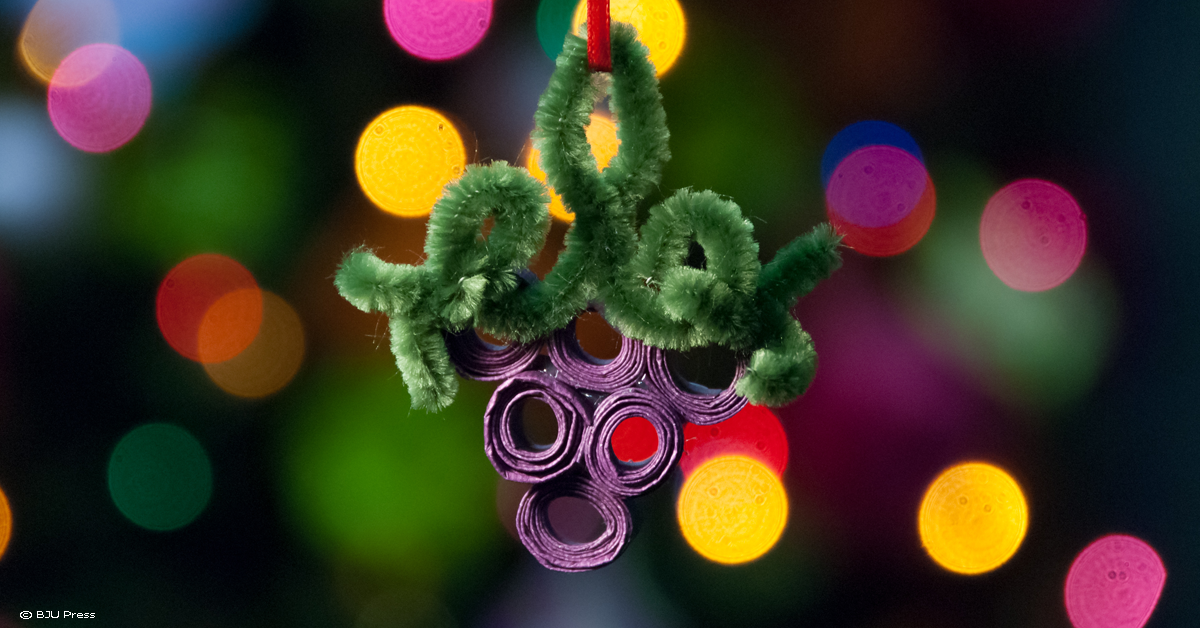 Materials needed: purple paper, green pipe cleaners, pencil (to curl paper around), scissors, hot glue gun, ribbon, tacky glue
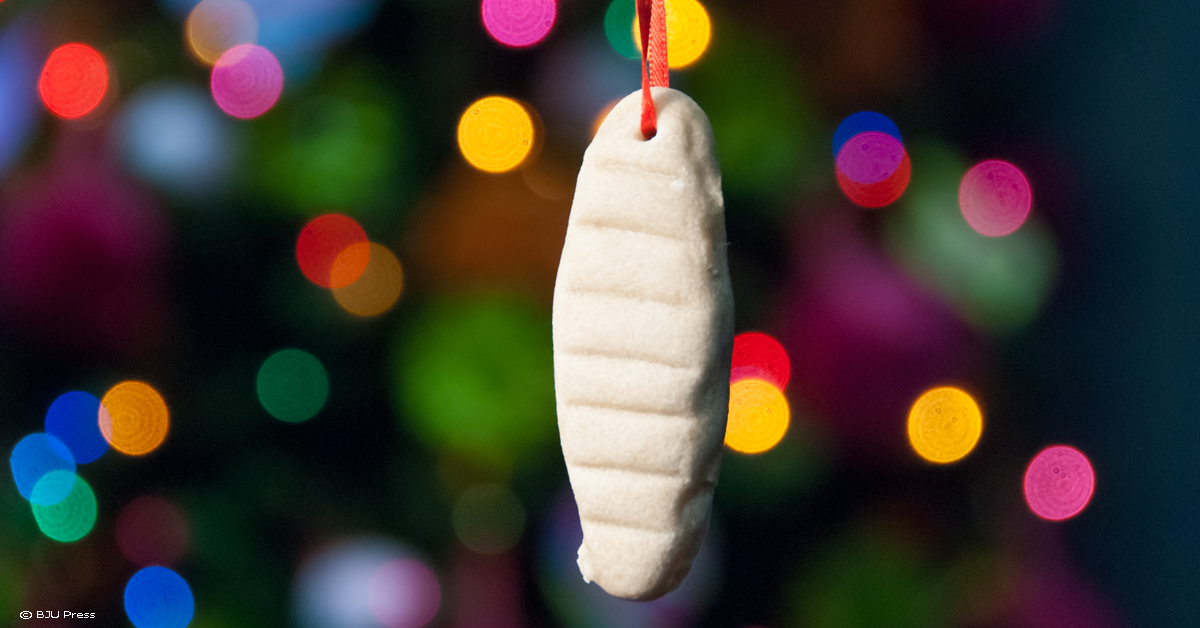
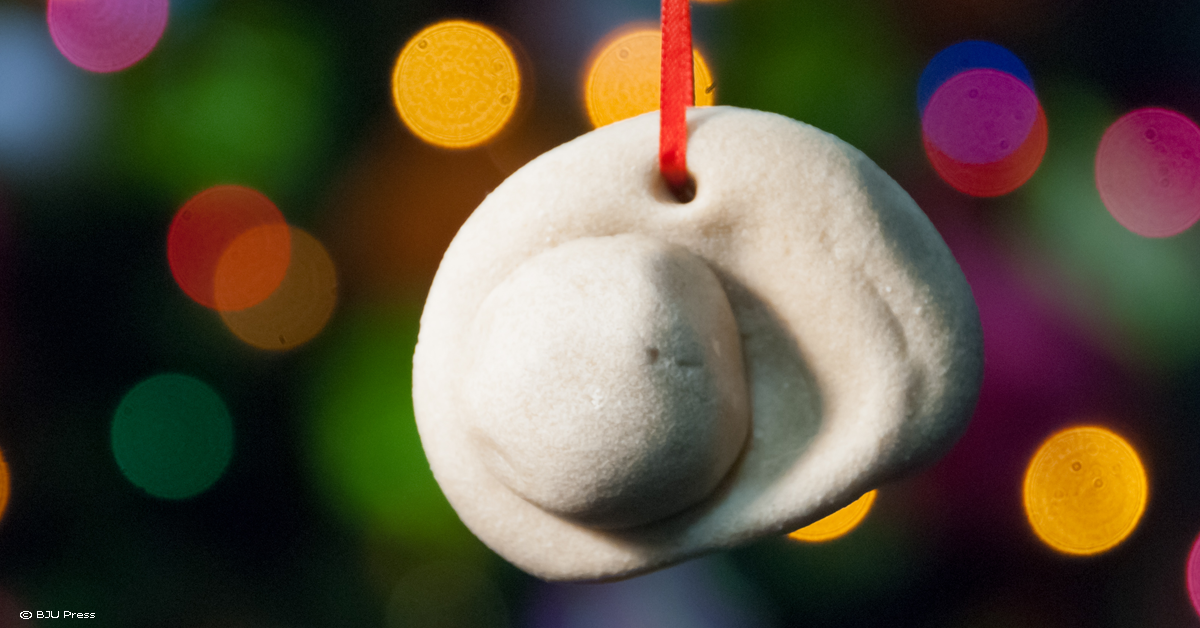 Materials needed: salt, flour, lukewarm water, wax paper, plastic straw, ribbon
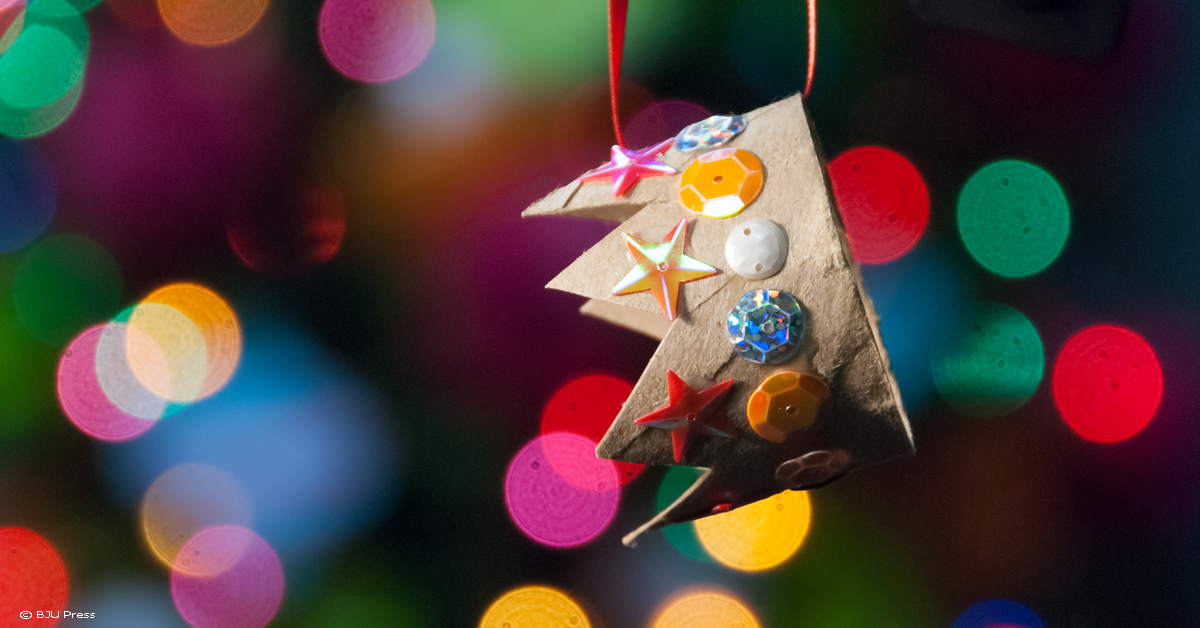 Materials needed: empty toilet paper or paper towel tube, scissors, sequins or jewels, tacky glue, ribbon
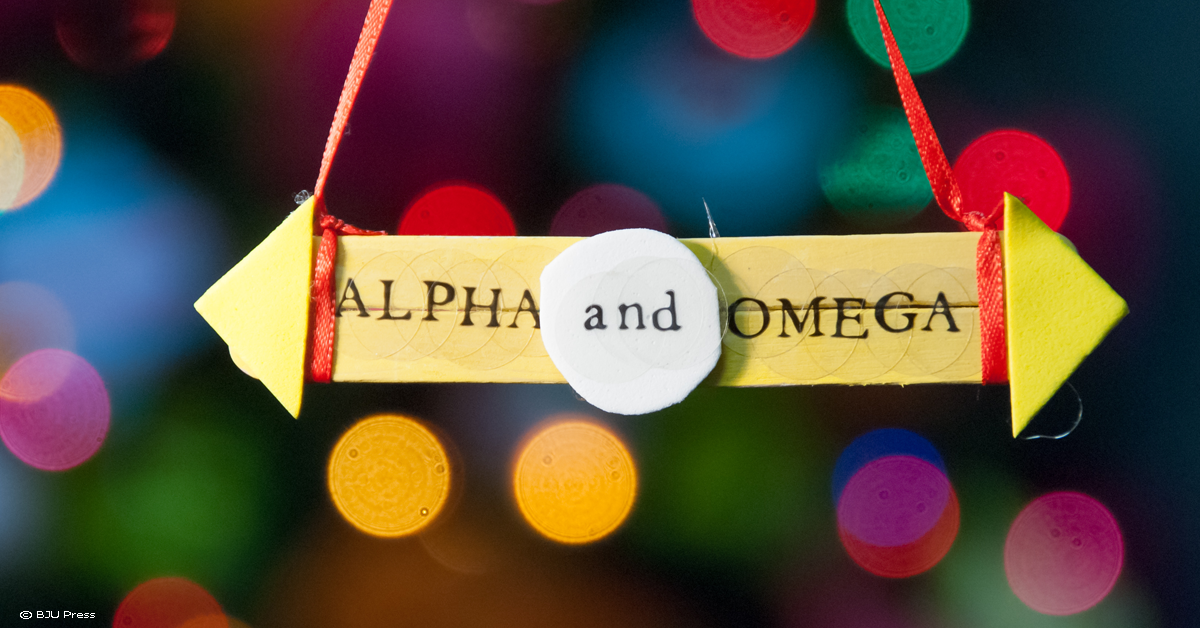 Materials needed: craft popsicle sticks, paint, paintbrushes, foam craft sheets (any color ), sticker letters, hot glue gun, ribbon
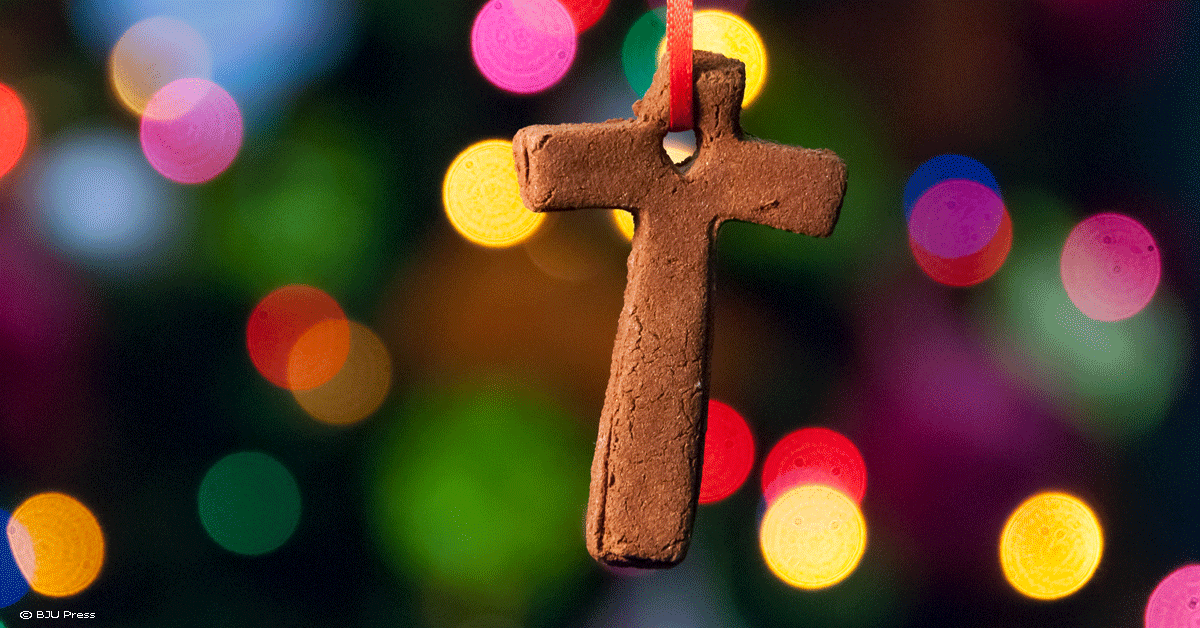 Materials needed: applesauce, cinnamon (4 oz. container), plastic wrap, rolling pin, cross-shaped cookie cutter, wax paper, plastic straw, ribbon