• Skip to primary navigation
  • Skip to main content
  • Skip to primary sidebar
  • Skip to footer

BJU Press Blog

  • Home
  • Shop
    • Shaping Worldview
  • Simplified Homeschool
  • Successful Learning

winter

Snow Day Activities: Choosing Joy in the Winter

December 18, 2020 by Guest Writer

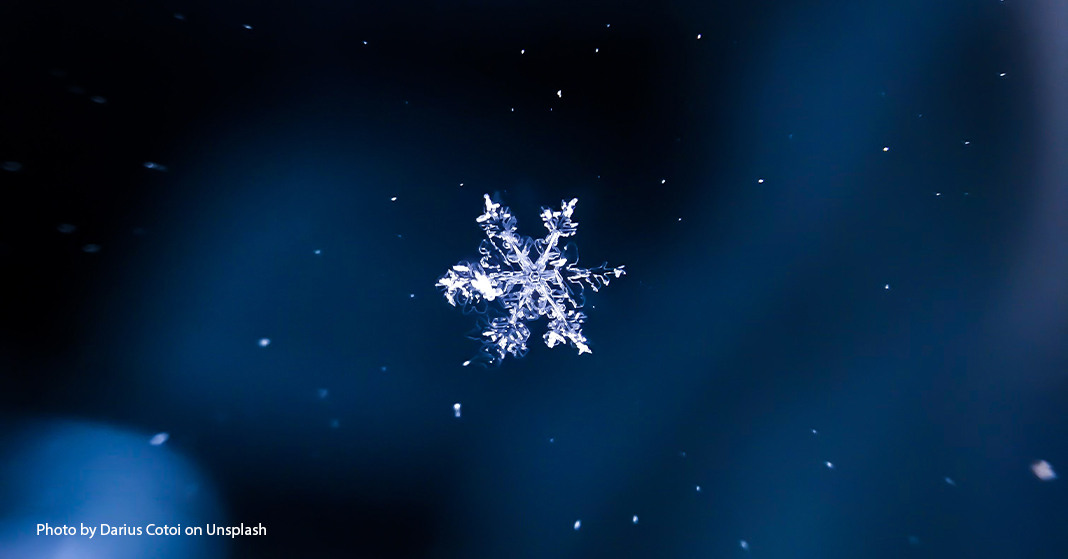
snow flake for snow day activities
Snow fell for three days in a row, burying my yard in over two feet of dense slush. It was March, and I was ready for spring. But I had to dig out of more snow than I had seen in my lifetime! What an introduction to a Midwest winter. I grew up in the south, where snow days were too few. But I was not enjoying them as an adult. Maybe you have read this anonymous quote, “If you choose not to find joy in the snow, you will have less joy in your life but still the same amount of snow.”

Instead of letting winter weather get you down, find ways to keep learning. Enjoy God’s winter creation like you do the other seasons. It would be easy to let winter keep you from restarting school after the break. Ease into it, and choose joy in some of these winter weather learning opportunities. Every subject has winter learning potential.

[Read more…] about Snow Day Activities: Choosing Joy in the Winter
Filed Under: Successful Learning Tagged With: homeschool, joy, snow, winter

Activity: The Seasons Are Changing

October 27, 2015 by Justin

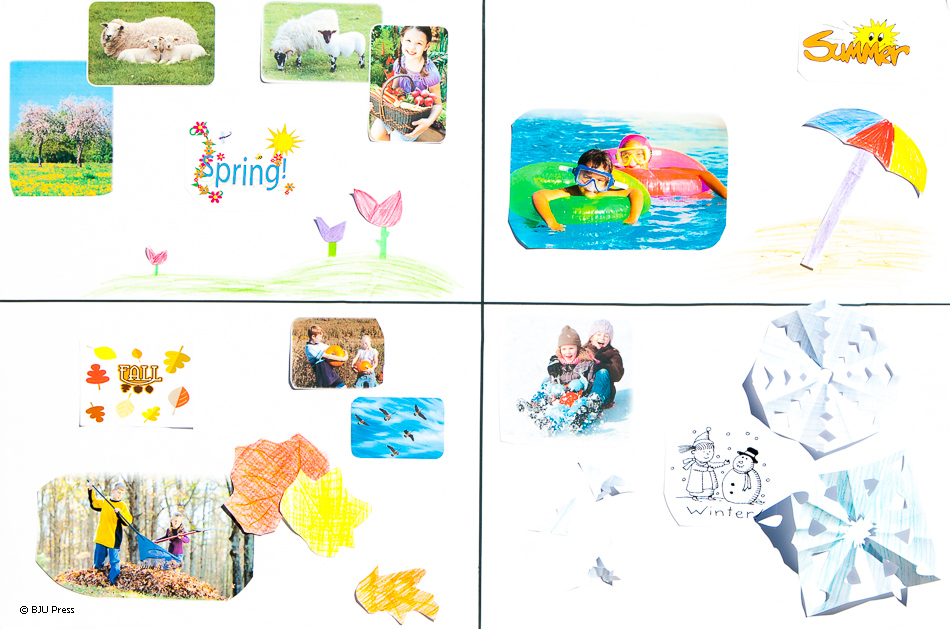
white posterboard with images of the four seasons

Things are cooling off, and the leaves are starting to change color. Nature’s great visual and physical demonstrations make fall a fun time to start teaching young children about the changing of seasons. It’s also a great time to exercise their higher level thinking skills. Here is a fun, fast, and easy activity to get them thinking.

  1. Explain the basic differences of the seasons, and then draw lines dividing a poster board or large sheet of paper into four sections.
  2. Label each section as a different season—spring, summer, fall, and winter.
  3. Invite your child to draw or cut out at least one picture of a favorite thing to do in each season. Examples might be carving a pumpkin in the fall, swimming in the summer, or picking flowers in the spring. If you live in an area without obvious changes, children may identify activities they would like to try.
  4. Help your child place each picture in the section for the corresponding season.

By working on this hands-on activity with you, your child will enjoy learning while reviewing the material in a way that builds true understanding. In step 3 your child is recalling and understanding the key features of each season and then applies that knowledge in step 4 by placing each favorite activity in the proper category.

If you would like more ideas, other activities like this one can be found throughout BJU Press elementary science teacher’s editions.

Filed Under: Successful Learning Tagged With: activity, Fall, science, seasons, spring, summer, thinking skills, winter

A Special Dinner Guest

January 15, 2015 by BJU Press Writer

What changes do you see outside in the winter? Cooler temperatures, snow and ice covering the ground, fewer hours of daylight, and plants and trees losing their leaves are all familiar aspects of winter for those of us in the northern hemisphere.

But how do animals handle the wintery changes? Some migrate, others hibernate, but many stay active where they have been all summer. Food sources are more limited in the winter than in the summer, however, and that’s why bird feeders can be so important in the winter.

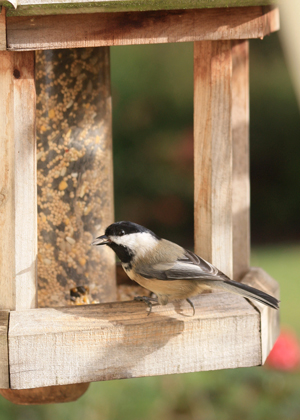
Black-capped Chickadee at a Salem, Oregon birdfeeder.
Black-capped Chickadee by Oregon Department of Fish & Wildlife/Wikimedia Commons/CC-By-SA 2.0

People of all ages can enjoy watching birds at their feeder. In fact, a feeder can also be the stage for a variety of science experiments, so it’s a great option for an indoor science experiment for your class.

First, identify and make a list of the birds you commonly see around. Your students can share the birds they see at home or elsewhere. Definitely take note of the birds around your school though, so that you know what to expect when your students put up their bird feeders.

Second, put your students in groups. You won’t want to have one bird feeder per student hanging around your school building. So choose the most manageable number and put students in that number of groups.

Then guide the groups in choosing the foods they want to test. Hardware stores usually have some seed varieties individually packaged. You may want to limit the experiment to seeds or include other foods such as suet and fruits. Each group should choose one type of food to test.

You will also need to make or purchase identical feeders. You can make a simple feeder with a plastic container and string. Punch holes in the bottom of the container for drainage. Then punch three evenly-spaced holes around the rim. Cut three pieces of string about eighteen inches long and tie each at one of the holes. Tie the loose ends of the string together. Use this loop to hang the feeder.

Next, help your students choose locations to hang the feeders. (Make sure that all the feeders are hung at the same height.) If possible, set up one or more webcams to observe the birds. You and your students should plan a schedule for measuring and adding food to the feeders and making observations. Use a spreadsheet or some other worksheet or tool for your students to record their observations. They should include photos and sketches with their observations if possible. At the end of the experiment, guide a discussion drawing conclusions from the results.

• • • • •

Peggy has worked for BJU Press since 1999. Debra has worked for BJU Press since 1986. Both are currently elementary science writers.

Have you done an experiment like this with your class already? What other experiments do you like to do in the winter?

Filed Under: Successful Learning Tagged With: activity, birds, science, science experiment, winter

Fun with Snowflakes

January 9, 2015 by Carolynn


Make a Snowflake with snow falling

One of my favorite things about winter is snow. But living in the South means that I don’t often get the opportunity to enjoy any snow. Thankfully, I can still enjoy some of the beauty of snow by making my own snowflakes.

Do you remember making paper snowflakes? Growing up, I used to make or find a square piece of paper that I would fold into a tiny triangle. Then I would cut a pattern into it, unfold it, and . . . instant snowflake! But instead of going with just the traditional square piece of paper this time, I thought it would be fun to make snowflakes out of a couple other shapes too—a circle and a hexagon.

You can see the shapes I used for my snowflakes by clicking on one of the links below. The first document has just the shapes (square, circle, and hexagon), while the second document has the shapes with the initial fold/crease line shown.

Documents
  1. Snowflake shapes
  2. Snowflake shapes with fold line
Materials needed
  • Paper (construction paper, regular paper, scrap paper, or any other kind of paper you have around)
  • Scissors
Instructions
  1. Cut out one (or more) of the shapes.
  2. Fold the shape in half.
    • Square—Fold the opposite corners together so you have a big triangle.
    • Circle—Fold in half so that you have a half-circle.
    • Hexagon—Fold in half so that two corners meet. You should have an odd-looking triangle with two distinct points and the third “point” looking like the side of a square.
  3. Keep folding the corners together until you have a small triangle-shaped piece of paper
    • The square and circle should be easy after the initial fold. The square takes on a triangle shape after the first fold and the circle will resemble a slice of pizza.
    • The hexagon is a little harder. After the initial fold, fold again so that the two distinct points meet. You’ll still have a triangle with two distinct points and one odd-shaped “point.” Fold so that the odd-shaped point and the distinct point (opposite it) meet. By then your triangle should be small enough.
  4. Cut a pattern into the edges of the triangle shape.
  5. Unfold your triangle and see what you created.

Making snowflakes is fun and (relatively) easy. Try making snowflakes out of all three shapes to see how different each one looks. I hope you enjoy making snowflakes as much I did!


Filed Under: Successful Learning Tagged With: activity, Christmas activity, printable, snow, snowflake, winter

Primary Sidebar

As parents, teachers, or former homeschool students, we are passionate about homeschooling from a biblical worldview. We hope these teaching tips, fun activities, and inspirational stories support you in teaching your children.

Email Signup

Sign up for our homeschool newsletter and receive select blog posts, discounts, and more right to your inbox!

Connect with Us!

                    Instagram     

Read Posts on Specific Subjects

Early Learning
Foreign Language
History
Language Arts
Math
Science

Footer

Disclaimer

The BJU Press blog publishes content by different writers for the purpose of relating to our varied readers. Views and opinions expressed by these writers do not necessarily state or reflect the views of BJU Press or its affiliates. The fact that a link is listed on this blog does not represent or imply that BJU Press endorses its site or contents from the standpoint of ethics, philosophy, theology, or scientific hypotheses. Links are posted on the basis of the information and/or services that the sites offer. If you have comments, suggestions, questions, or find that one of the links no longer works, please contact us.

Pages

  • About BJU Press
  • Conversation Guidelines
  • Terms of Use & Copyright

Archives

© 2023 · BJU Press Homeschool