• Skip to primary navigation
  • Skip to main content
  • Skip to primary sidebar
  • Skip to footer

BJU Press Blog

  • Home
  • Shop
    • Shaping Worldview
  • Simplified Homeschool
  • Successful Learning

teaching science

The Macroscopic World: Making a Moon Model

April 5, 2018 by Jenna

moon model landscape
Just as it can be difficult to study the world on a microscopic level, it can also be hard to study things that are too large to make sense of. Models of large objects must be scaled down so that we can better understand them. In this activity from the BJU Press Science 4 Teacher’s Edition, we’ll create a moon model. (The clay we use here may be edible, but we don’t recommend eating it.)

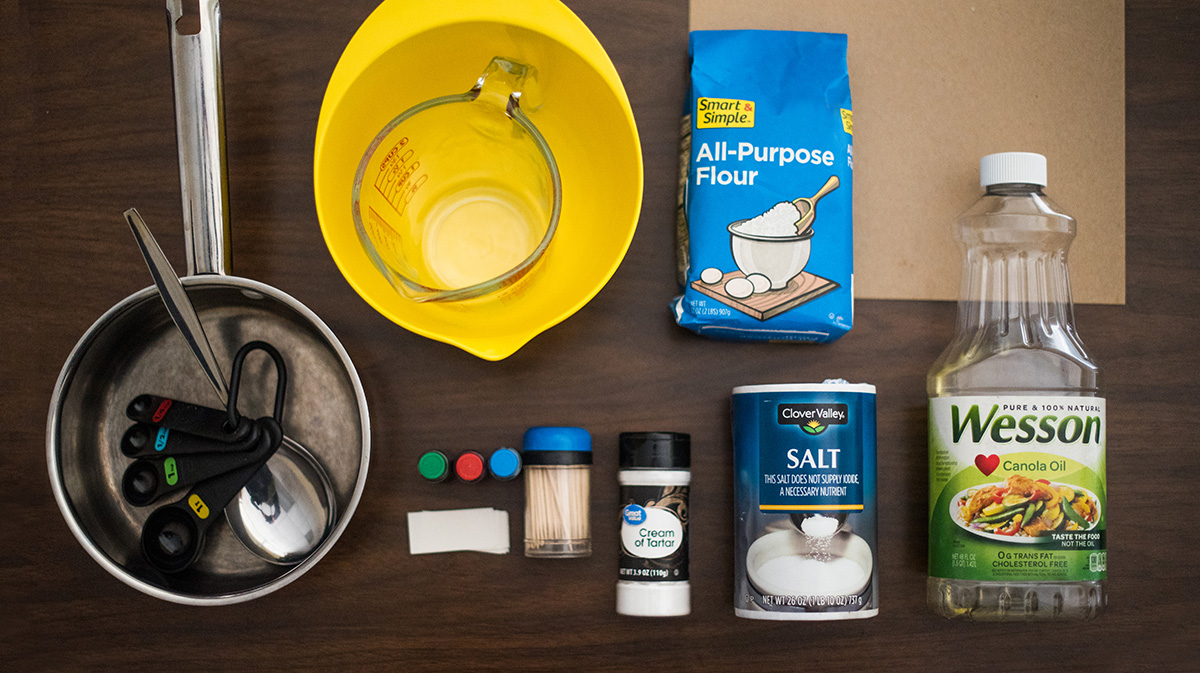
Materials for a Moon Model

  • 1 cup flour
  • ½ cup salt
  • 2 tsp cream of tartar
  • 1 tbsp cooking oil
  • 1 cup water
  • Saucepan
  • Spoon
  • 12″ x 12″ square of cardboard
  • Toothpicks
  • Paper, cut into thin strips
  • Red, green, and blue food coloring (optional)

moon model materialsMaking the Model

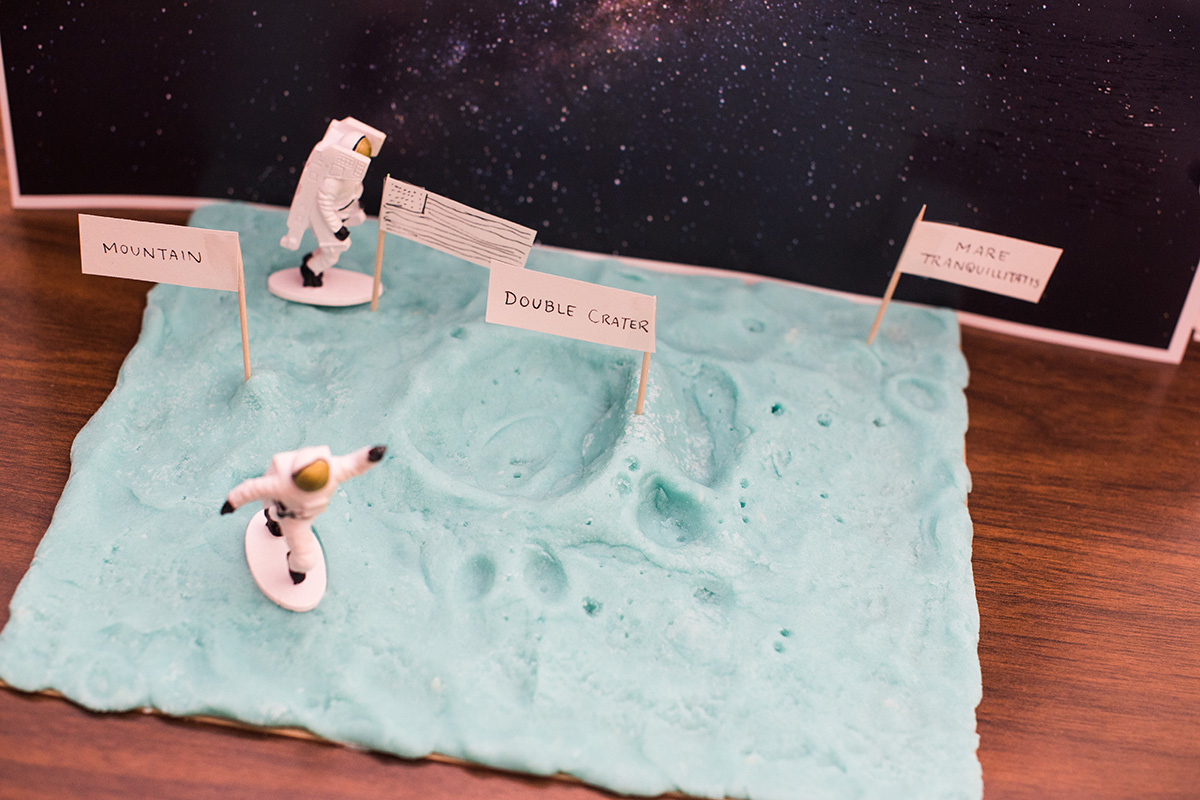
  1. Help your child pick an area of the moon to model. The desktop version of Google Earth will let you explore the moon’s surface in some detail. Otherwise, you can explore the moon on Google Moon. You will also find interesting facts about the Apollo space missions. We chose an area visited by Apollo 11 called Double Crater, on the edge of the Mare Tranquillitatis.
  2. Have your child combine 1 cup flour, ½ cup salt, and 2 teaspoons cream of tartar in a saucepan.
  3. (optional) If your child wants to make a model the same color as the moon, she may add 1 drop each of the red, blue, and green food coloring to the water to turn the clay gray.moon model clay making
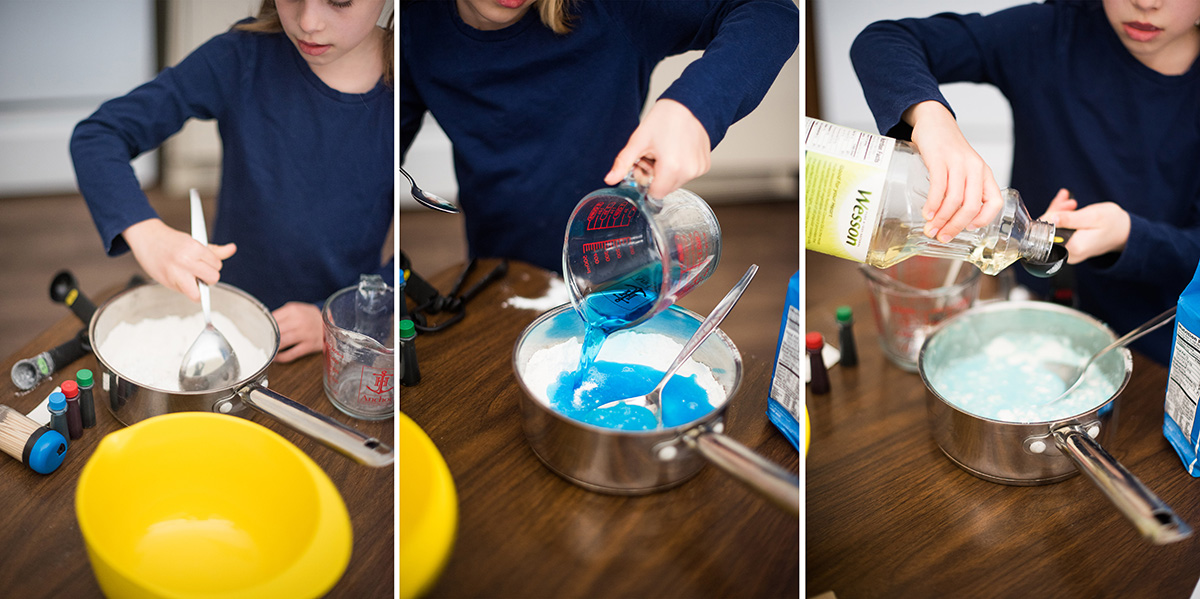
  4. Have her add 1 tablespoon cooking oil and 1 cup water to the dry ingredients.
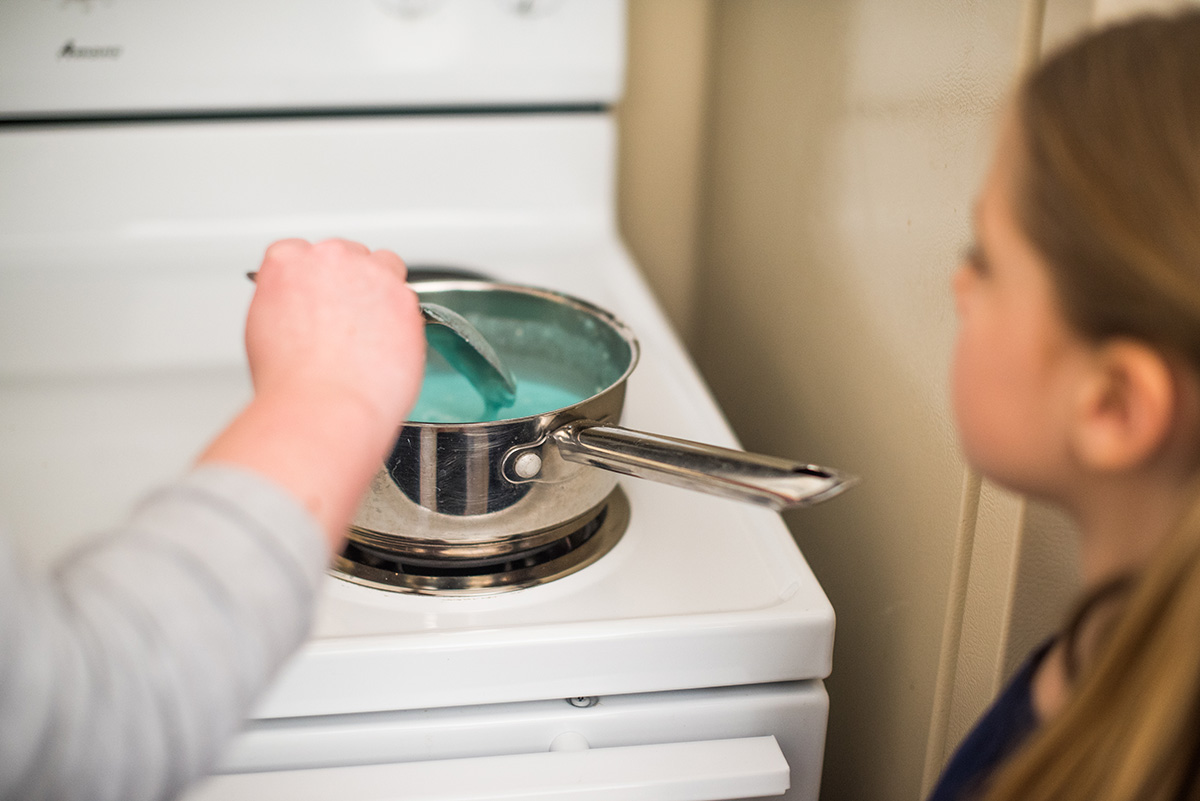
  5. Heat the mixture over medium heat, stirring constantly, until the clay begins pulling away from the pan.moon model cookingmoon model kneading
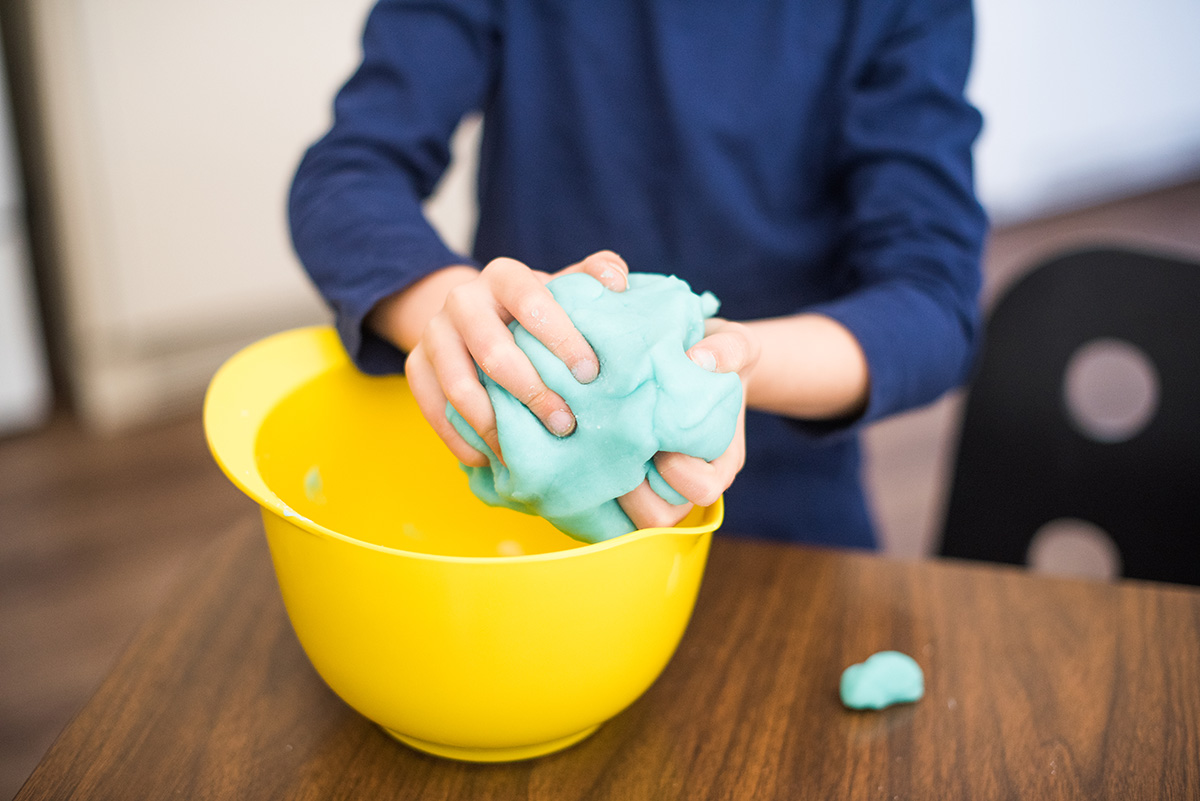
  6. Take the pan off the heat and remove the clay from the pan. Since the clay may be too hot to handle right away, this may be an excellent time to teach the benefits of cleaning as you go. Once the tools she’s used are clean and the clay is safe to touch, she should knead the clay until it’s cool.
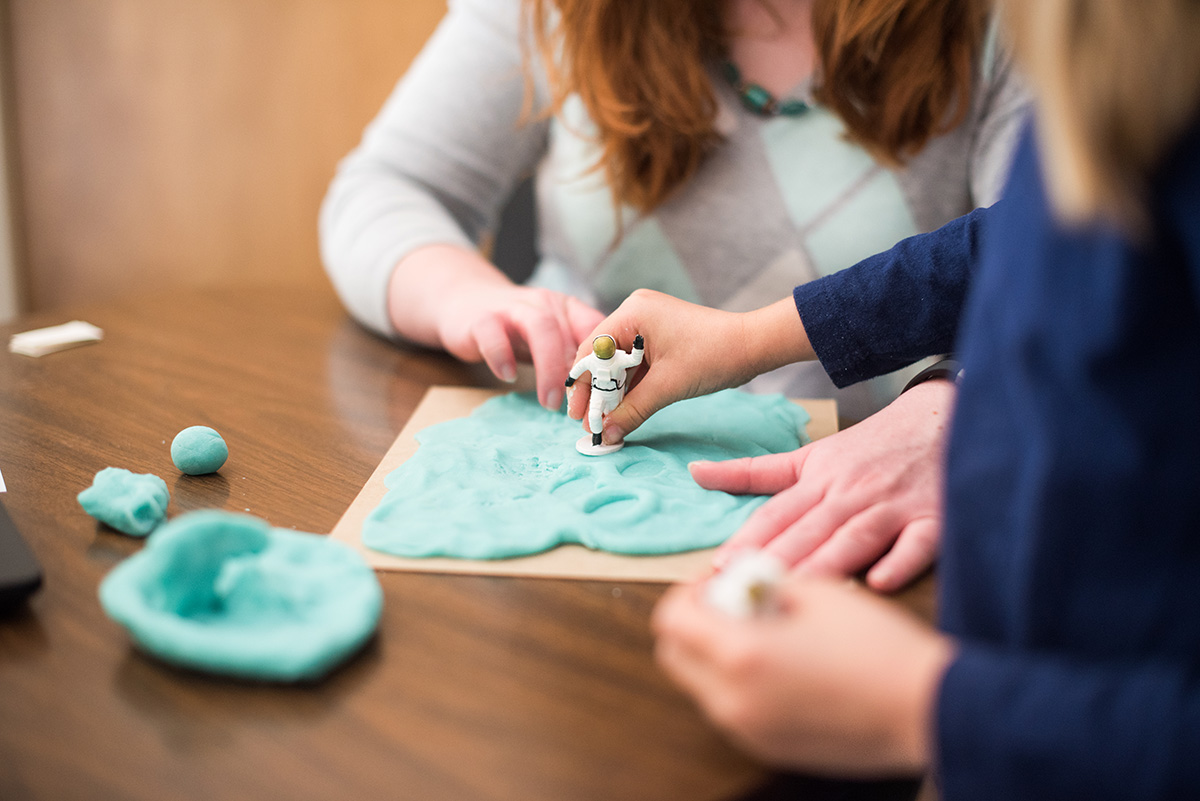
  7. Have your child spread the clay (using the cardboard as a base) and mold it to show the features of the area selected in step 1.
  8. She can use the paper strips and toothpicks to make little flags to mark important features.

Your clay will harden in about a day, leaving you with an excellent tool for activating prior learning in the future. It can become the landscape for Lego astronauts reenacting the Apollo missions, or an adventure straight from your child’s imagination. Your child will be able to add the terms she used in the lesson for the moon’s landscape to her play, solidifying learning even more.

We’d love for you to share your moon models with us! Please feel free to share your photos on Facebook or Instagram and tag us with @bjupresshomeschool.moon model moldingmoon model finished

Filed Under: Successful Learning Tagged With: homeschool science, moon model, teaching science

The Microscopic World: Making an Edible Cell Model

March 8, 2018 by Jenna

edible cell model
From the impossibly large to the impossibly small, our God designed it all. But it can be hard to study and observe the characteristics of objects at either of these extremes. That’s why we create models to help us out. And how much more exciting is it if our models are something we like to eat? In this activity from the BJU Press Science 3 textbook, we’ll create an edible cell model.

Materials for an Edible Cell Model

  • Cell model printable
  • Clear plastic cup
  • Measuring cups (1 cup and ½ cup)
  • Bowl
  • Spoon
  • Refrigerator
  • Fruit strips
  • Gelatin powder (light colored or clear)
  • Gumballs
  • Ice cubes
  • Hot water
  • Gummy candies (optional)

edible cell model materialsProcedure

  1. Heat 1 cup of water to boiling or steaming. This can be done in a microwave or on the stove. In the bowl, combine the hot water and gelatin powder and stir until the powder dissolves.edible cell model mixtureedible cell model water
  2. Have her measure out and add ½ cup of ice and stir until it melts. Cold water would also work, but the gelatin will need time to cool before step 4.
  3. Have your child line the cup with the fruit strip to represent the cell membrane. It should touch the bottom of the cup all the way around. This will start our cross section of a cell. Have her answer the questions in the printable as she goes.edible cell model cups
  4. Have her add the gelatin to the cup with the fruit strip to represent the cytoplasm. Make sure the gelatin is cool or cold. Only add enough gelatin to go to the top of the strip. Since you may have enough gelatin to make more than one cup, feel free to make several models. Another model may come in handy if you decide to do the optional portion.edible cell model gelatin
  5. She will need to chill the gelatin cup in the refrigerator until the gelatin is no longer a liquid. This will take 4–6 hours. Putting it in the freezer for an hour before moving it to the refrigerator for an additional 2–3 hours will help it set more quickly.
  6. Have your child push the gumball into the gelatin to represent the nucleus. Any round candy will also work.edible cell model nucleus
  7. Leave the cell model in the cup. The mingling of sugars from the fruit strip and the gelatin may cause the fruit strip to liquefy, so leaving it in the cup will keep it from completely dissolving.
  8. On the printable, have your child draw a diagram of the cell model she has created, label the parts, and color it.
  9. Have her explain why models are useful and what each part represents.

Optional: Take It One Step Further

Ask your child how a plant cell is different from an animal cell. What in her cell model could represent the cell walls? The cup makes a good cell wall, but cell walls aren’t the only things that are different in plant cells. Another difference is the chloroplast, which you can represent by adding a gummy candy beside the gumball. We used Fruit Gushers in our plant cell model.

If you prepare your models in the morning, these would make an excellent dessert for after dinner. Your child can share what she learned about cells with the rest of the family and explain how her model works.

Let us know how your cells turn out. We’d love to see them! Please share photos on Facebook or Instagram, and tag us with @bjupresshomeschool.finished edible cell models

Filed Under: Successful Learning Tagged With: animal cells, edible cell model, plant cells, teaching science

Primary Sidebar

As parents, teachers, or former homeschool students, we are passionate about homeschooling from a biblical worldview. We hope these teaching tips, fun activities, and inspirational stories support you in teaching your children.

Email Signup

Sign up for our homeschool newsletter and receive select blog posts, discounts, and more right to your inbox!

Connect with Us!

                    Instagram     

Read Posts on Specific Subjects

Early Learning
Foreign Language
History
Language Arts
Math
Science

Footer

Disclaimer

The BJU Press blog publishes content by different writers for the purpose of relating to our varied readers. Views and opinions expressed by these writers do not necessarily state or reflect the views of BJU Press or its affiliates. The fact that a link is listed on this blog does not represent or imply that BJU Press endorses its site or contents from the standpoint of ethics, philosophy, theology, or scientific hypotheses. Links are posted on the basis of the information and/or services that the sites offer. If you have comments, suggestions, questions, or find that one of the links no longer works, please contact us.

Pages

  • About BJU Press
  • Conversation Guidelines
  • Terms of Use & Copyright

Archives

Copyright ©2019 · BJU Press Homeschool