Just as it can be difficult to study the world on a microscopic level, it can also be hard to study things that are too large to make sense of. Models of large objects must be scaled down so that we can better understand them. In this activity from the BJU Press Science 4 Teacher’s Edition, we’ll create a moon model. (The clay we use here may be edible, but we don’t recommend eating it.)
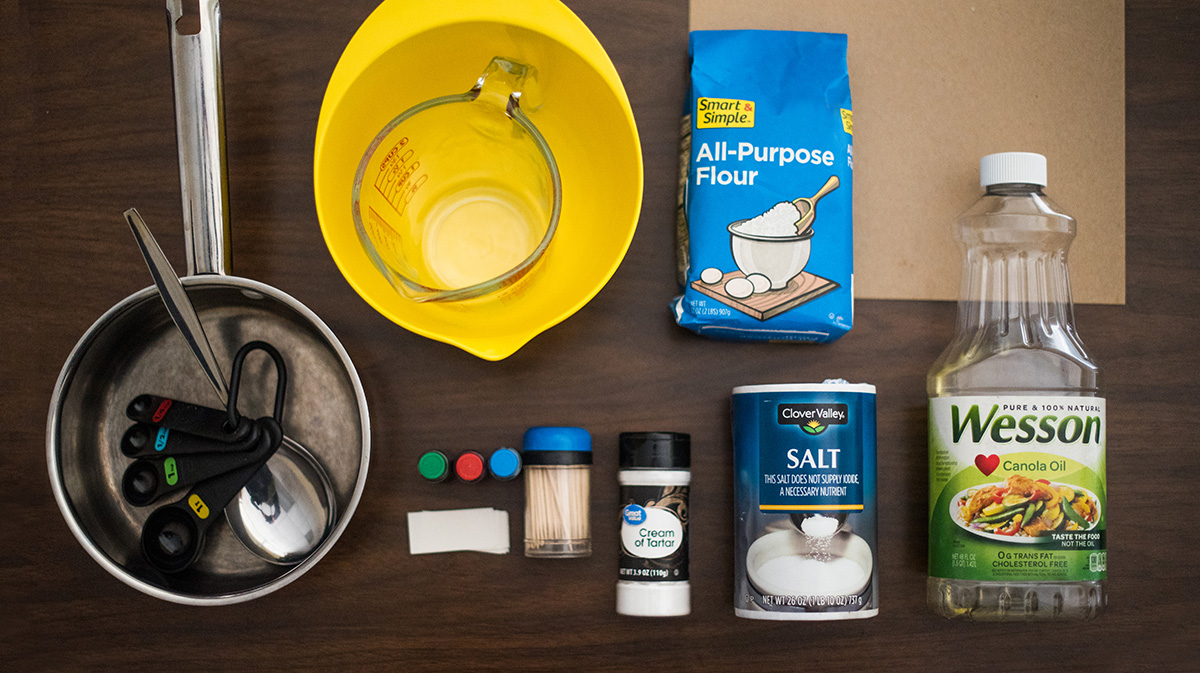
Materials for a Moon Model
- 1 cup flour
- ½ cup salt
- 2 tsp cream of tartar
- 1 tbsp cooking oil
- 1 cup water
- Saucepan
- Spoon
- 12″ x 12″ square of cardboard
- Toothpicks
- Paper, cut into thin strips
- Red, green, and blue food coloring (optional)
 Making the Model
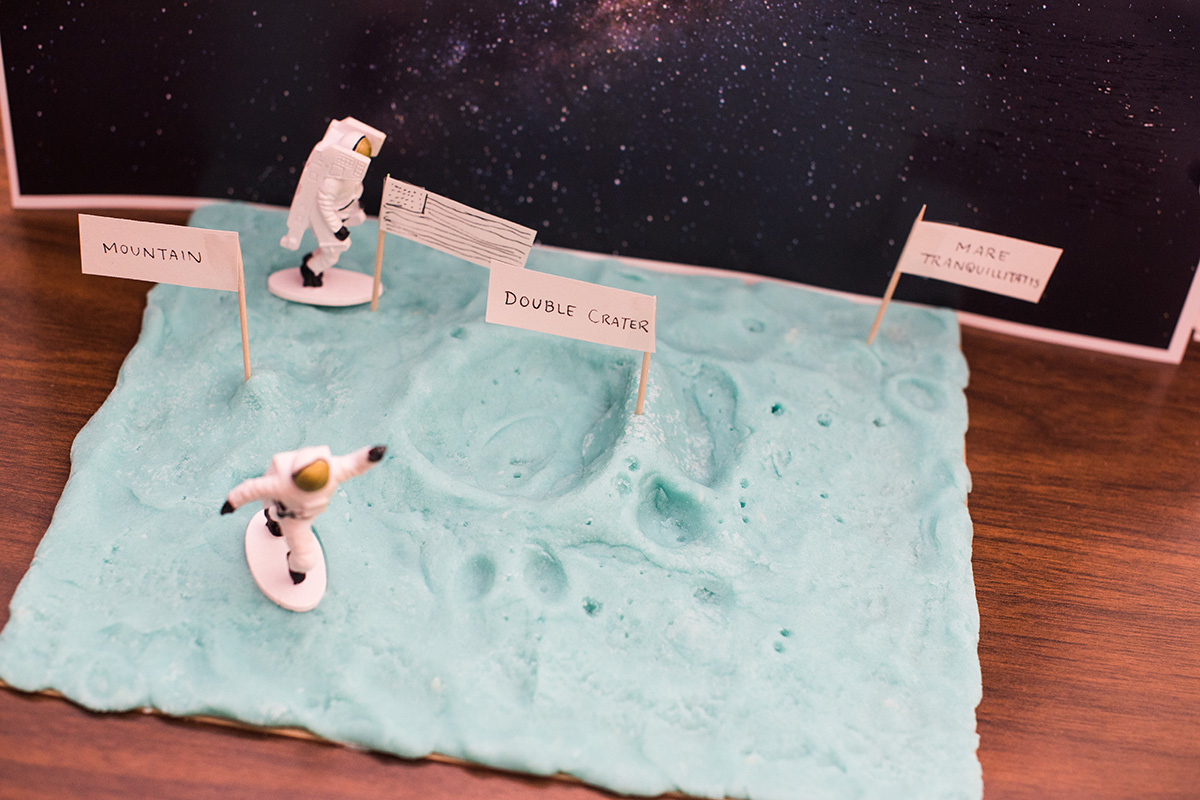
- Help your child pick an area of the moon to model. The desktop version of Google Earth will let you explore the moon’s surface in some detail. Otherwise, you can explore the moon on Google Moon. You will also find interesting facts about the Apollo space missions. We chose an area visited by Apollo 11 called Double Crater, on the edge of the Mare Tranquillitatis.
- Have your child combine 1 cup flour, ½ cup salt, and 2 teaspoons cream of tartar in a saucepan.
- (optional) If your child wants to make a model the same color as the moon, she may add 1 drop each of the red, blue, and green food coloring to the water to turn the clay gray.
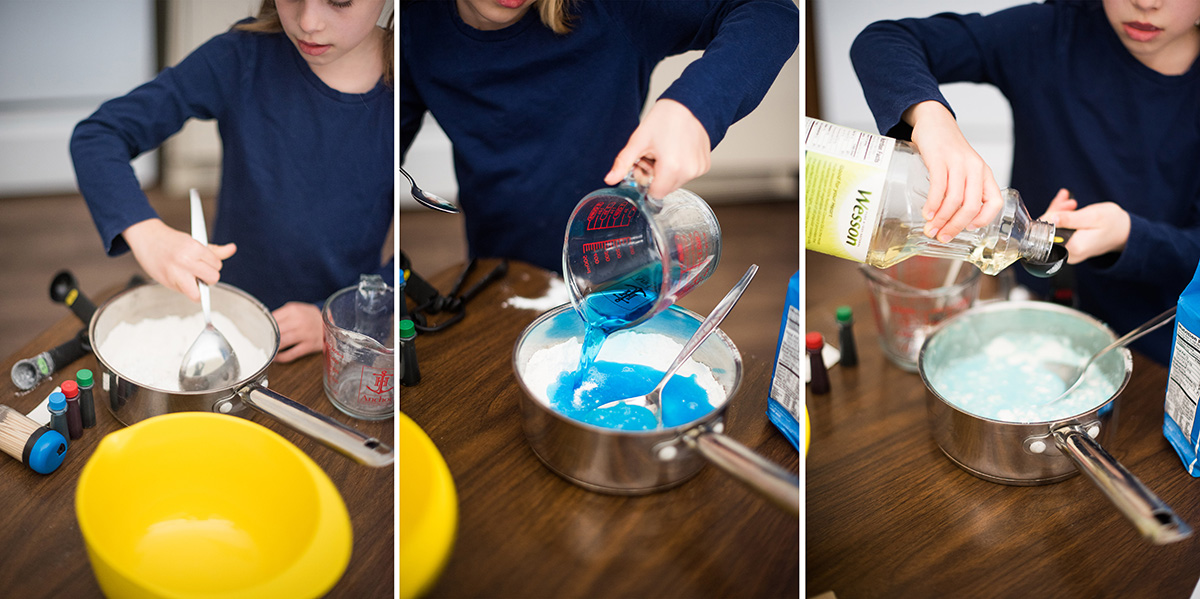
- Have her add 1 tablespoon cooking oil and 1 cup water to the dry ingredients.
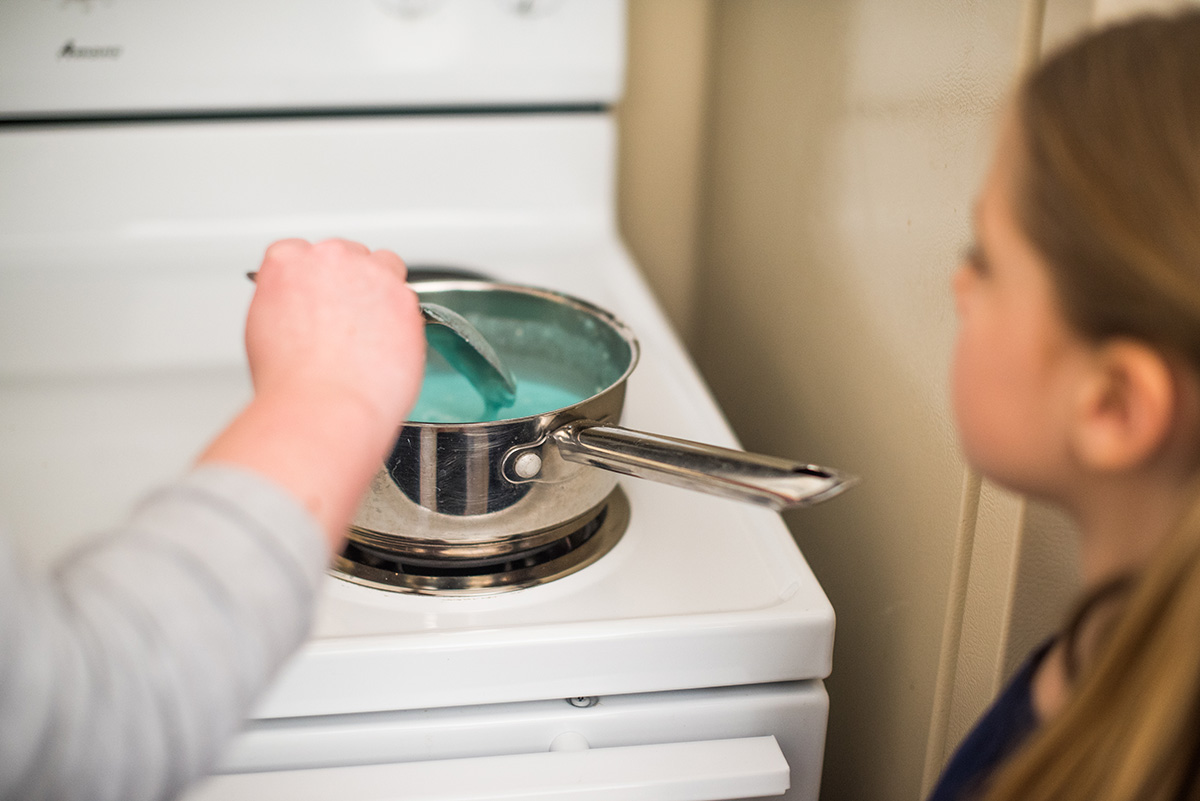
- Heat the mixture over medium heat, stirring constantly, until the clay begins pulling away from the pan.
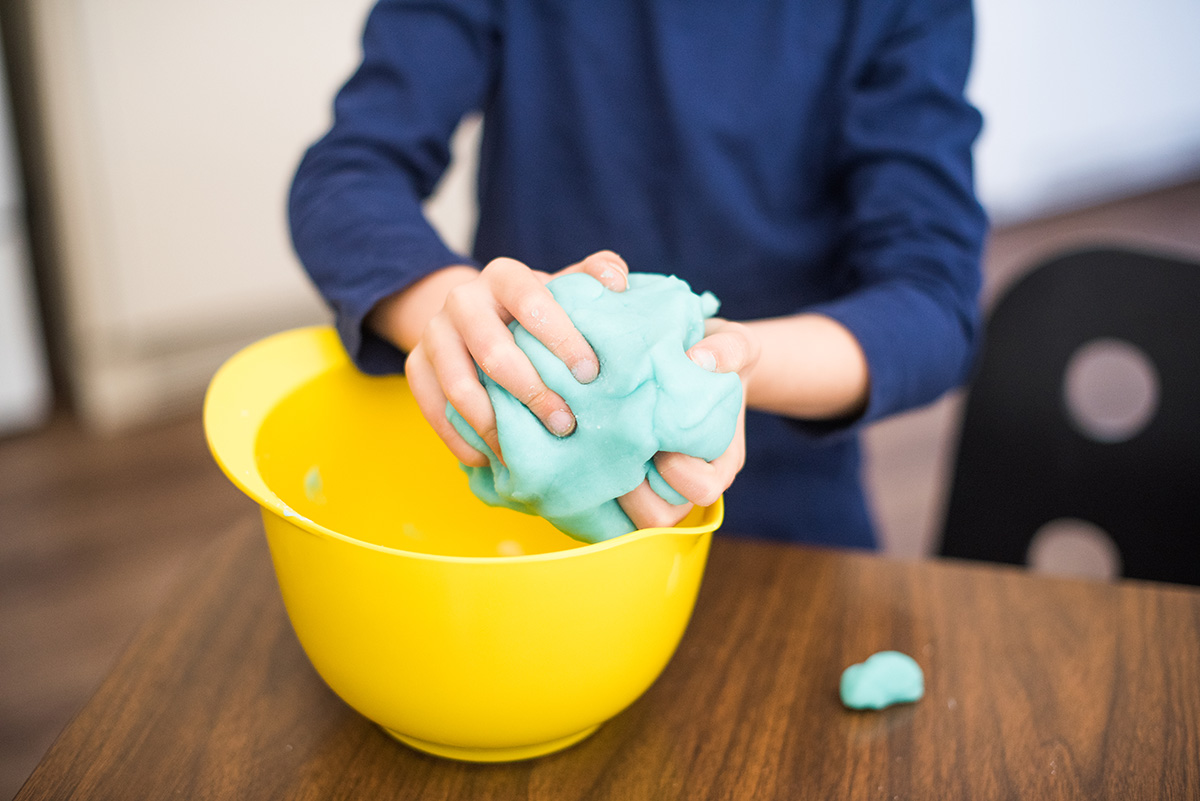
- Take the pan off the heat and remove the clay from the pan. Since the clay may be too hot to handle right away, this may be an excellent time to teach the benefits of cleaning as you go. Once the tools she’s used are clean and the clay is safe to touch, she should knead the clay until it’s cool.
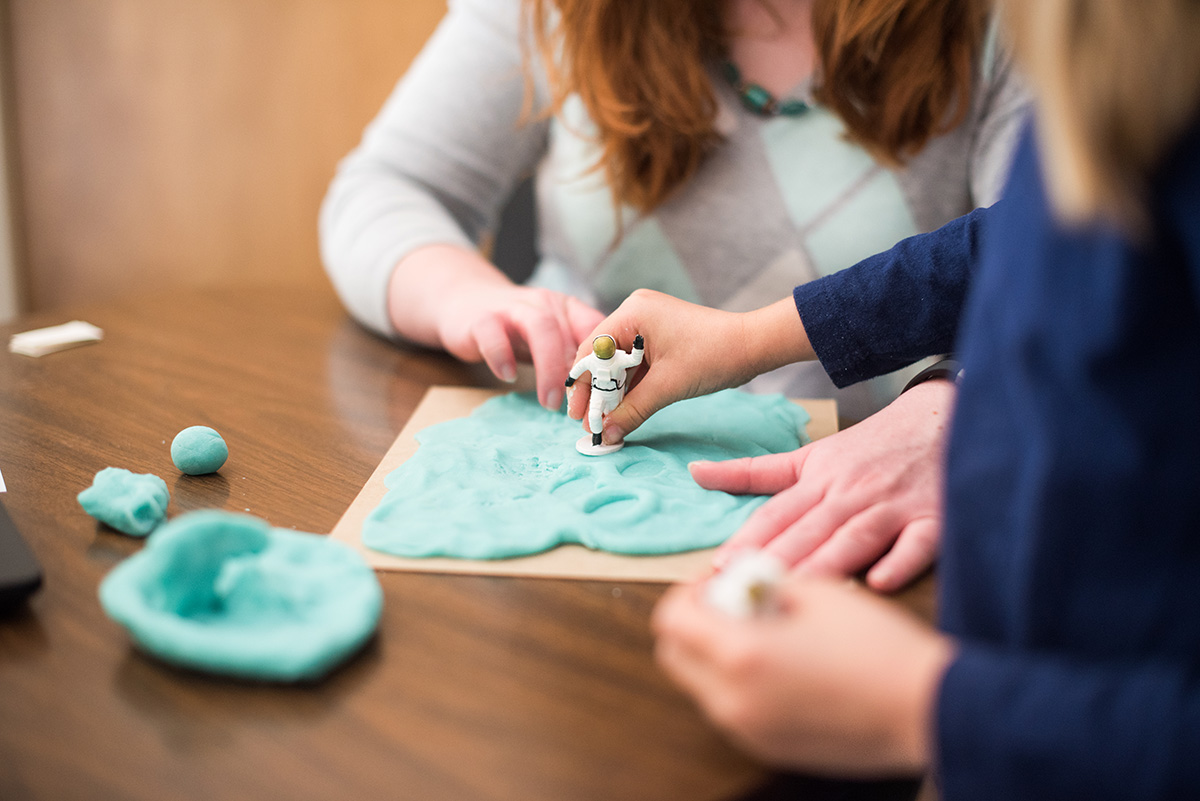
- Have your child spread the clay (using the cardboard as a base) and mold it to show the features of the area selected in step 1.
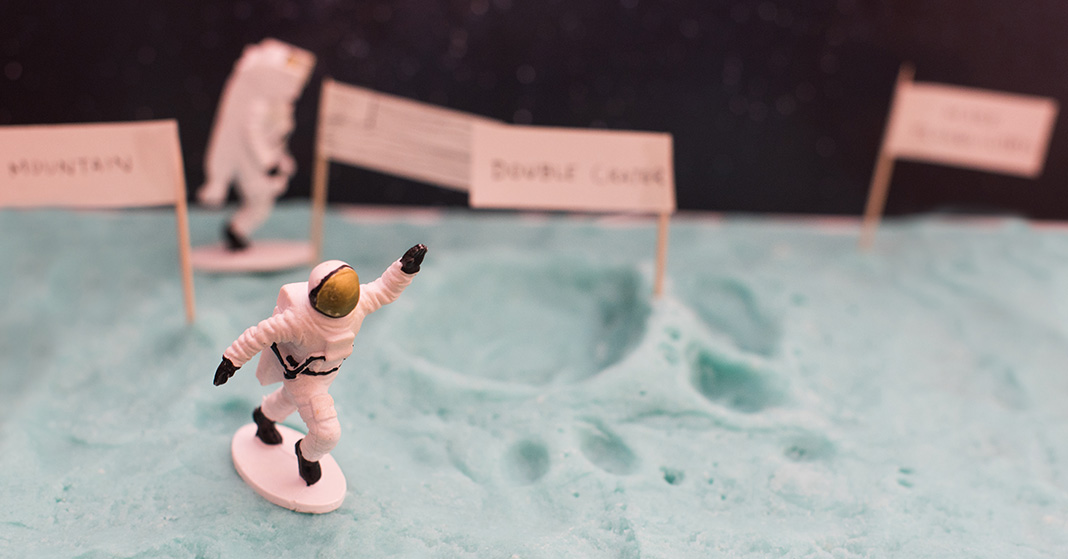
- She can use the paper strips and toothpicks to make little flags to mark important features.
Your clay will harden in about a day, leaving you with an excellent tool for activating prior learning in the future. It can become the landscape for Lego astronauts reenacting the Apollo missions, or an adventure straight from your child’s imagination. Your child will be able to add the terms she used in the lesson for the moon’s landscape to her play, solidifying learning even more.
We’d love for you to share your moon models with us! Please feel free to share your photos on Facebook or Instagram and tag us with @bjupresshomeschool.