Our children are growing every day. They are not just growing taller—they are also growing in their understanding of the world and in their ability to interact with it in a meaningful way. God created our children as emotional creatures—they respond emotionally to the world around them. We can observe these emotions in our children from very young ages. Babies scream when their world is unpleasant—when their diapers are wet, or their bellies are hurting. Toddlers sometimes display their temper when something doesn’t go their way. It’s important for our children to grow in their ability to express and manage their own emotions and empathize with others. They won’t be able to function well as adults if they don’t learn these skills. As homeschool parents, we get to encourage and observe this emotional growth.
Role-play
Role-Play and a Colonial Activity

Children love role-play. Toys become props, and a jungle gym, a tree, or even the living-room furniture can become a stage for a unique role-play session. They play house, make up war games, or act out stories they’ve read or seen in movies. And they will use anything—and I do mean anything—that they’ve seen or learned in their role-play, even if it doesn’t exactly fit there.
I remember as a child creating stories with matchbox cars in a doll playhouse. I also remember having a Polly Pocket as a Star Trek tricorder in one hand and a Lego® phaser in the other. As a teen, I watched a group of first graders playing after school. One little girl, the leader, laid out the game they would play. She was drawing from her lessons, her favorite stories, and her own rather wild imagination. It was one of the most intricate and regulated children’s games I have ever seen. It didn’t make a lot of sense, but none of the other kids seemed to mind.
One of the best ways you can get your kids engaged in a lesson is to fit it into a story that they can remember. If you give them fodder for role-play, you’ll see them reusing what they’ve learned in any number of ways. Here’s an activity for creating a hornbook when you’re teaching about how children learned in the New England colonies.
Making Your Own Hornbook
This activity comes from the Heritage Studies 2 teacher edition (Lesson 52). In this lesson, children learn about dame schools and how hornbooks helped the kids in the colonies to memorize their letters and the Lord’s Prayer.
Materials
- Hornbook pattern and text
- 8½ x 11 sheet of stiff paper (construction paper, posterboard, or cardstock)
- 4 brass fasteners
- 24” length of string or ribbon
- Sheet protector
- Hole punch
Directions
- Print and cut out the hornbook pattern. Use it as a guide to cut the stiff paper into the shape of a hornbook.
- Cut out your sheet protector so it’s the same size as your hornbook. Hornbooks got their name because they were usually covered by a thin sheet of animal horn for protection. You’ll be using a this sheet protector instead of animal horn.
- Print and cut out the alphabet and Lord’s Prayer text.
- Punch a hole in each of the four corners of the sheet protector, text, and hornbook.
- Attach all three pieces together with brass fasteners.
- Punch an additional hole at the end of the handle.
- Thread the string or ribbon through the hole and tie the ends to make a big loop. Children would often wear their hornbooks around their necks or tied to their belts so they wouldn’t lose them and so they could study them throughout the day.
Role-Play Starters for Using Your Hornbook
Once the lesson is done, use these starters to get your kids’ minds engaged in play with the things they’ve just learned.
- Pretend you’re the teacher at a dame school and you’re helping one of your students (e.g., a sibling or willing parent) use his or her brand-new hornbook.
- Imagine you’re a child in the New England colonies and you have to wear your hornbook for the rest of the day.
But don’t be surprised! You may find sometime in the future that your child’s hornbook has become a fan, a pizza peel (the giant spatula used to put a pizza in the oven), or a crossing guard sign as your kids use it in their play.
Lego® Role-Play for Learning History

My oldest daughter learns verbally. She reads with understanding and incorporates new vocabulary into her responses to questions about material she’s learning. That makes teaching history to her easy and enjoyable. I am verbal, too, when sharing historical narratives and explaining conflicts of the past.
So I was surprised when she started struggling early in third grade. She wasn’t failing quizzes or even struggling to answer my comprehension questions, but I could tell she wasn’t getting it. More importantly, the joy was slipping away.
History’s Challenge
Some of the most exciting parts of history revolve around explorers, generals, and inventors. We enjoy teaching the feats of these larger-than-life individuals that feed our children’s imaginations. But some of the most significant turning points in history involve legal documents. These documents addressed the most contentious issues but often feel stale and irrelevant to our young children.
For my daughter and me, one challenging document is the most important document in American history—the Constitution. In talking about it with my daughter, I could tell from her responses and glazed eyes that debates over representation weren’t exciting her. But I knew this was too important for her to miss.
Legos and History
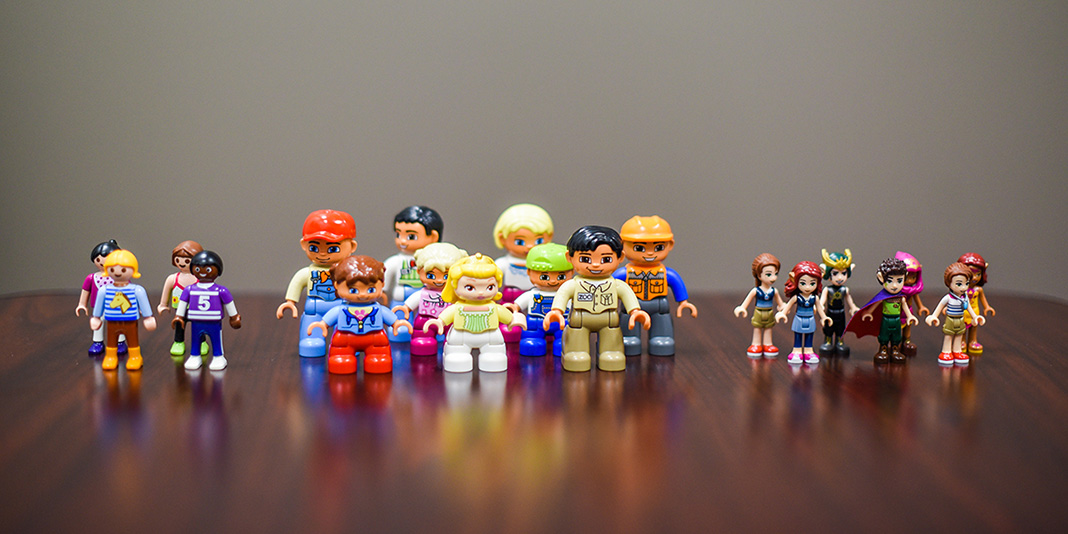
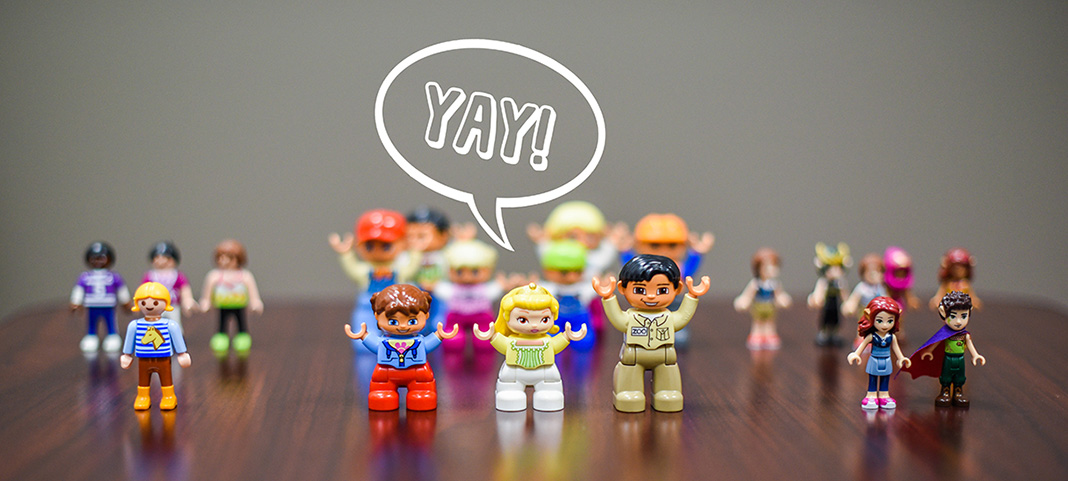
The next evening, I asked my daughter to find all of our Lego, Duplo®, and Playmobil® mini figurines. We were going to do some Lego role-play.
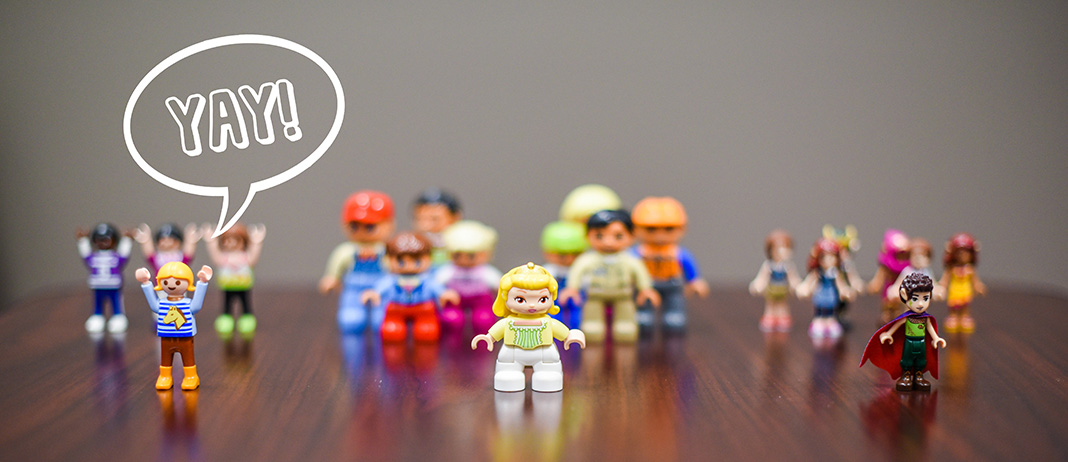
We divided up the mini figurine groups based on type and called them “states.” The Duplo “state” had the highest population of the three, and the Playmobil “state” had the smallest population. Then we worked through the proposals for representation at the Constitutional Convention.
Under Madison’s proposal, we decided that each “state” received one representative for every three “people.” After counting out the representatives, I asked, “Who would like this proposal?”
She responded, “The Duplo people!”
“Why do they like it?”
“They get the most votes in Congress.”

“What about the small state proposal?”
“They would get one vote each.” So we worked out representation for the “states” under this proposal.
“Who likes this proposal?” I asked.
“The Playmobil people because they get an equal vote.”

Finally, we worked through the Great Compromise. By the end of the lesson, I could see the Lego role-play had really helped her grasp an important concept in civics.
Making History and Civics Concrete
Usually when we read about history or civics, it’s abstract—at least to some degree. Illustrations and photographs can help turn those concepts into something your child can see. But many such discussions may be difficult for a child with relatively few life experiences to relate it to.
Role-playing enables you and your child to take these abstract ideas and make them concrete—so concrete that you may find yourself pushing “Lewis and Clark’s boats” up the “Missouri River.” This fun, family-building experience helps your child turn verbal details into active learning.
Checking Your Child’s Learning
Let’s suppose I think my daughter has a handle on the idea of supply and demand. It may even appear that she grasps how railroads and steamboats affected the relationship between farms and cities.
But when we role-play it, I can see what my daughter really understands as she recreates a city and a farm. We can talk through how railroads enable farms farther from the cities to support larger populations in those cities. When she uses supply to describe the “food” and demand to relate to the mini figurines that are “hungry,” I can tell that she gets it.
I’ve found that these hands-on activities make powerful assessment tools for evaluating my child’s learning.
Choosing Hands-on Learning
If your child is beginning to get that glazed-over look as you discuss US history, break out a hands-on activity. We used Legos, but you can use stuffed animals or Popsicle® stick people instead. Help your child by turning abstract readings about the past into active, hands-on learning.