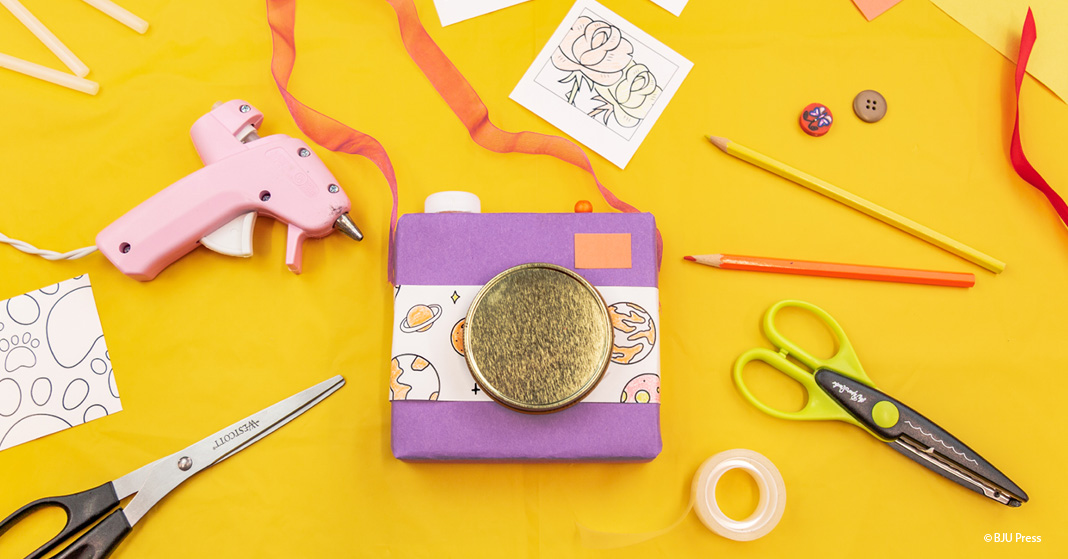
Do your kids love taking photos but are not quite ready to handle a real camera yet? If so, then they will love this adorable DIY toy camera! This toy camera can be made with basic household supplies and will inspire your kids to take pictures of their favorite things. This camera is easy to make, and your kids can express their creativity by coloring and adding extra decorations. They can make it as decorated or as simple as they like! Watch this video for the full tutorial. The materials and instructions are listed below.
Materials:
- Printable: camera wrap & Polaroids™
- One box
- Beads
- Colored pencils
- One bottle cap
- One jar lid
- Construction paper
- Glue stick
- Tape
- Scissors
- Hot glue gun
- Ribbon
- Optional: paints
Directions:
- Wrap the construction paper around or paint the box.
- Print and color the camera decal.
- Glue the decal around the middle of the box with glue stick.
- Cut out a rectangle for a viewfinder.
- Use glue stick to attach the viewfinder to the front of the box near the top.
- Use glue gun to attach the jar lid in the center of the front of the box for the lens.
- Hot glue the bottle cap and beads onto the top of the box for the shutter button.
- Cut a large square or rectangle piece of construction paper for the LCD screen.
- Use glue stick to attach the LCD screen to the back of the box, covering the seam. Feel free to draw on it.
- Add ribbon for a neck strap, and add any other decorations you like.
- Print and color the Polaroids to use as pictures!
Your kids will have lots of fun with this camera! Let us know how your camera turned out. Take a picture (using a real camera), and share it with us on our Facebook page.
Leave a Reply