• Skip to primary navigation
  • Skip to main content
  • Skip to primary sidebar
  • Skip to footer

BJU Press Blog

  • Home
  • Shop
    • Shaping Worldview
  • Simplified Homeschool
  • Successful Learning

Megan

How a New Homeschooler Balances Her Day

January 14, 2016 by Megan

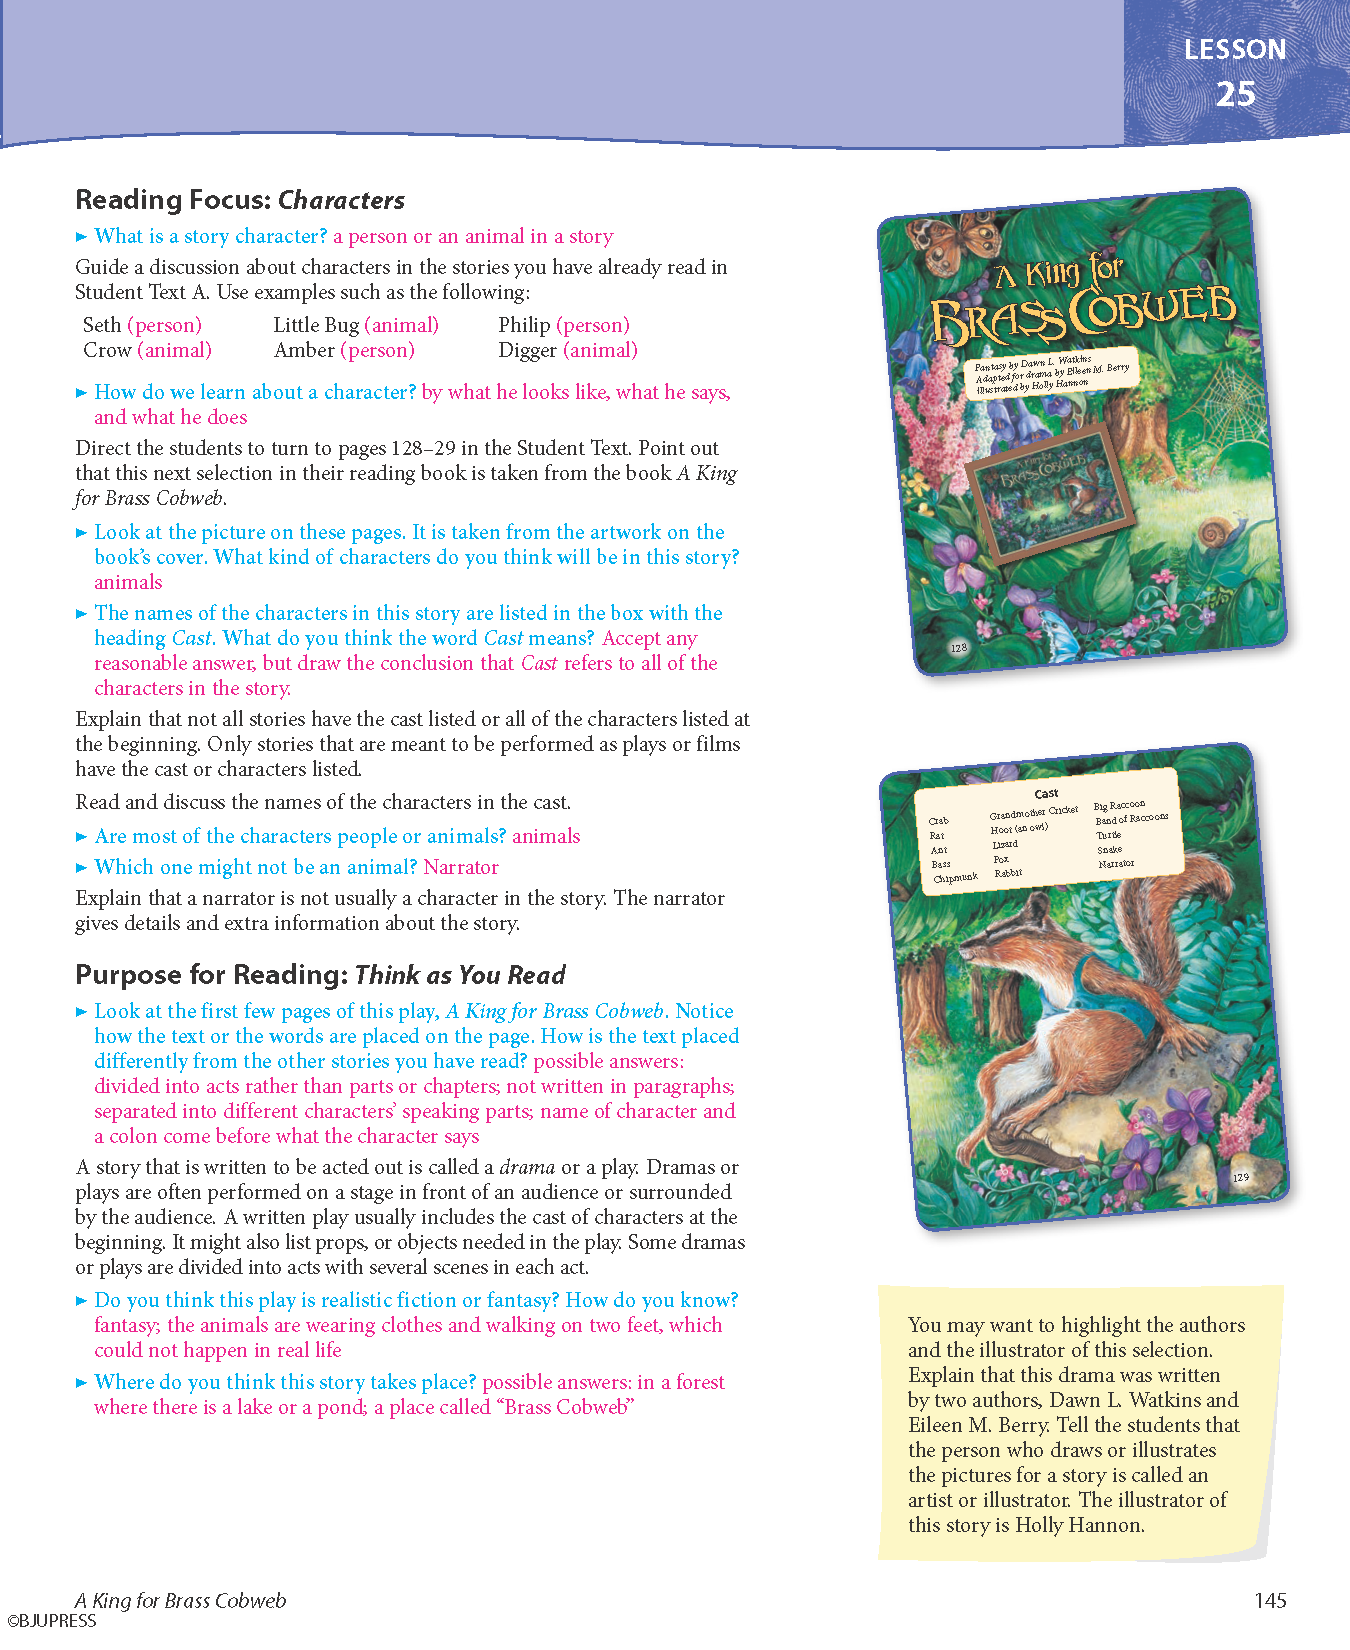
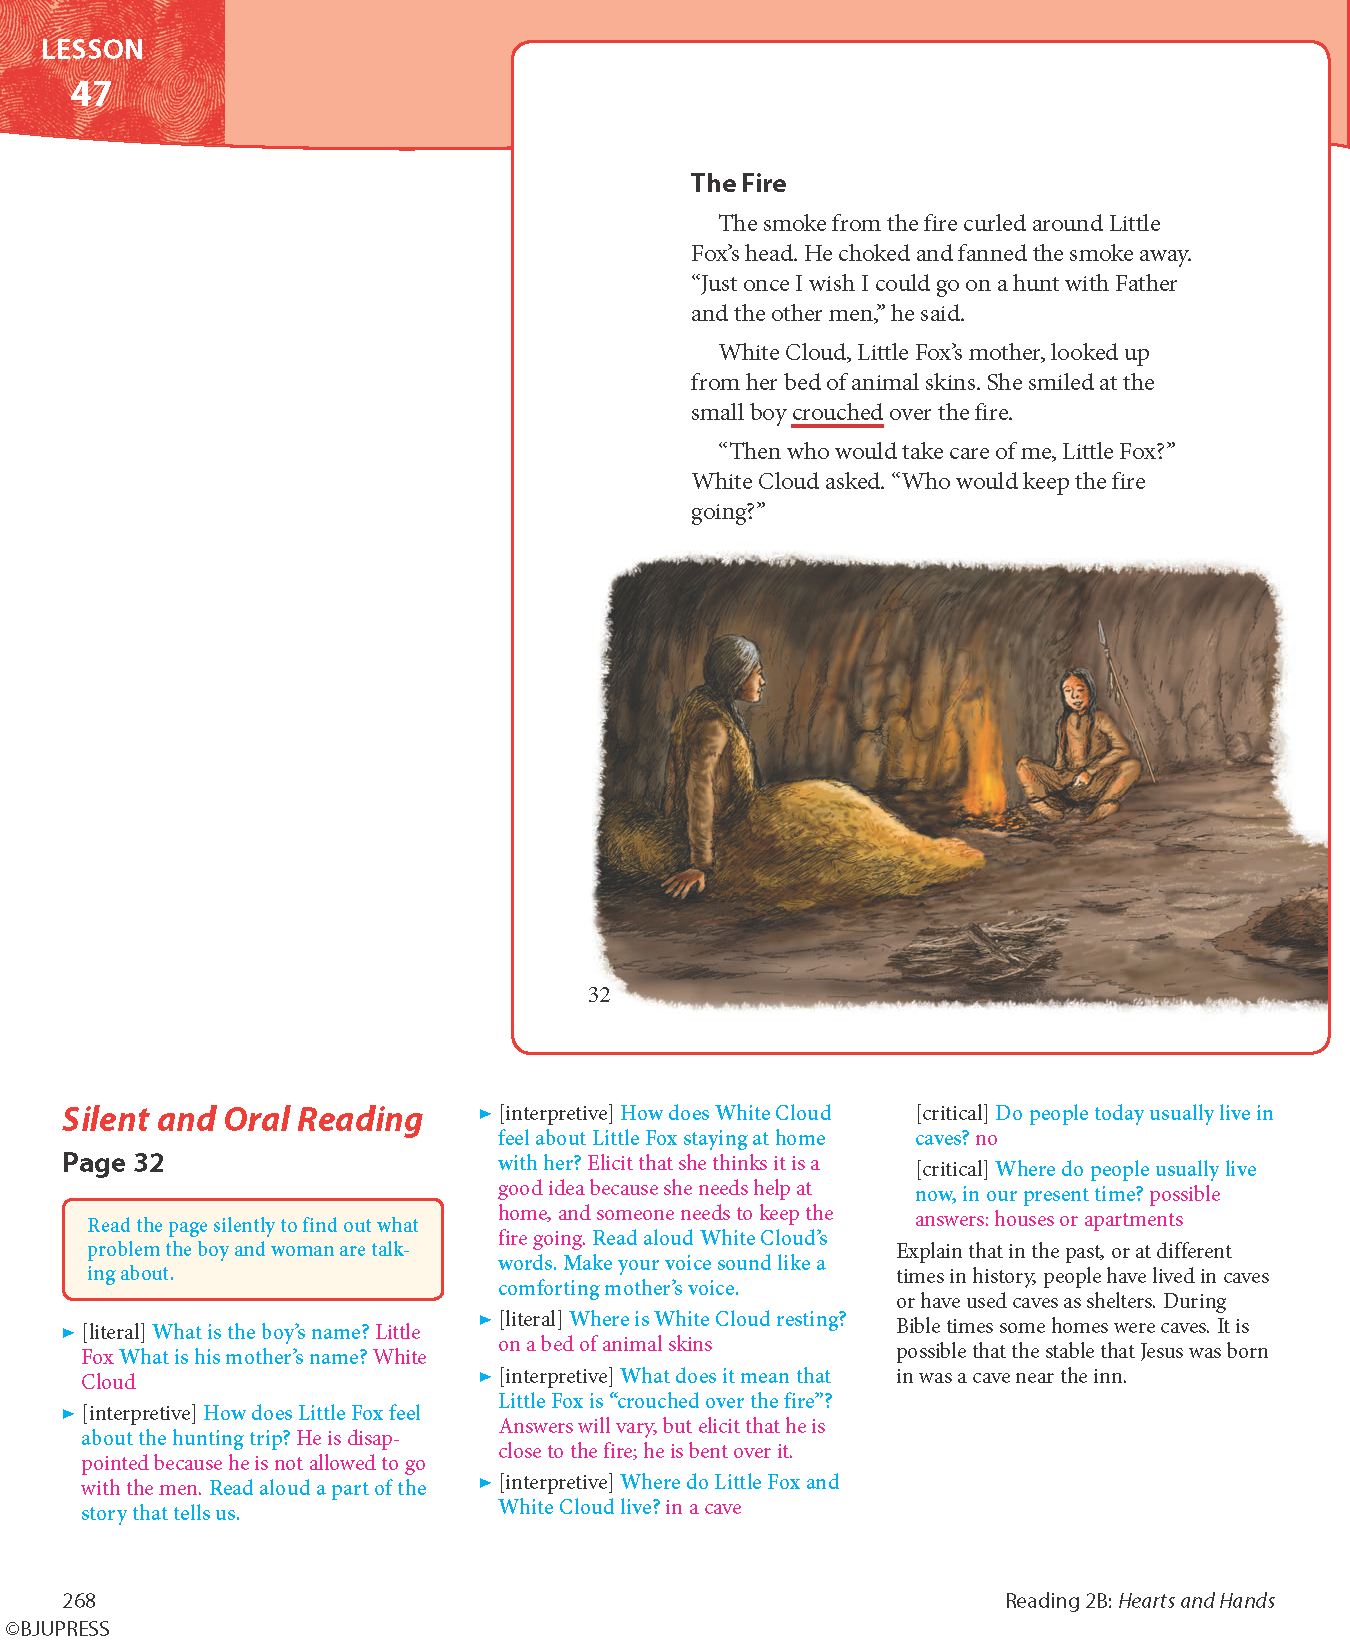
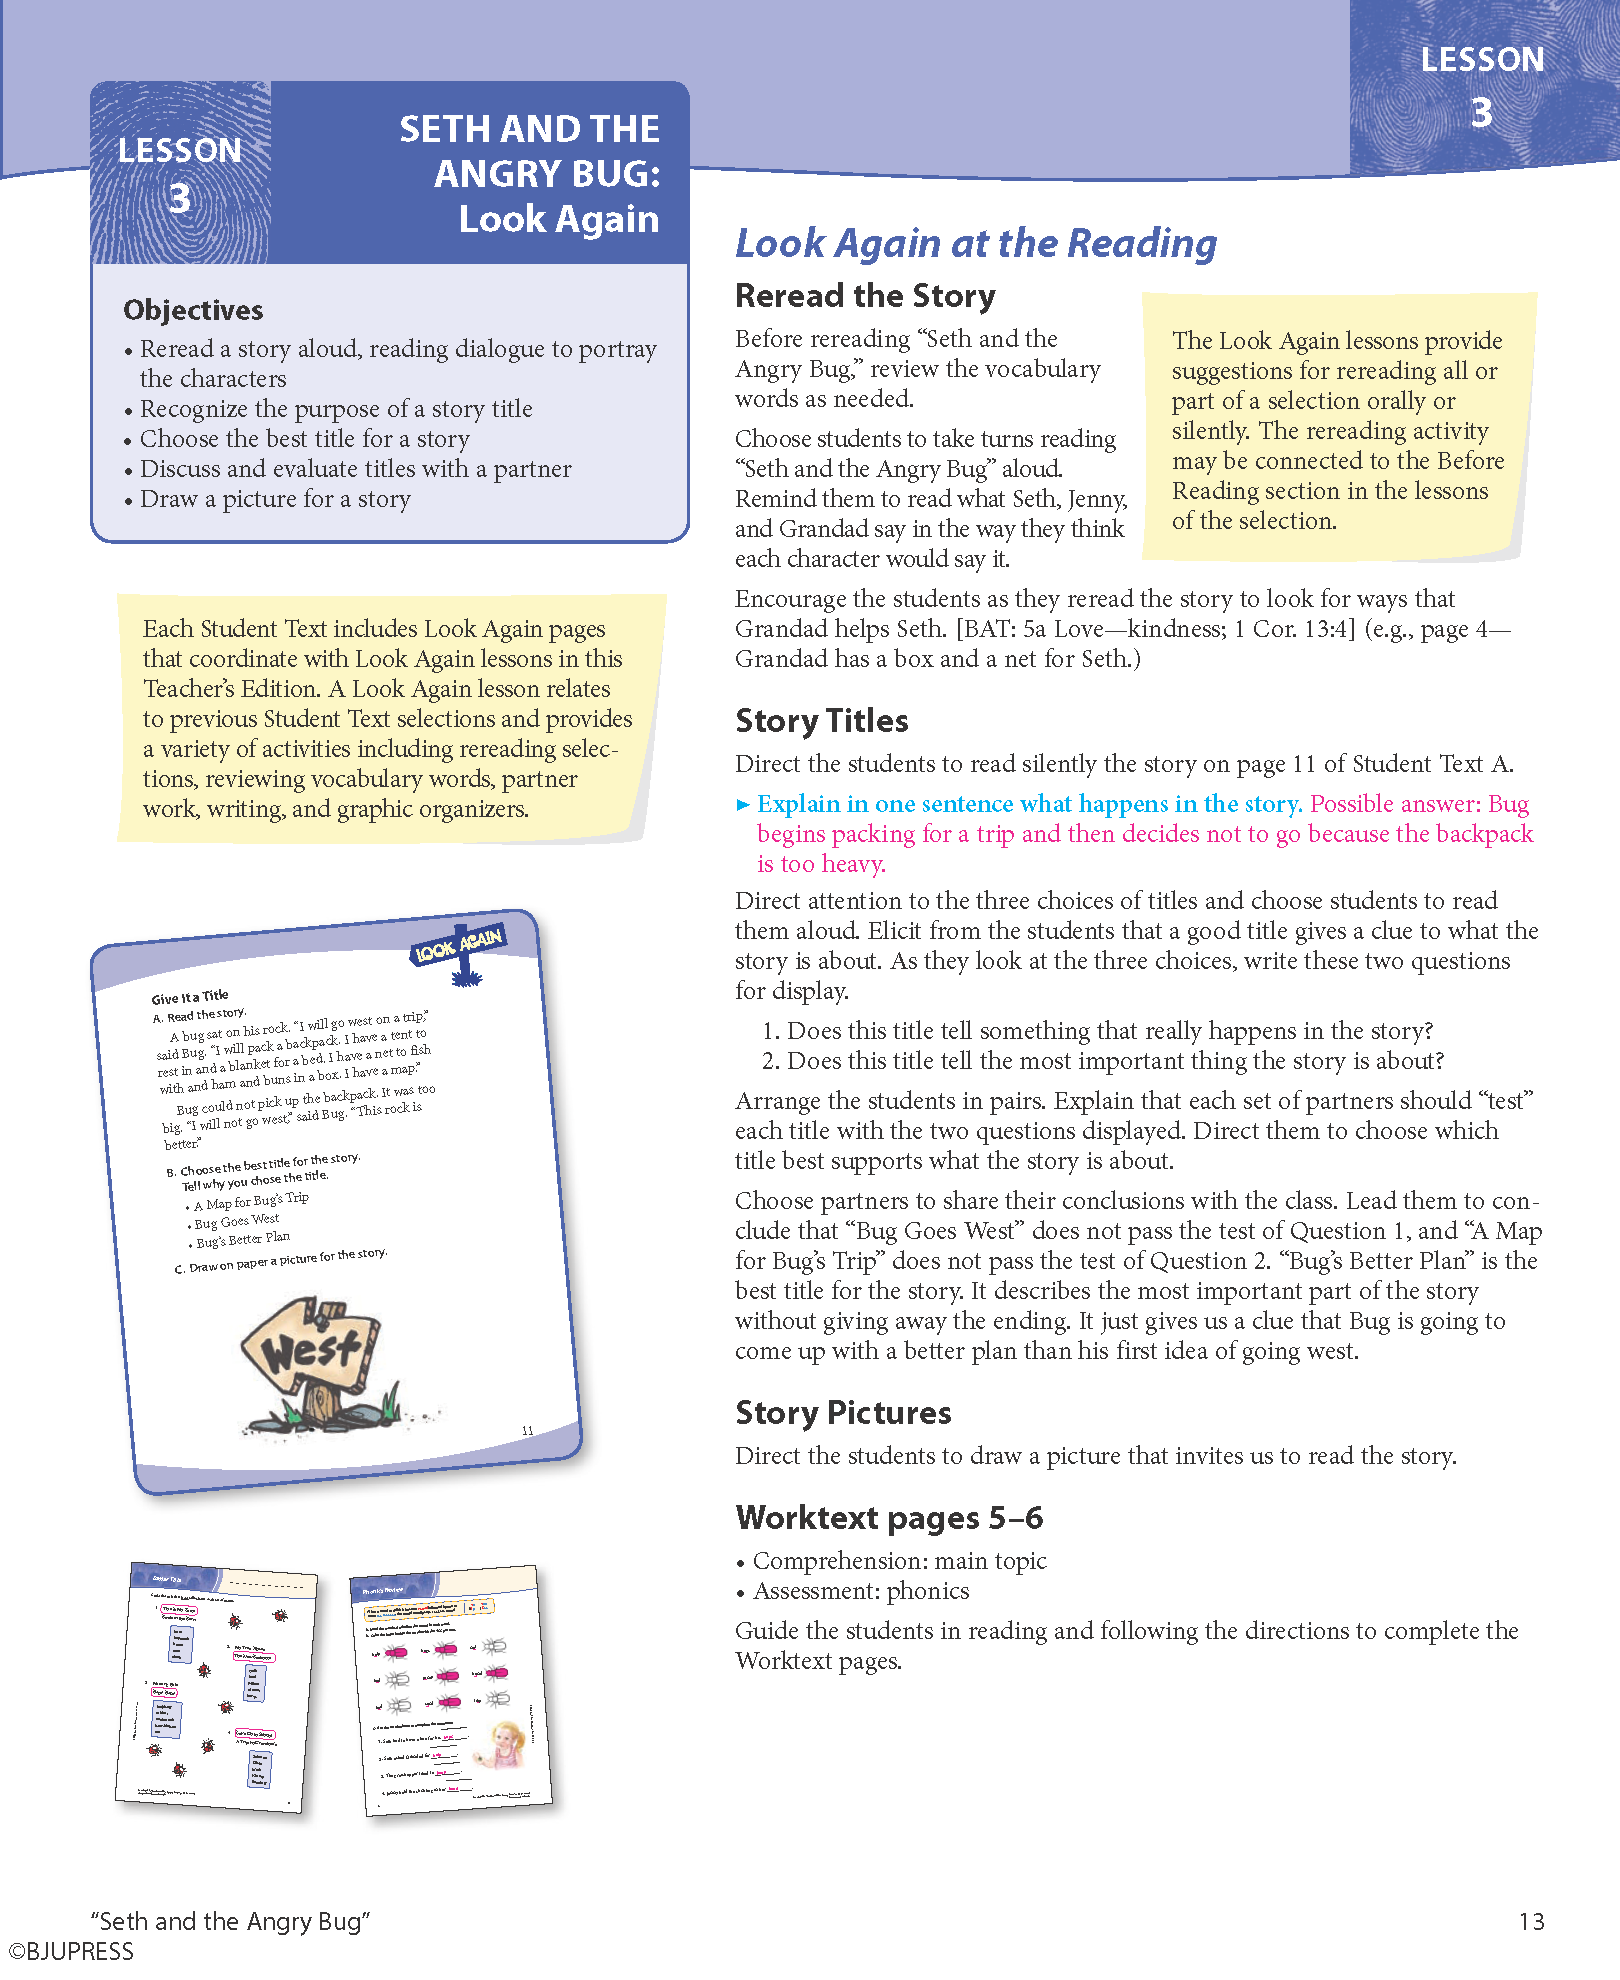
I’ve been thinking a lot lately about homeschooling. Even though I was homeschooled for more than six years, the idea of setting up my own homeschool is overwhelming. There’s a lot to think about and plan for. One topic that I’ve been researching lately is scheduling. One of the big benefits of homeschooling is flexibility in scheduling the school year. When you start and when you finish is completely up to you. But individual days need to be scheduled too if learning objectives are going to be met.

WP-NewHomeschoolBalance-1-2016

How much flexibility should there be in the daily schedule?

One homeschool blog that I have found particularly helpful is No Twiddle Twaddle. The author, Bethany, is a new homeschool mom, and she has blogged a bit about their first year. Her post “10 Tips for Starting to Homeschool” is a great resource for those of us who are just getting started. I love the way that she adds personal illustrations to each of her big ideas.

In this post, Bethany mentions the need to balance flexibility with structure. First, she urges her readers to take advantage of the flexibility that homeschooling offers.

I found that allowing ourselves the enjoyment of the flexibility of homeschooling helped keep our family from getting stressed out by the demands of homeschooling, and it also helps my kids stay on task when they know that working hard means extra time for play.

But she also mentions the need for structure.

It’s great to be flexible, but I quickly found out that starting lessons late in the morning meant school stretched forever into the afternoon (which is no fun when the sun is shining outside). I also found that I needed to be firm about making my kid use the bathroom and eat a decent breakfast before school. You really can’t learn anything when you are taking a gazillion breaks.

Bethany’s comments about the need for balance in every homeschool was a good reminder for me. I doubt my homeschool will lack structure—I tend to be a very task-oriented person. But I need to remember to pay attention to the needs of my students. Nurturing my children is infinitely more important than crossing off the items on the daily to-do list. I imagine that schoolwork may need to be put off some days in order to deal with heart issues. And that’s OK.

The tips in Bethany’s article gave me a lot to think about. Among other things, she talks about the need for a support structure, for organization, and for being teachable and learning from our own mistakes. If you are like me and are thinking about taking the plunge into homeschooling, I recommend that you read the rest of her excellent blog post.

Filed Under: Simplified Homeschool Tagged With: getting started homeschooling, homeschool, schedules, tips

The Gift of the Gospel

December 24, 2015 by Megan

In 1858, Francis Ridley Havergal visited a museum in Dusseldorf, Germany, and viewed a painting depicting the crucifixion. Next to the painting was this caption: “I did this for thee; what hast thou done for Me?” That question inspired her to write the poem that became the text of the hymn “I Gave My Life for Thee.”1

two stanzas of "I Gave My Life for Thee" by Francis Ridley HavergalAll four stanzas of this hymn text often come to my mind during the Christmas season because Christmas involves so much giving. We give gifts to family members and friends. We give toys to underprivileged children. We give money to help families suffering from a natural disaster or devastating diagnosis. The list goes on and on.

But sometimes, even in the midst of all this giving, we lose track of the Person who gave the most. Instead, we get caught up in the shopping, the parties, and even the gifts themselves. We hurriedly call a friend to celebrate the amazing shopping deal we just got, but we pass right by the sales clerk without even thinking about taking the time to give her a gospel tract. At this time of year, we need to be reminded of the precious gift of salvation that we possess. We need to be reminded of the immense price that Christ paid to accomplish our redemption.

The Gift

Francis Havergal’s hymn text reminds us of what Christ left behind when He came to earth. He left the glories of heaven (Philippians 2:7). This is not just a story about a prince becoming a pauper—Christ’s humiliation was far greater. We read in John 3:17 that “God sent not his Son into the world to condemn the world; but that the world through him might be saved.”

That salvation came with a price. The price was incomprehensible suffering and death on a cross. The Gospel of Luke takes several chapters to tell how Jesus endured beatings, mocking, betrayal, desertion, false accusations, physical agony, and even separation from God the Father. He did it all out of love for us, His lost creation.

Thankfully, Christ’s suffering and death aren’t the end of the gospel story. After three days in the tomb, Christ rose from the dead. God’s redemptive plan was complete.

Our Response

Francis Havergal’s hymn text also encourages us to think about our response to the gift of the gospel. We can’t just say “thank you” and move on like we would after receiving a sweater or a box of homemade cookies. Doing so would cheapen the gift. Instead, our gratitude should transform us.

This Christmas season, take time to share the gift of the gospel. Talk to your neighbors about what Christ did for them. Hand out tracts when you’re out shopping. Invite an unsaved relative over and share how Christ has transformed your life. People need the gospel more than anything else you can give them.

1. Francis R. Havergal, “I Gave My Life for Thee,” Majesty Hymns (Greenville, SC: Majesty Music, Inc., 1997), 546.

Filed Under: Shaping Worldview Tagged With: Christ, Christmas, giving, gospel, hymn

Crafting the Names of Christ

December 10, 2015 by Megan

A couple of years ago, my family got involved in a weekly children’s Bible club. We started helping because we wanted an opportunity to serve together as a family and to teach our children how to minister to other people. Since then, Bible club has become much more than a Saturday morning ministry opportunity. We have come to love the dozen or so children that hop on the bus to come every week. We bake them treats. We pray for them. We spend time trying to figure out how to teach them more effectively.

All of the children in our Bible club have been raised in poverty. Most of them don’t come from intact families. Few have ever attended a church service. Some of them come because they like seeing their friends. Others come because they sense the club leaders care for them. Some of them come because they like to play games and eat brownies. Whatever the reason, we’re glad whenever they show up.

Shortly after we started this ministry, we noticed that some of the girls who came rarely wanted to participate in the organized game time.  In order to better connect with them, we started having a craft time. They love doing crafts, and we’ve found that it’s a great time to teach basic Bible truths and reinforce some of the things my husband is teaching in our Bible lesson time.

This Christmas season, we’re decorating small Christmas trees with a dozen ornaments centered around one theme—the names of Christ. It is our hope that this craft will not only help them understand who Jesus Christ is but that they’ll be able to use it to tell their families about Christ.

You can use this craft in your own ministry setting or even with your own children. Make one ornament every day or make several at once—the pacing is really up to you. But before you make each ornament, take the time to read the associated Scripture passage and talk about the significance of the title. The goal is not just to have pretty ornaments; the goal is to better understand our Savior.


  1. Jesus is the Word

    John 1: 1–3
    WP-word-ornament-12-2015

  2. Materials needed: foam craft sheets (black, white, and green), red ribbon, hole punch, scissors, tacky glue
  1. Jesus is the Light of the World

    John 8:12
    WP-light-ornament-12-2015Materials needed: foam craft sheets (black, yellow, orange, red, white), glitter glue, scissors, hole punch, ribbon, tacky glue

  1. Jesus is the Lion of the Tribe of Judah

    Revelation 5:5
    WP-lion-ornament-12-2015Materials needed: foam craft sheets (yellow, orange), googly eyes, scissors, tacky glue, hole punch, ribbon

  2. Jesus is the Way

    John 14:6
    WP-way-ornament-12-2015Materials needed: foam craft sheets (blue, green, brown), gold glitter glue, cotton balls, scissors, tacky glue

  1. Jesus is the Good Shepherd

    John 10:11
    WP-shepherd-ornament-12-2015Materials needed: pipe cleaners, beads, ribbon

  2. Jesus is the Lamb of God

    John 1:29
    WP-lamb-ornament-12-2015Materials needed: assortment of white and black buttons, white card stock or craft foam, scissors, string or ribbon, tacky glue

  3. Jesus is the Vine

    John 15:1
    WP-vine-ornament-12-2015Materials needed: purple paper, green pipe cleaners, pencil (to curl paper around), scissors, hot glue gun, ribbon, tacky glue

  4. Jesus is the Bread of Life

    John 6:35
    WP-bread-ornament-12-2015
    Materials needed: salt, flour, lukewarm water, wax paper, plastic straw, knife, ribbon
    Directions:
    (1) In a medium bowl, mix ½ cup salt, 1 cup flour, and ½ lukewarm water.
    (2) Turn dough onto a lightly floured surface and knead for 3–5 minutes.
    (3) Form “French bread” shapes, using a knife to add detail.
    (4) Poke a hole in the top using a plastic straw.
    (5) Place on a cookie sheet lined with wax paper (or parchment paper).
    (6) Bake at 200 degrees for 2–5 hours, depending on thickness (or you can let them air dry for several days).

  5. Jesus is the Resurrection and the Life

    John 11:25
    WP-life-ornament-12-2015Materials needed: salt, flour, lukewarm water, wax paper, plastic straw, ribbon
    Directions:
    (1) Make salt dough (see steps 1 and 2 under for ornament #8).
    (2) Shape dough into one large ball and another smaller one.
    (3) Place large ball on cookie sheet covered with wax paper, and use thumb to make a “cave” indent.
    (4) Place smaller ball off to the side of the “cave.”
    (5) Poke a hole in the top using a plastic straw.
    (6) Bake at 200 degrees for 2–5 hours, depending on thickness (or you can let them air dry for several days).

  6. Jesus is the King of Kings

    Revelation 19:16
    WP-crown-ornament-12-2015Materials needed: empty toilet paper or paper towel tube, scissors, sequins or jewels, tacky glue, ribbon

  7. Jesus is the Alpha and Omega

    Revelation 22:13
    WP-alpha-ornament-12-2015Materials needed: craft popsicle sticks, paint, paintbrushes, foam craft sheets (any color ), sticker letters, hot glue gun, ribbon

  8. Jesus is the Savior

    1 John 4:14; Matthew 1:21; Luke 2:11
    WP-savior-ornament-12-2015Materials needed: applesauce, cinnamon (4 oz. container), plastic wrap, rolling pin, cross-shaped cookie cutter, wax paper, plastic straw,  ribbon
    Directions:
    (1) Mix 1/3 cup applesauce with container of cinnamon.
    (2) Roll out dough between 2 sheets of  plastic wrap until ¼ inch thick.
    (3) Remove top sheet of plastic wrap.
    (4) Use cookie cutters to cut out shapes.
    (5) Peel shapes away from bottom layer of plastic wrap and place them on a cookie sheet lined with wax paper.
    (6) Poke a hole in the top using a plastic straw.
    (7) Bake at 250 degrees for 1–3 hours, depending on thickness.

May you find comfort in all that Jesus is this Christmas!

Find other Christmas activities on the BJU Press blog.

Filed Under: Successful Learning Tagged With: Bible, Christmas ornaments, craft, family, Jesus, ministry

Art at Home: Creating an Art Station

November 3, 2015 by Megan

At a yard sale several months ago, I bought a worktable. It was mammoth—almost eight feet in length. It barely fit in our minivan. It was also incredibly heavy.  I really had no idea where I was going to put this monstrosity. I wasn’t even sure how we would get it inside the house. But I knew that this ten-dollar table was perfect for what I wanted it to be—an art station.

My older daughters, four and six years old, love doing art projects. I have encouraged their interest because I know that doing art projects helps young children learn about colors and shapes, boosts fine motor skills, and allows them opportunities to express their creativity.

But paints spill. Glitter is almost impossible to contain. Confetti-sized pieces of paper easily litter the floor. Add a toddler in the mix, and the mess just gets worse because suddenly that toddler is trying to eat all the crayons and pieces of paper. This scene repeated itself frequently at my house, so I knew we needed a space that would contain the mess and yet allow for the creativity. And I knew that there wasn’t much household budget for setting up an art station, so whatever I ended up doing, I needed to do it inexpensively.

If you want to set up a creative space for your kids, here are some ideas that worked really well for us when we set up our art station.

1. Providing a surface

You don’t need an eight-foot worktable in order to set up an art station. Use an old desk, a sewing table, or even an end table. Just make sure that whatever surface you choose is sturdy.

2. Displaying your kids’ artwork

I bought a four-pack of cork squares in the office supply section of a discount store. I mounted one on either side of the worktable so each of my two daughters could have a place to showcase her creations.

3. Making cleanup a breeze

Messes will happen, so making it easy to clean them up is key. My worktable has a laminated plastic top, so it’s really easy to wipe down. But if your surface is solid wood, you might want to consider covering it with a clear vinyl tablecloth to make cleanup easier. I bought a couple of small wastebaskets at the dollar store and placed one on either side of my table to make trash pickup easy. I also bought some very inexpensive cookie sheets (I found them for as low as $.88 each), which have been wonderful for containing glitter, colored sand, and other messy (but fun!) supplies. Small foil baking dishes can help contain paint and yet allow little ones to experiment with color mixing.

4. Stocking art supplies

I keep crayons, colored pencils, child-sized scissors, and white paper out at all times. I bought shower caddies at the dollar store, and they have helped keep everything neat and organized. Currently, our paper is stored in shallow boxes that we picked up at the grocery store for free. I also keep the following art supplies on hand, but my children have to ask to use them.

  • Markers
  • Glue sticks
  • Glue bottles
  • Clear tape
  • Glitter
  • Glitter glue
  • Stickers
  • Construction paper
  • Watercolor paper
  • Washable poster and watercolor paints (I highly recommend Crayola® paint because it comes off anything)

Another way to keep costs low but creativity high is by collecting a box of “junk” that your kids can use to create things with. Here’s a list of some things we have used, but the possibilities are limited only by your imagination!

  • Scraps of tin foil
  • Buttons
  • Coffee filters
  • Paper plates
  • Ribbon and fabric scraps
  • Plastic drinking straws
  • Empty oatmeal canisters
  • Small empty boxes
  • Scraps of wrapping paper

Our art station is set up along a wall in our dining room, and my kids spend hours there every week. They’ve created bookmarks, produced original drawings, engineered paper airplanes—they even made their own chore charts! Below are some pictures of our space that I hope will help inspire yours.

photo collage of art table and art supplies

Filed Under: Successful Learning Tagged With: activities, art, art projects, art supplies

Learning the Value of Grammar Lessons

October 6, 2015 by Megan

photograph of a bored female student sitting at a table with piles of homework

Many high schoolers question the usefulness of studying grammar. I know I did.

My parents started homeschooling when I was in seventh grade. I was a good student and had stayed on the honor roll throughout elementary school. I loved learning and generally spent my spare time either reading or typing out stories on my family’s computer. I enjoyed my distance-learning history and literature classes enough that I often watched the videos twice. But I loathed the English class in the distance-learning program that my parents chose.

During that class, I rarely paid attention, choosing instead to either doodle in the back of my notebook, write stories, or get a head start on the evening’s homework assignment.

I had several reasons for disliking English. Minor reasons included the fact that the teacher on the videos was annoying, the textbook was visually uninteresting, and I never felt like I learned anything new. But the main reason that I hated the class was that the content seemed useless.  The distance-learning program that we used (not BJU Press) was effective at drilling the course content into my head, but it failed to answer my burning question of why the content should be learned in the first place.

It wasn’t until a few years later when I took a missions trip to Micronesia that I began to understand the usefulness of grammar. That summer, I traveled with some friends and spent almost a month on Majuro, the main island of the Marshall Islands with my aunt, uncle, and cousins, who were missionaries there. During our stay, my uncle gave us daily lessons in Marshallese. I had expected to learn a collection of useful Marshallese phrases such as “How are you?” “How much does it cost?” and “Where is the restroom?” Instead, we talked about things like pronouns and verb tenses and where to place adjectives in relation to nouns. All those grammar exercises in English class were finally coming in handy! I was so thankful that I knew the “lingo” of language. I knew what adjectives and pronouns were, and I knew the role they played in sentence structure. That knowledge helped me immensely, and I was able to learn quite a bit of Marshallese during that brief time.

Three years later, I was a sophomore in college taking an expository writing class and learning another use for all those grammar exercises. That semester, my professor used a lot of terms like gerunds, participles, and nominative absolutes as he tried to challenge us to experiment with sentence structure to create compelling prose. Again, I was thankful for those years of studying grammar. I knew the terms as well as the concepts, and that knowledge was helping me become a better writer.

Seeing grammar at work in the real world got me excited. I was beginning to see grammar not as a tool for torturing students but as an essential part of producing clear, God-honoring communication. I realized students needed to be taught grammar through this worldview lens. And I decided that I wanted to teach them. This former English-class-hater actually ended up pursuing a master’s degree in English education.

In the providence of God, I’m not currently teaching grammar in a classroom. I’m a stay-at-home mom with three daughters. But someday soon I will begin teaching them the fundamentals of English grammar. And from the very beginning, they will know its value.

Filed Under: Successful Learning Tagged With: class, English, grammar, language arts, linguistics, writing

  • « Go to Previous Page
  • Page 1
  • Interim pages omitted …
  • Page 19
  • Page 20
  • Page 21
  • Page 22
  • Page 23
  • Interim pages omitted …
  • Page 26
  • Go to Next Page »

Primary Sidebar

As parents, teachers, or former homeschool students, we are passionate about homeschooling from a biblical worldview. We hope these teaching tips, fun activities, and inspirational stories support you in teaching your children.

Email Signup

Sign up for our homeschool newsletter and receive select blog posts, discounts, and more right to your inbox!

Connect with Us!

                    Instagram     

Read Posts on Specific Subjects

Early Learning
Foreign Language
History
Language Arts
Math
Science

Footer

Disclaimer

The BJU Press blog publishes content by different writers for the purpose of relating to our varied readers. Views and opinions expressed by these writers do not necessarily state or reflect the views of BJU Press or its affiliates. The fact that a link is listed on this blog does not represent or imply that BJU Press endorses its site or contents from the standpoint of ethics, philosophy, theology, or scientific hypotheses. Links are posted on the basis of the information and/or services that the sites offer. If you have comments, suggestions, questions, or find that one of the links no longer works, please contact us.

Pages

  • About BJU Press
  • Conversation Guidelines
  • Terms of Use & Copyright

Archives

© 2025 · BJU Press Homeschool