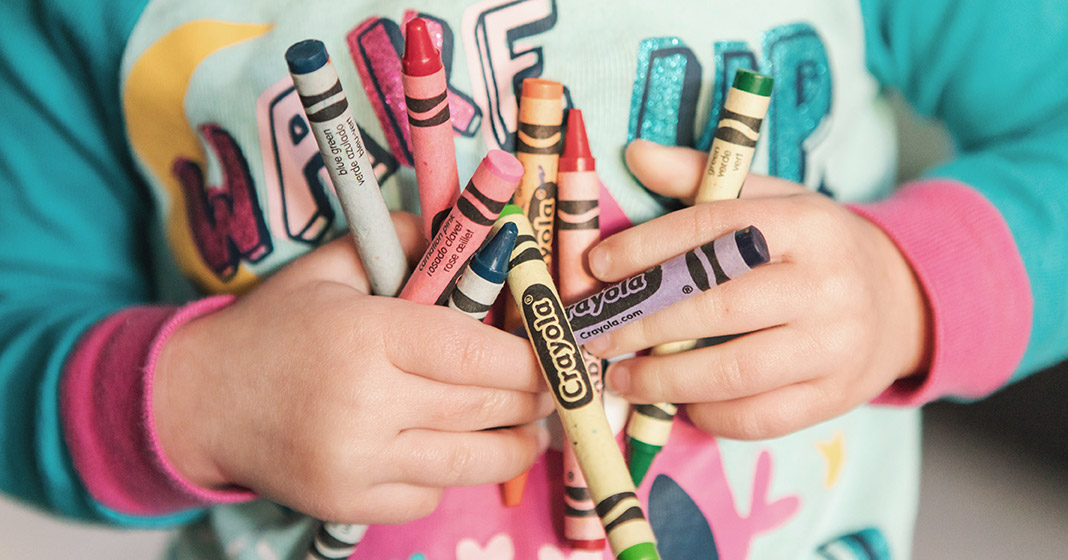
Wondering what to do with old and broken crayons? Don’t toss them—turn them into broken crayon art! There’s something special about opening a brand-new box of sharp crayons. Those little spears of colors lined up in perfect rows. But even when crayons become dull or break, they don’t wear out their usefulness. You can melt and reuse them to create many fun art projects and crafts with your children. You can make multi-colored crayons out of old ones or create a melted crayon painting, pumpkin, or ornament. Here are five melted crayon art ideas with pictures for inspiration for activities with your children.
Melted crayon art ideas
Melting Crayons
There are several different ways to melt crayons. You can melt them in the oven, microwave, with a hairdryer or in the sun. The best way to melt crayons depends on the art you decide to make and what tools you have at home. Some melted crayon crafts require the oven or a hairdryer while others allow for more flexibility.
How to melt crayons in the oven
This is a convenient method for melting a lot of crayons at one time. All you need to do is heat the oven to 300 degrees Fahrenheit, unwrap the crayons, and melt them in an oven safe container for 10–15 minutes.
How to melt crayons in the microwave
If you don’t have time to melt crayons in the oven, you can use a microwave instead. Peel the paper off the crayons and break into small pieces. Place them into microwave safe containers such as ceramic or glass mugs, jars, or bowls. Microwave for two minutes, stopping to check the crayons every 30 seconds. Do not leave microwave unattended while operating, since the crayons may melt more quickly than anticipated. Once crayons are melted, pour into candy molds, mini muffin tins, or silicone molds and let cool completely.
How to melt crayons with a hairdryer
Maybe you want to melt just a few crayons for a quick art project. Using a hairdryer will do the trick in about a minute. Follow the same initial steps as you would for melting crayons in the oven. Turn hairdryer on high and hold over crayons until they begin to melt; it should take between 40 to 60 seconds, depending on how many crayons you have. Allow to cool before removing from cookie cutter.
How to make crayons

Have your children help you make new crayons out of old ones following these simple instructions.
What you will need:
- Crayons in assorted colors
- Exacto knife (optional)
- Oven
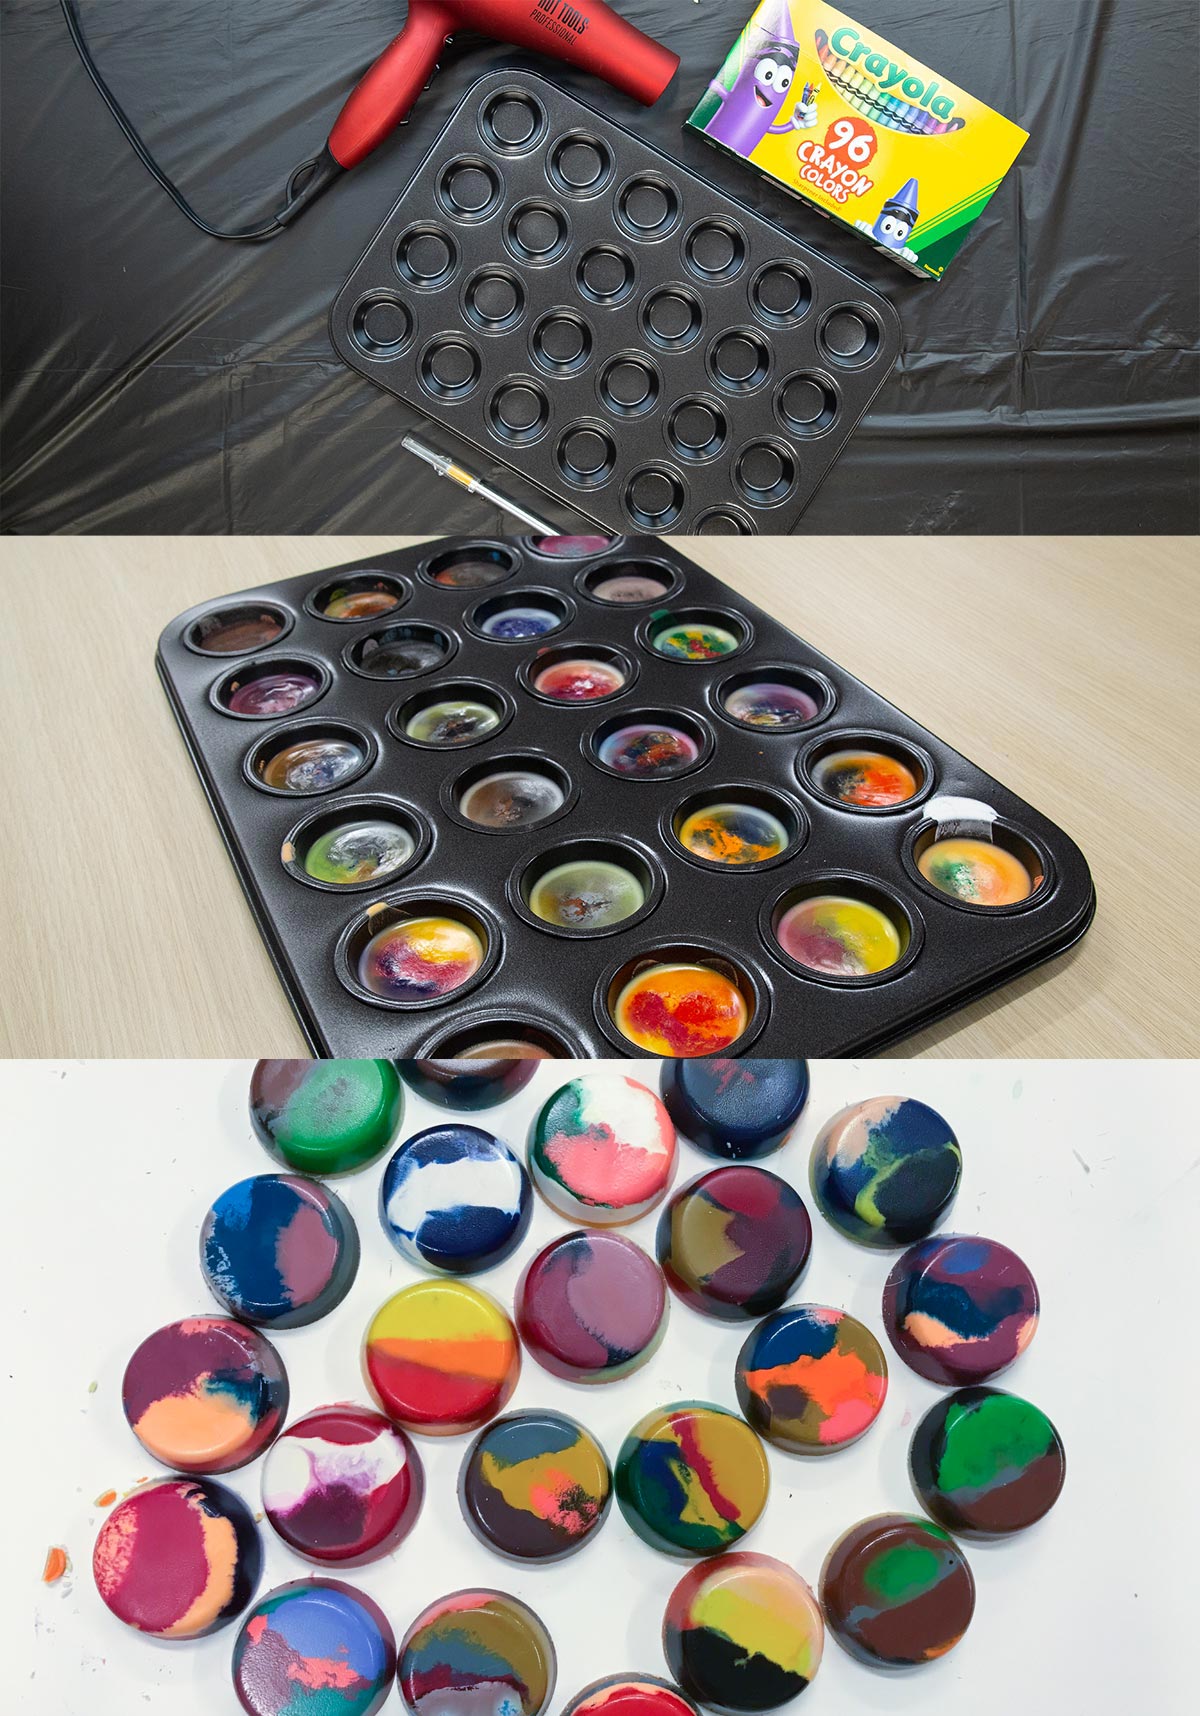
- Mini muffin pan, cookie cutters, or silicone mold
Instructions for making crayons:
- Preheat the oven to 300 degrees F.
- Remove the paper wrapping from crayons. This is where the exacto knife comes in handy. Parents, be sure to assist your kids with using the knife. When all the paper is removed, let children break crayons into smaller pieces.
- Place crayon pieces in mini muffin tins or other molds, filling them to the top. You can group color families together (i.e., blues, greens, yellows), or mix different colors for variety. Kids can select which colors they want and put them in the mold of their choice.
- Bake the crayons for 15–20 minutes or until the wax has melted completely.
- Allow crayons to cool for several hours, and then flip muffin tin or mold over and tap to release the crayons. If some of the crayons don’t release easily, place the mold or muffin pan in the freezer for 10–15 minutes. The crayons should then come out with no problem and no mess on your pan.
Alternative: melting crayons in the sun
This is a great alternative process to making crayons, especially during hot summer days when you want to avoid heating up your kitchen with the oven. Just let the sun do the work for you!
- Collect your materials. You will need a paper plate, crayons, aluminum foil, and cookie cutters. Peel the paper off the crayons and break them into smaller pieces.
- Find a very hot place in the sun outside.
- Cover paper plate with aluminum foil, place cookie cutters on the plate, and fill cookie cutters with the broken crayon pieces. Depending on the temperature outside, the crayons will melt in one to two hours. When they are completely melted, bring them back inside to cool.
- Finally, gently remove from the new crayons from the cookie cutters.
How to make a melted crayon pumpkin

A perfect craft for Fall!
What you will need:
- Pumpkin (white will contrast better with crayons)
- Crayons
- Tacky glue
- Hairdryer
- Exacto knife (optional)
- Plastic tablecloth, garbage bags, or cardboard (optional)
Instructions:
- Remove paper wrapping from crayons. You can use the exacto knife to make this job easier.
- Cut crayons in half.
- To avoid a mess, place the pumpkin on a plastic tablecloth, garbage bag, or piece of cardboard.
- Glue crayons flat around the top of the pumpkin. Children can choose their colors and press them into the glue. Use as many crayons as you’d like!
- Allow glue to dry completely.
- Turn the hairdryer to melt crayons. Using the low setting will take longer but will help control the flow of melting wax. Kids will especially enjoy doing this part as they watch the crayons melt down the sides of their pumpkin.
Try experimenting with different groups of colors. You can use just two or three colors for one pumpkin and rainbow colors for another.
How to make crayon drip art

Use this technique to create your own original work of art!
What you will need:
- Canvas
- Hot glue gun (adult use recommended)
- Exacto knife (optional)
- Masking tape (optional)
- Hairdryer
- Crayons
Instructions:
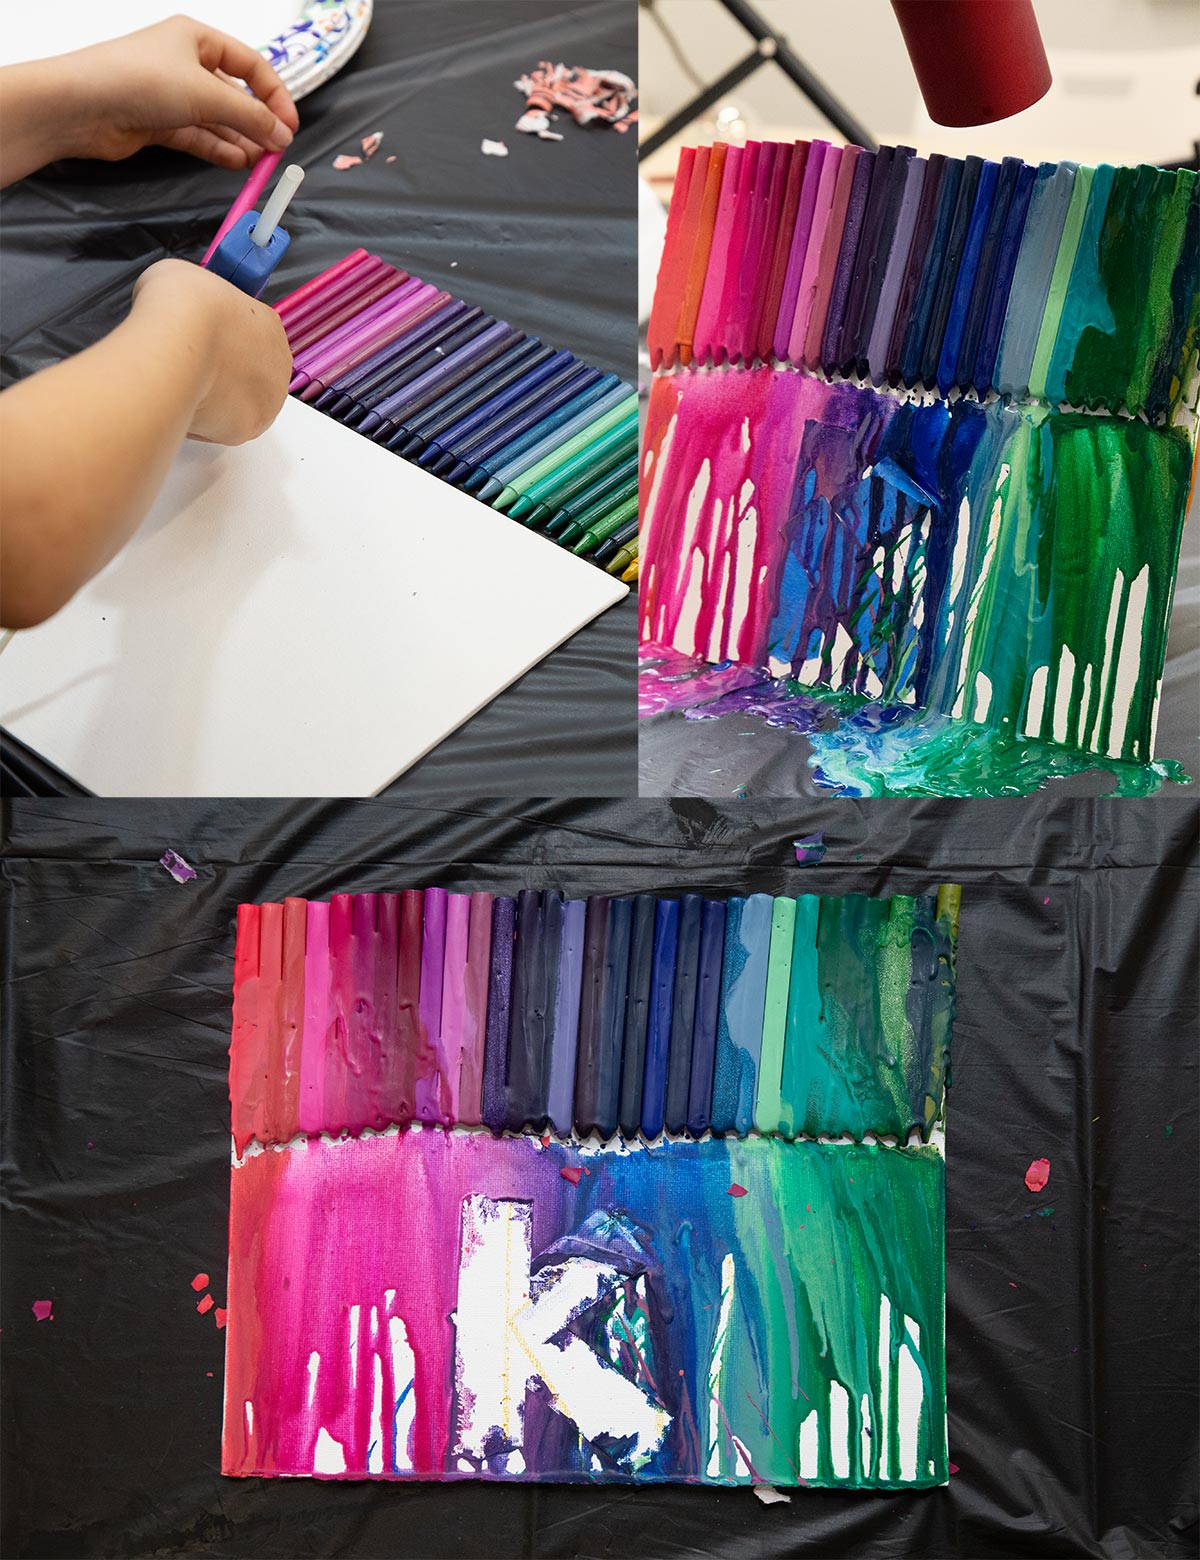
- Make sure you have enough crayons to line up all the way across the top of the canvas. Remove paper wrapping from crayons using an exacto knife if easier.
- With the hot glue gun, glue a line where you want to line up your crayons on the canvas. Kids can press crayons of their choice into the glue. Allow to dry.
- Use the tape to create a pattern or picture, if desired.
- To melt the crayons, turn the hairdryer on low for more control or medium–high for a faster melt and direct the flow of melting wax onto the canvas. You or your child can guide the flow to create a crisscross pattern of colors or just a straight line, depending on your preference.
- Allow to dry completely.
- Peel off the tape to reveal the image you created.
How to make a crayon painting

A unique art project that combines crayon and paint in one.
What you will need:
- White cardstock paper or poster board
- Crayons
- Black acrylic paint
- Paintbrush
- Popsicle stick
- Hairdryer (optional)
Instructions:
- Color the entire paper with a crayon pattern.
- Paint over the entire canvas with black paint.
- Use a hairdryer to help the paint dry faster.
- Use a popsicle stick to scratch canvas acrylic paint off to reveal the crayon pattern beneath.
How to make melted crayon ornaments

Get a head start on Christmas crafts!
What you will need:
- Clear glass ornaments (you can find these at any craft store). Do not use plastic ornaments, as they may melt.
- Crayons
- Exacto knife (optional)
- Plastic tablecloth, garbage bags, or newspaper for protection
- Hairdryer
Instructions:
- Lay down plastic tablecloth, newspaper, or garbage bag on flat hard surface. This will prevent any melted crayon wax from dripping onto the work surface or floor.
- Remove paper wrapping from crayons.
- Carefully remove stems from glass ornaments and set aside. Break crayons into small pieces and place them inside the ornaments (children can help with this part). You can use as many colors as you like, but three or four at a time is ideal.
- Hold the ornament in your hand. Turn hairdryer on high and point heat on the outside of the ornament. You can let your child operate the hairdryer while you hold the ornament. You can turn it in different directions as the crayons melt to create abstract patterns. If you want the entire inside of the ornament covered in swirls of color, melt crayons completely. If you want a transparent, streaked effect, turn off hairdryer when you achieve your desired pattern and shake the crayons out the opening.
- Place stem back on top of the ornament. Your ornaments are now ready to be admired as decorations, and they also make great homemade gifts!
Best types of crayons to use for melted crayon art
Popular vs. generic brands: Although you can use any brand of crayons when making melted crayon art, Crayola brand seems to work best. This brand melts more quickly, smoothly, and easily than other brands.
Darker colors vs. lighter colors: The shades of colors you use for melted crayon art make a difference. Because of their pigments, darker colored crayons melt faster than lighter ones. If you melt both light and dark colors together, they may not blend evenly, which will affect the outcome of an art project or craft. It’s best to melt darker colors and lighter colors separately to ensure your intended result.
Cleaning up a crayon mess
Despite our best efforts to avoid it, sometimes we still end up with melted crayons on our clothes and carpet. Here are some easy tips on how to rescue these from permanent damage.
How to get melted crayon out of clothes
- Let the wax dry and remove as much of it as possible using a credit card or butter knife.
- Put a white paper towel on a table or counter and place soiled area of fabric on top.
- Spread mayonnaise, butter, or cooking oil on the stain. Let sit for 15 minutes, then gently scrape off remaining crayon with butter knife.
- Rub laundry detergent or dish soap on stained area using your fingers or an old toothbrush. Allow to soak in for 15 minutes.
- In washing machine, wash clothing in hot water on heavy soil setting, using an oxygen-based bleach.
- If any crayon stains remain after washing, soak overnight in oxygen-based bleach and warm water. Launder as usual the next morning.
How to get melted crayon out of carpet
- Mix a cup of warm water with several drops of dish detergent, like Dawn soap.
- Put a clean white cloth on top of stained area of carpet.
- Pour the warm soapy water onto the cloth and let it soak into the stain.
- While stain is soaking, turn iron on low heat. Once it’s warm, place the iron directly on top of the cloth and let it sit for a few minutes.
- You may need to repeat step 4 several times until the stain is completely gone.
- Blot carpet dry using a clean towel until all the water has been absorbed.
The next time you find worn down or broken crayons, collect them in a jar and keep for your family’s future fabulous crayon art projects.
• • • • •
Jennifer is a pastor’s wife and mom of two young girls and loves homeschooling them. During her own twelve years of being homeschooled, Jennifer developed a passion for reading and writing. She earned a bachelor’s degree in creative writing and relishes writing during her free time.
Leave a Reply