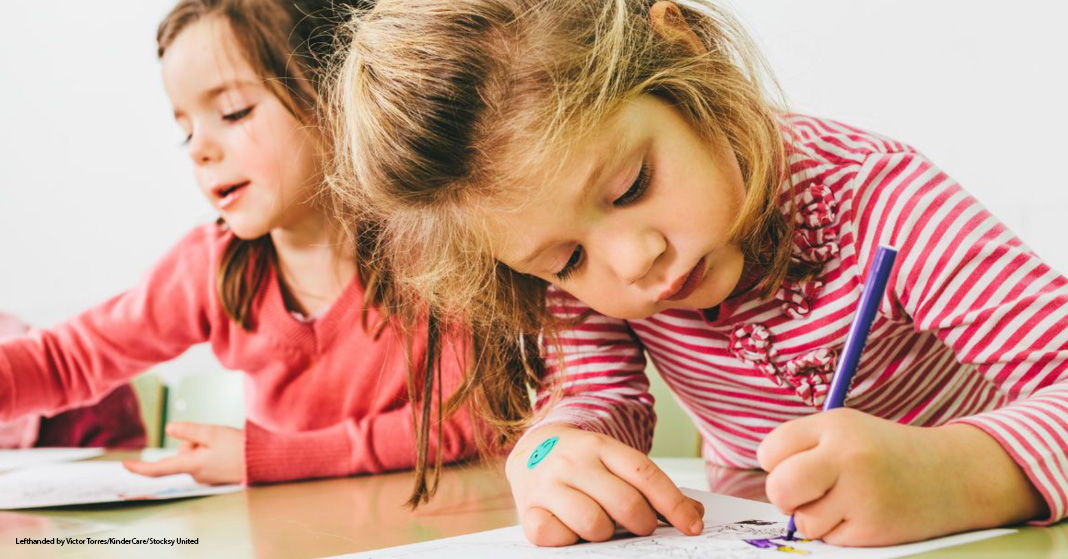
If you have young lefties, you may be unsure of how to teach left-handed writers. But don’t worry! At first their natural tendencies may appear backwards or confusing to you but teaching them writing is very similar to teaching a right-handed child. There are just some important things you should keep in mind when you start teaching them.
Proper Pencil Grasp
Just like righties, they should use either tripod or quadrupod grasp. You should emphasize how to correctly hold a writing utensil. Holding the utensil with poor positioning, like using every finger or wrapping the thumb over the index finger, makes it difficult for lefties to see their own writing. The tripod grasp involves the thumb and index finger pinching the sides of the pencil while the pencil rests on the middle finger, allowing for better control. The quadrupod is a similar grasp but they will pinch with both the index finger and middle finger while using the ring finger for support. Also, having a higher grasp, about 1 to 1.5 inches from the tip, allows them to see the paper better.
Proper Paper Choice
Use loose leaf paper with your lefties as they are learning to write. Try to avoid three-ring binders and spiral notebooks, because these are uncomfortable for lefties to rest their arm on when they write on the right-hand page. It’s the same discomfort right-handers feel when writing on the left side of the page. The best writing situation for young writers, regardless of which hand is dominant, is to write on loose leaf paper with a hard surface right underneath. All of our early worktexts and activity books in K4 through Grade 3 use a hinge binding, so the pages can be easily removed and used outside of the book.
Proper Paper Placement
Teach your lefties to tilt the paper to the right. Paper tilting allows your children to naturally rest and move their arm and wrist. The hooked wrist associated with lefties is a compensation so they can see the text to the left of where they are writing. However, hooking the wrist results in smudged ink or graphite on the side of the hand and poor penmanship habits. Having students tilt their paper helps them place their wrist in a comfortable, correct position and keeps the text to the left of their hand visible.
Model Character Placement
Most traditional worksheets place character models on the far-left side of the page. However, it’s harder for lefties to see models on the left-hand as they write. Instead, models should be either the row above where the student is writing or on the right-hand side of the page. Here are some worksheets for our cursive font that place the models in a place where lefties can easily see them while writing. If you have worksheets with the model on the left side, you can create your own model in a different place for your children’s reference.
Proper Letter Formation
Your left-handed writers should learn to form letters in the same way that a righty does. For example, they should make their o with a counterclockwise stroke. Learning the strokes this way will increase the speed of their writing, because proper letter formation involves minimal strokes and naturally leads to the next letter.
The only difference in strokes will be that lefties will likely cross their letters right to left, “pulling” instead of “pushing,” specifically with lowercase letters “t” and “f” and with capital letters that have a bar like A, G, H and F. This difference is fine, and shouldn’t slow them down.
Correcting Mirror Writing
Some lefties may initially default to “mirror” writing where they form letters backwards and write from right to left. One way to train them out of this habit is to put a sticker or mark on the left hand of the page where they are supposed to start the line.
Keeping these tips in mind can help you and your left-handed writers have a solid start to handwriting. Some things may be confusing or difficult for your lefty at first. But with proper techniques and practice, they can become comfortable and confident in their writing.
Leave a Reply