You never know when a fun little activity might become one of your child’s favorite memories. And what mother wouldn’t be pleased if one of her child’s favorite memories turns out to be about learning something new?
Recently I sat down with Michelle Jarrell, one of our Online Learning teachers, to talk about the file folder games that she developed for one of her classes. As we were talking, I couldn’t help but remember something I did when I was a kid. One day I got into the filing cabinet where my mom kept all the homeschool supplies and pulled out the laminated file folders she used to teach numbers, colors, and shapes. There were labels where the shapes and numbers went, and each piece had Velcro on the back. Now I laugh about the fact that at the time I was more fascinated by hearing the ripping sound than by putting the shapes where they belonged.
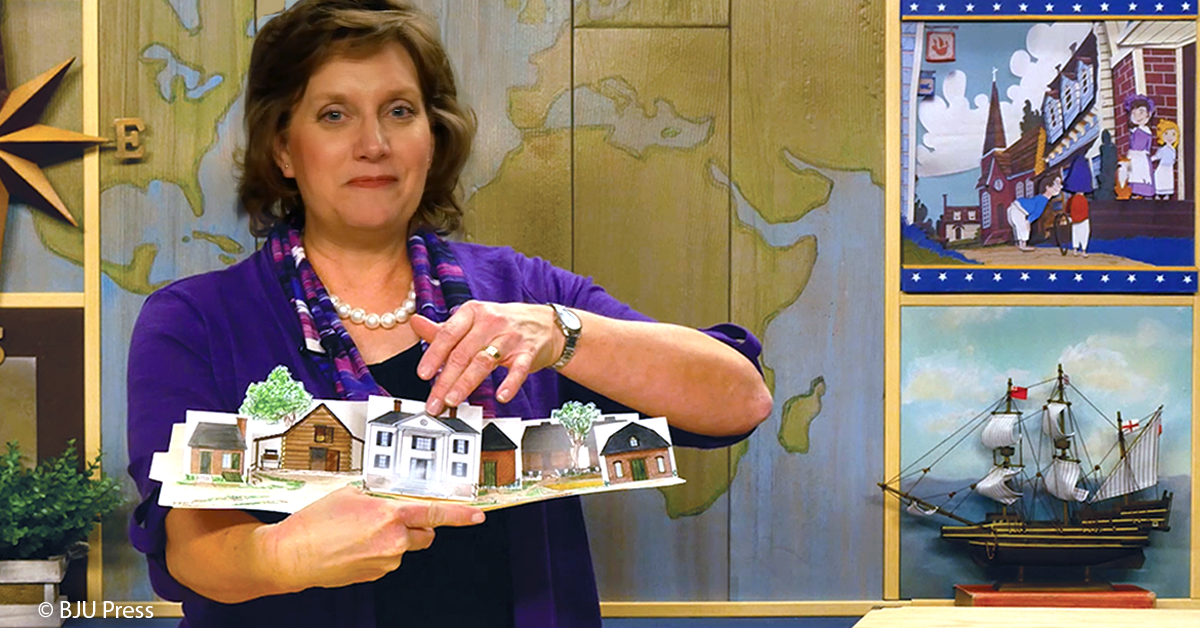
Mrs. Jarrell’s file folder games give a visual and hands-on element to heritage studies, which can be a not-so-visual and hands-on subject. A bit like lapbooks, file folder games focus on specific lessons rather than on broad overviews. And, they’re a lot of fun to make and to play.
In her class, Mrs. Jarrell gives her students the option to add four to six dates to the master timeline that she designed. Here’s how you and your child can put together your own master timeline from AD 1000 to 1800.
Master Timeline Activity
Things you will need
- Three file folders
- Hook-and-loop fasteners (like Velcro®) or adhesive putty (like Sticky Tack)
- Tape
- Glue
- Master timeline activity (printable)
Directions for timeline
- Print out the master timeline activity.
- Open all three file folders and line them up, side by side.
- Tape the folders together to make a single sheet approximately three feet by one foot.
- Cut out the timeline strips and glue them onto the folders, starting with 1000 at the top.
- Cut out the date and event tiles.
- As a review or as your child encounters new events in the history textbook, have him stick each tile where it belongs on the vertical timeline using tape, adhesive putty, or a hook-and-loop fastener.
Leave a Reply